
Scottiemann goes streetfighter


Thread Starter
Senior Member
SuperBike
Joined: Feb 2007
Posts: 1,252
From: boston

Alright its about to get pic heavy in here 
first of all I didnt take any pics of installing new bearings in my wheel or sprocket carrier because if you dont know what that looks like...well...
I used the stepping reamer to ream out the caliper carrier then finished it with the drill bit.
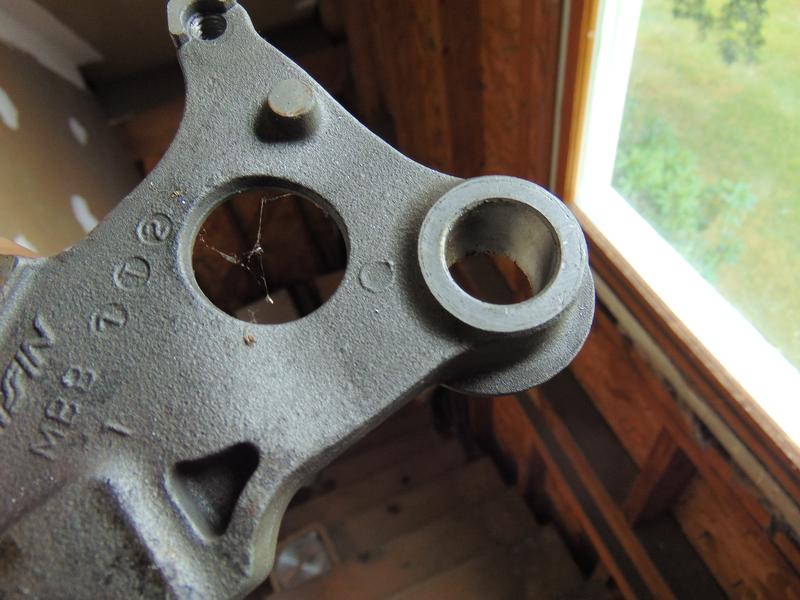
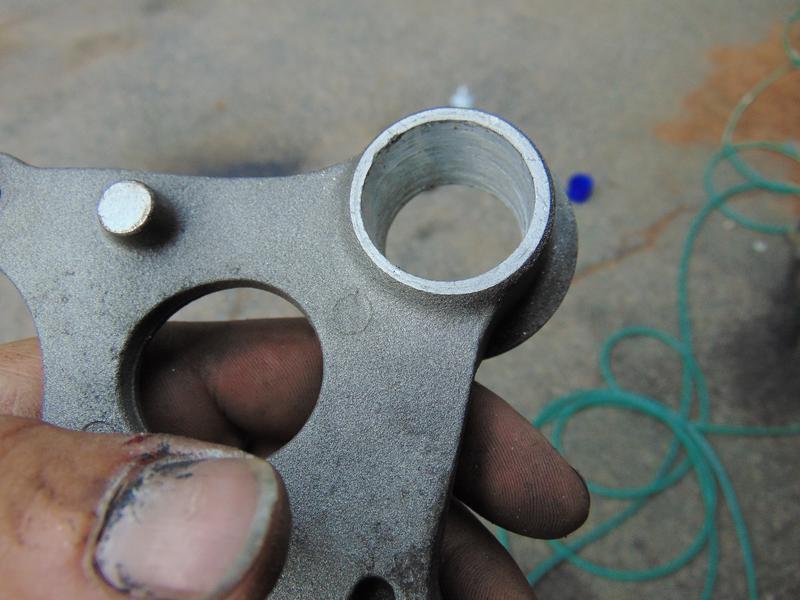
I drilled out the VTR axle adjusters but it turns out I cant use them as the CBR wheel is slightly wider, basically there was enough room for one, which worked out perfectly as I needed to space out the carrier just that much from the wheel so it wasnt scraping the rotor. So what I did there was sacrifice one of my adjusters and made a spacer washer which gave me perfect clearance for the rotor.
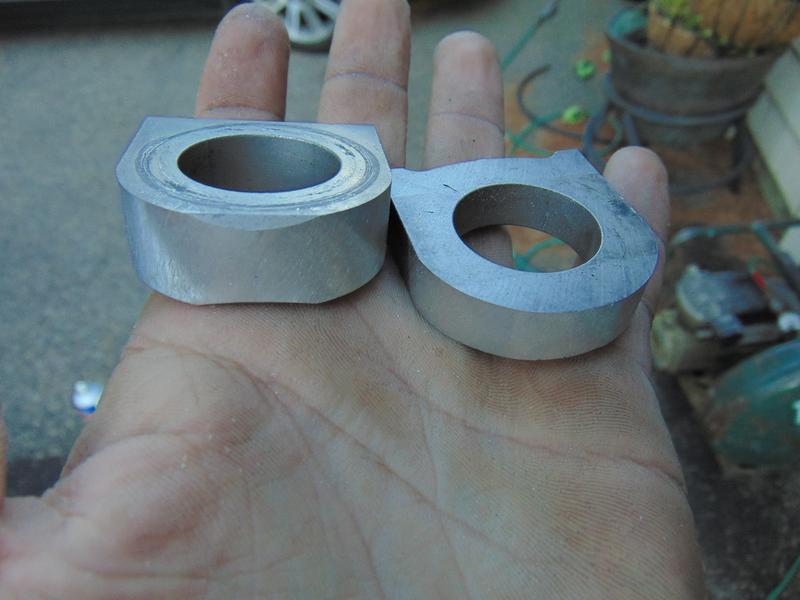
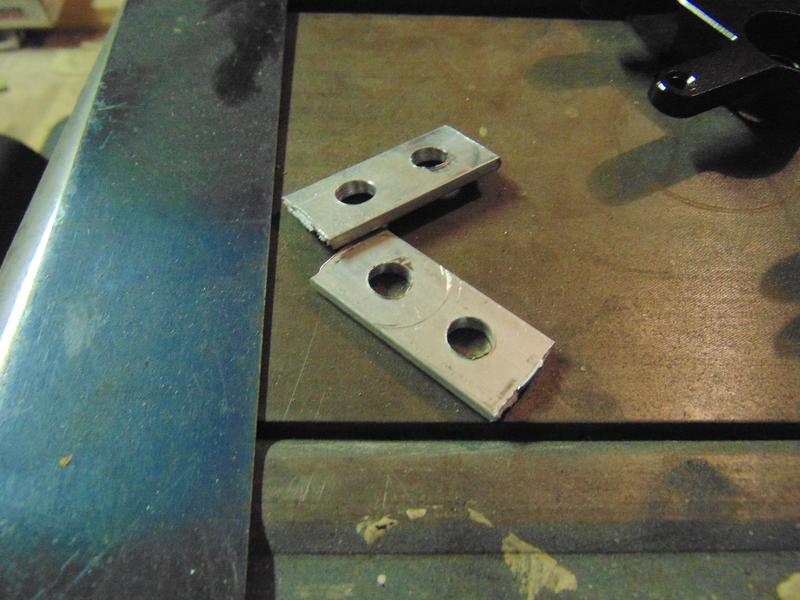
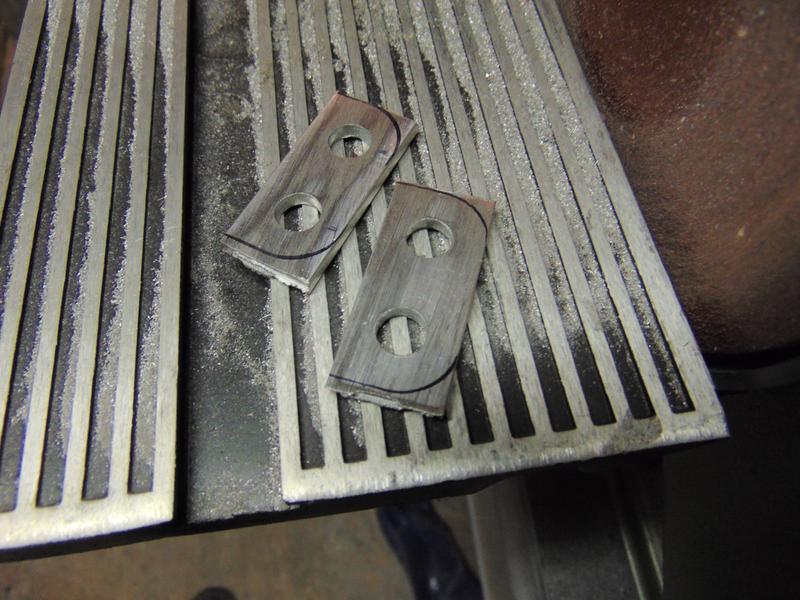
I also had to modify CBR adjuster blocks to accomidate the semi-circular opening of the VTR swinger. I didnt take pics of them unmodified but both sides looked like this.

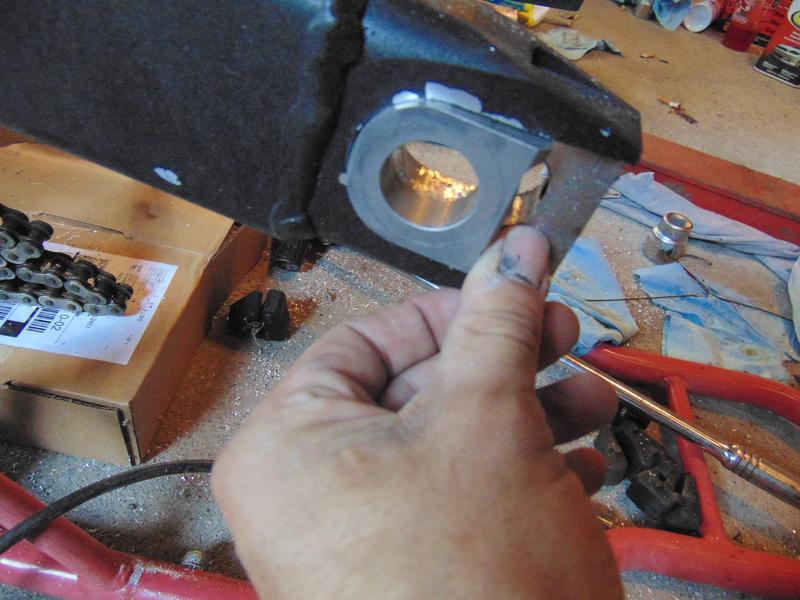
And the modified side
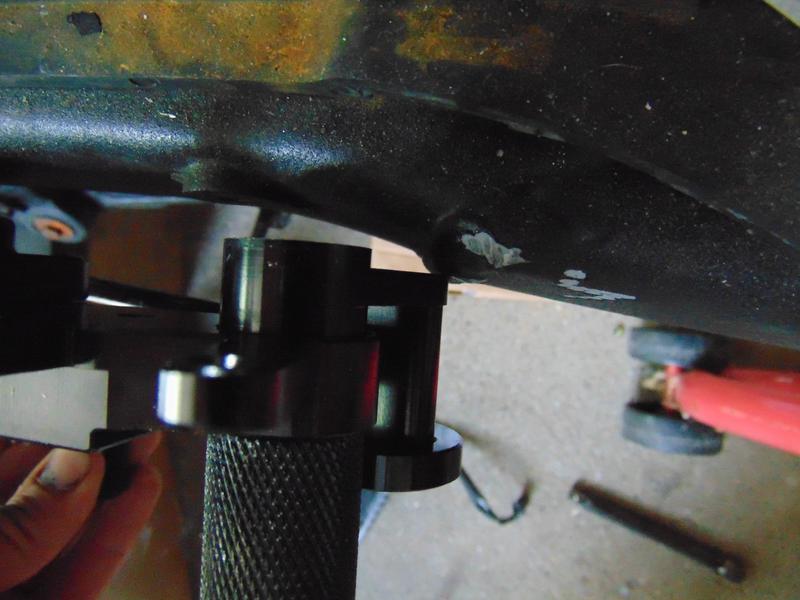
and fitment
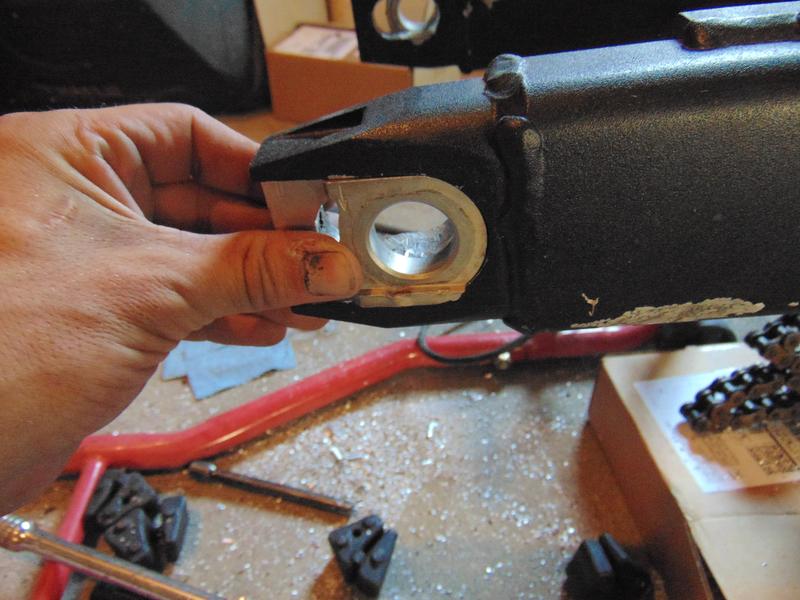
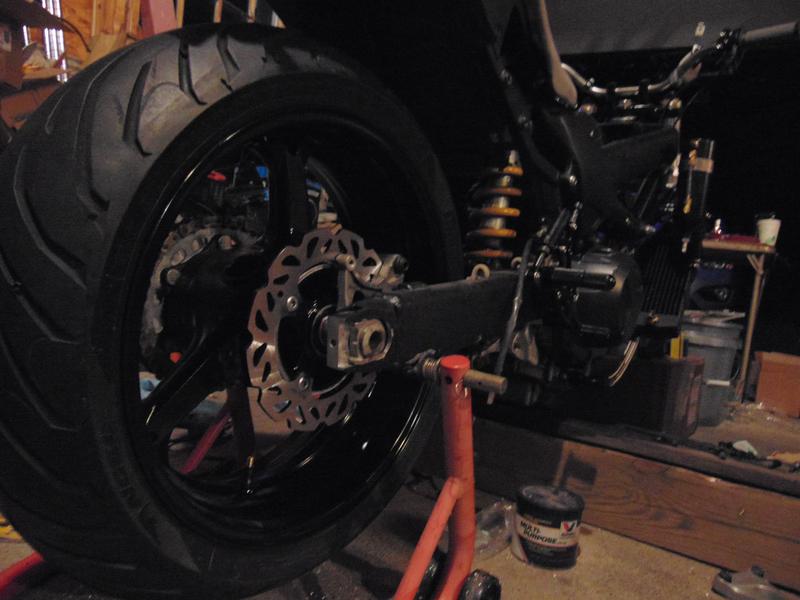
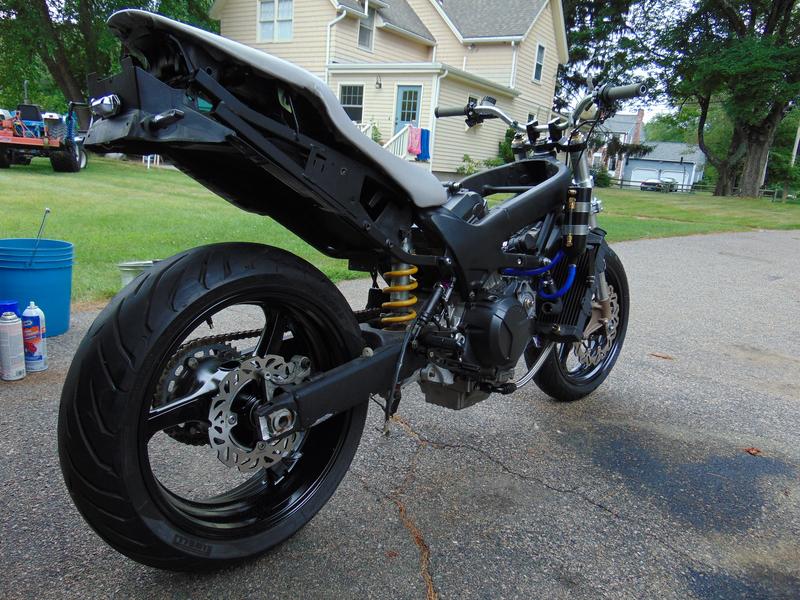
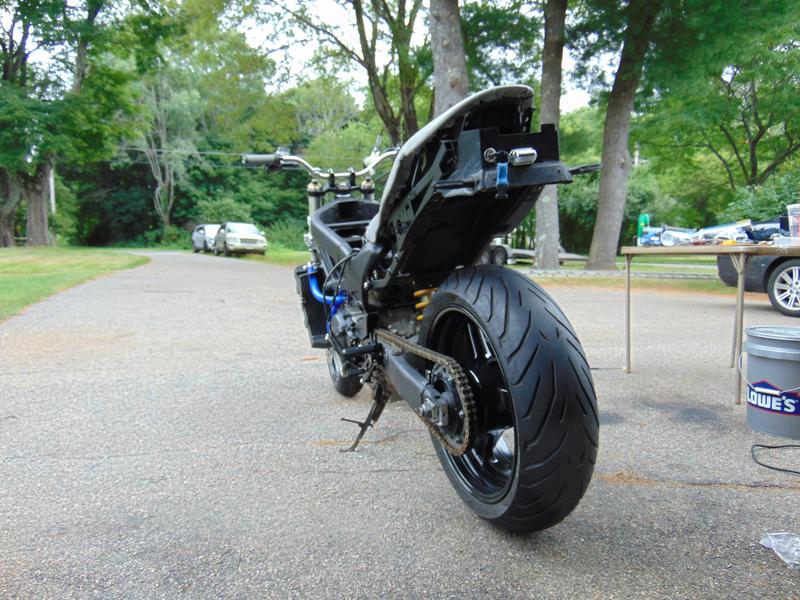
Because I am unable to use the factory adjusters as well as the CBR adjusters, basically I had to pull the wheel back til I was satisfied with the chain slack and mark the swingarm with a sharpie, measure it and mark the other side and keep an eye on it while I was cranking down the axle. when all was said and done, double checked to make sure everything was straight and lined up.
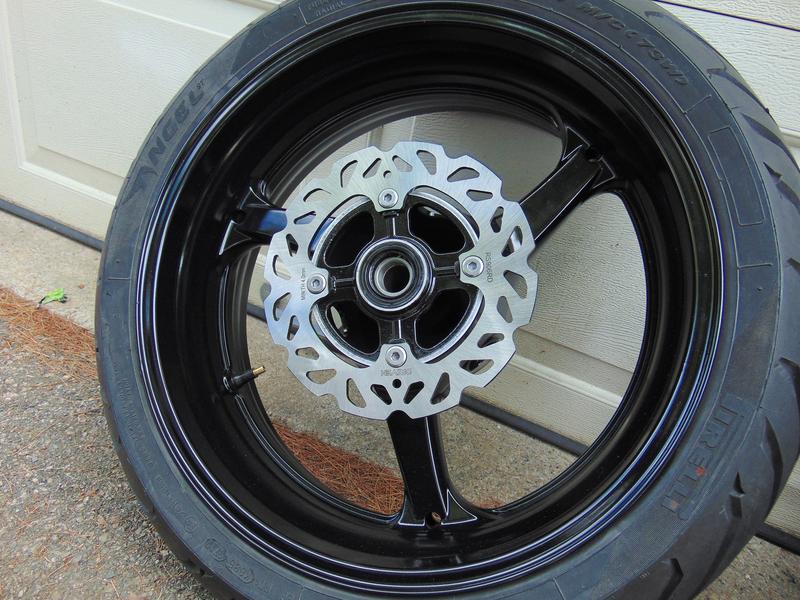
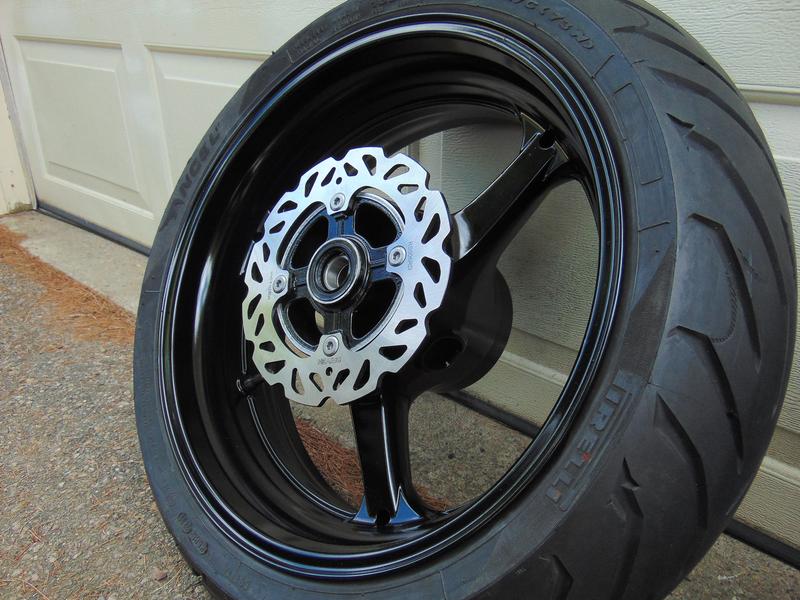
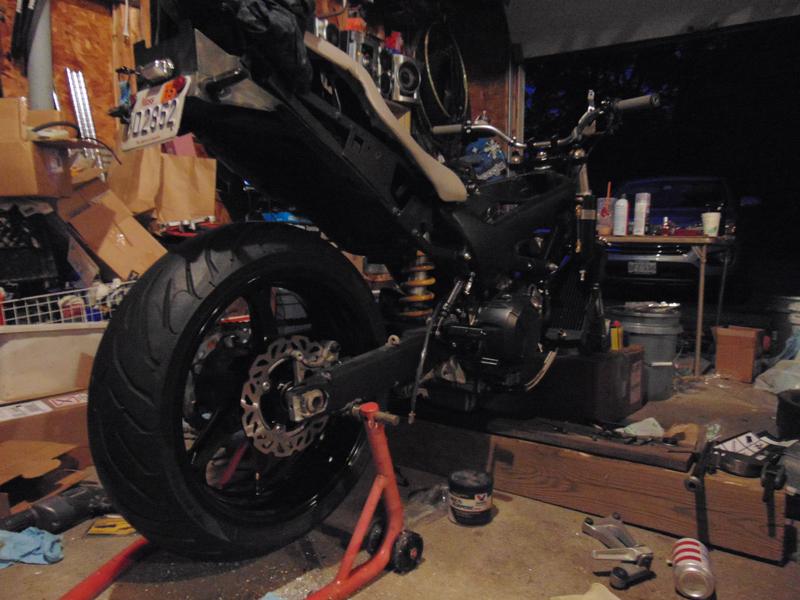
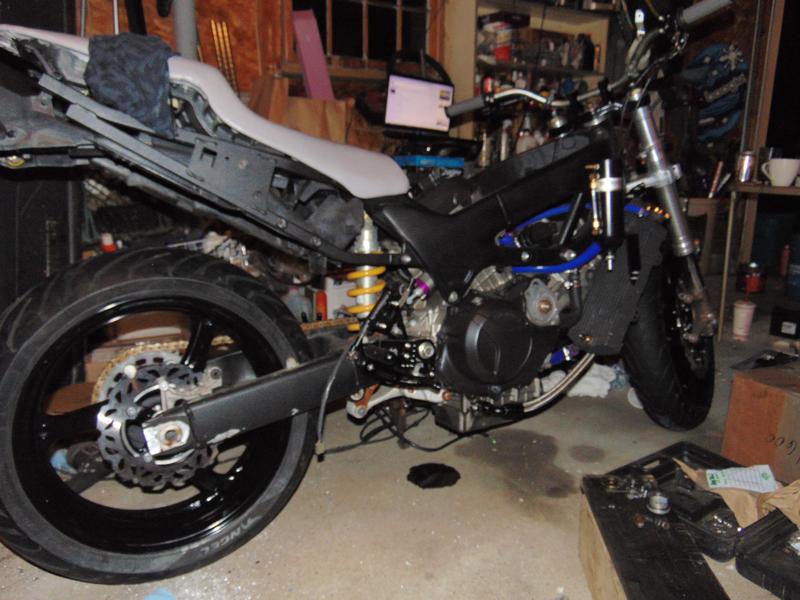
And here is the final result, 3lbs lighter and 10mm wider than stock, and super sexy in gloss black
first of all I didnt take any pics of installing new bearings in my wheel or sprocket carrier because if you dont know what that looks like...well...
I used the stepping reamer to ream out the caliper carrier then finished it with the drill bit.
I drilled out the VTR axle adjusters but it turns out I cant use them as the CBR wheel is slightly wider, basically there was enough room for one, which worked out perfectly as I needed to space out the carrier just that much from the wheel so it wasnt scraping the rotor. So what I did there was sacrifice one of my adjusters and made a spacer washer which gave me perfect clearance for the rotor.
I also had to modify CBR adjuster blocks to accomidate the semi-circular opening of the VTR swinger. I didnt take pics of them unmodified but both sides looked like this.
And the modified side
and fitment
Because I am unable to use the factory adjusters as well as the CBR adjusters, basically I had to pull the wheel back til I was satisfied with the chain slack and mark the swingarm with a sharpie, measure it and mark the other side and keep an eye on it while I was cranking down the axle. when all was said and done, double checked to make sure everything was straight and lined up.
And here is the final result, 3lbs lighter and 10mm wider than stock, and super sexy in gloss black
Thread Starter
Senior Member
SuperBike
Joined: Feb 2007
Posts: 1,252
From: boston
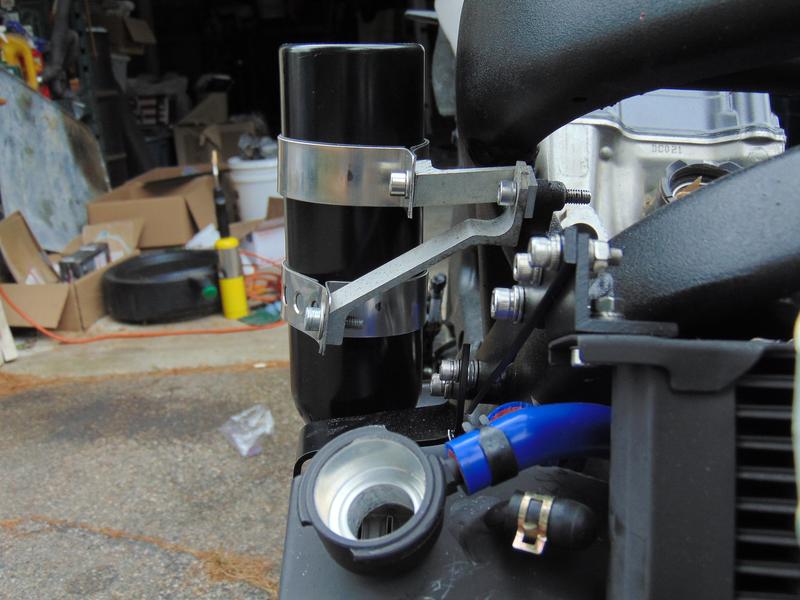
So I finished mounting the overflow tank, didnt feel like wasting anymore time on making special brackets so I actually used one of the upper and lower fairing brackets that I'm obviously not using for plastics anymore, as well as the cheap danmoto exhaust hanger clamps...
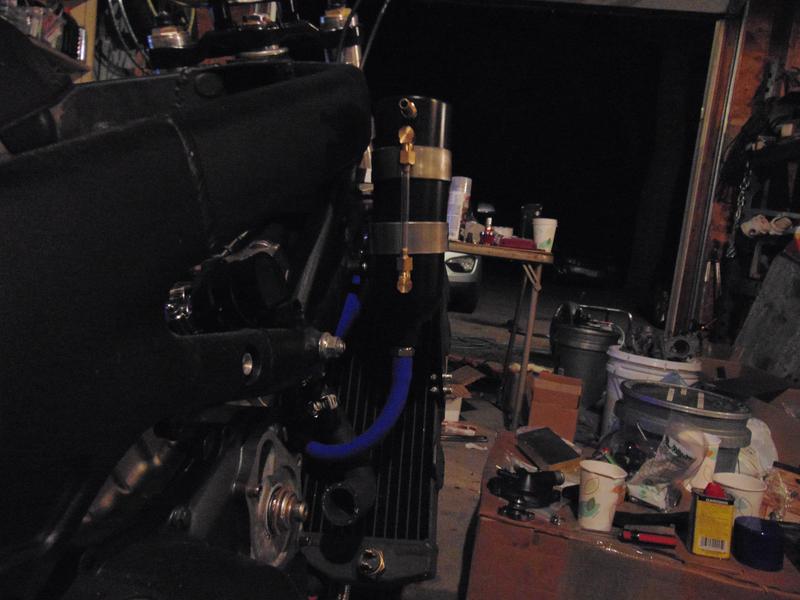
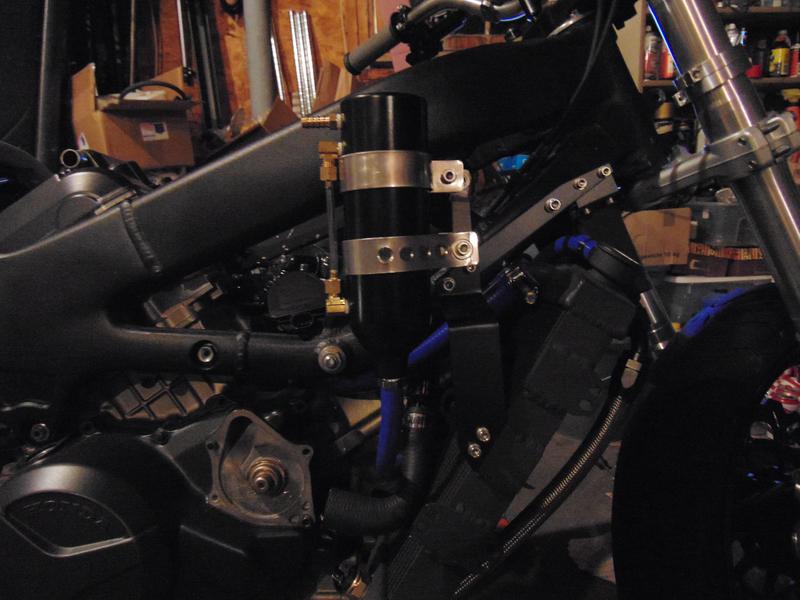
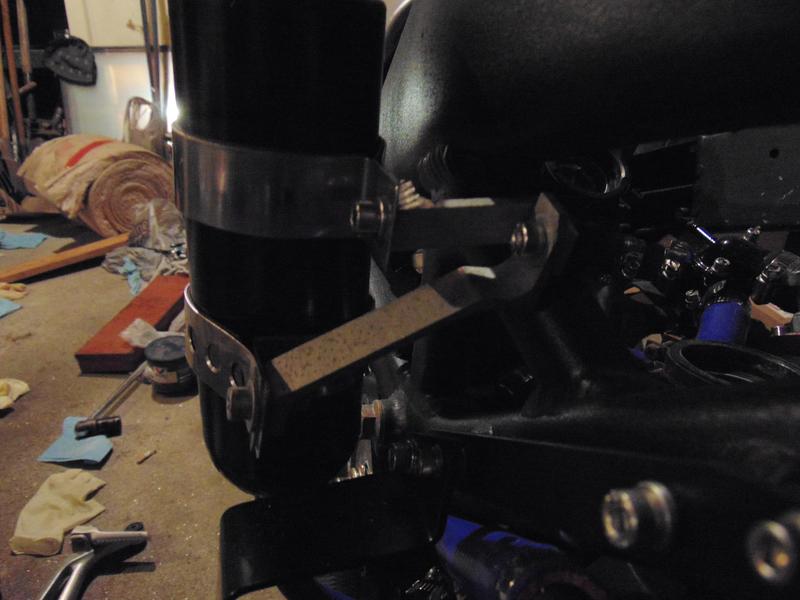
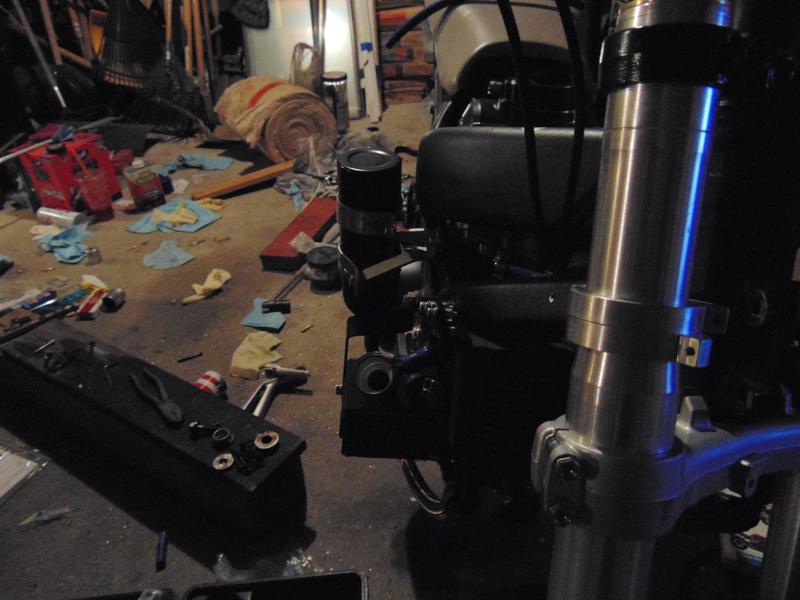
It doesnt stick out past the rads but I still might try and push it in a little closer to the frame...
It doesnt stick out past the rads but I still might try and push it in a little closer to the frame...

Thread Starter
Senior Member
SuperBike
Joined: Feb 2007
Posts: 1,252
From: boston
Thanks guys!
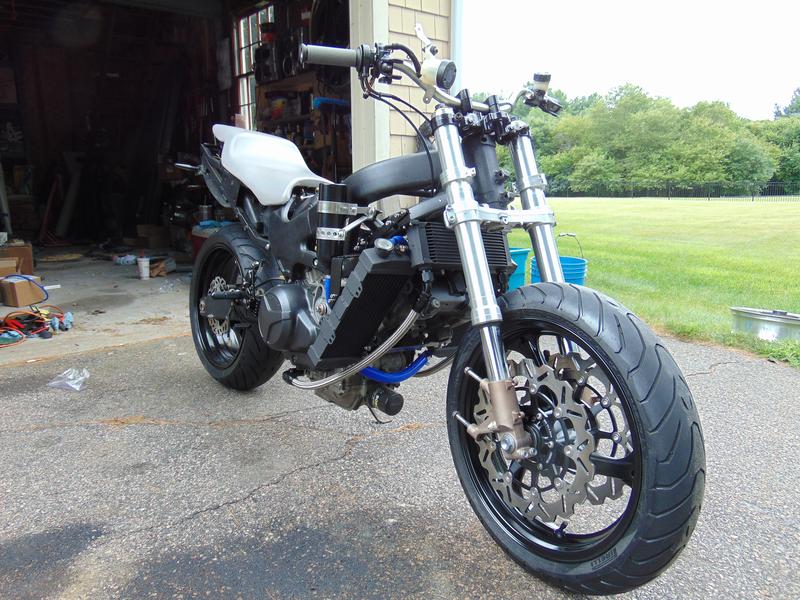
I'm not gonna lie, for the past couple weeks I've been getting extremely discouraged with this build. Although I have been picking away at little things almost every day, my bike has been sitting in the same spot looking unchanged, I havent been seeing any real progress, and even some of the little things I've been picking away at I've run into problems... So now that its rolling again and I can sit on it and feel the changes in its stance, and see how good it looks is a huge relief and giving me faith again lol.
sometimes I think forums are more of a support group than a discussion board for knowledge haha
Thread Starter
Senior Member
SuperBike
Joined: Feb 2007
Posts: 1,252
From: boston
I dont know why I didnt do this sooner....
So for all you guys in the states or various other places where finding SS metric hardware is a task and a half, or your able to find what you need but are sick of paying $1 or more for a single bolt... I just ordered SS M6 socket head cap screws ranging in lengths from 20mm-65mm in 5mm increments 180 bolts total, plus a 6"X12" 1/8" thick aluminum sheet for $88 and change... the total for the 180 bolts alone was $70
Just sayin, McMaster-Carr FTW
This should carry me through the rest of the build as far as M6 is concerned, not to mention my sexy engine covers are just going to look that much sexier with SS cap heads holding them down
And if your wondering about the aluminum sheet, its going to mount under the seat and all my fancy new electronic components are going to bolt on to it

Senior Member
SuperBike
Joined: Mar 2012
Posts: 1,544
From: New South Wales Australia
Hey mate,
Even here in Oz metric 316 stainless bolts are a rip off!
I ordered a whole bunch from the U.K in various sizes in Allen heads and used them to replace almost every bolt on my bike for a fraction of the cost I would of paid here.
I have some still left over and have used them on friends bikes as well.
They sure do lift the look of my bike, especially on the engine covers.
Can't wait to see your bike with the bodywork and tank on.
Thread Starter
Senior Member
SuperBike
Joined: Feb 2007
Posts: 1,252
From: boston
yea it sucks, and I dont know why lol
did you use hyperbolt.com out of the UK? I found them on my search but cant wait for shipping from out of the country, not sure of the exact conversion rate but they looked roughly the same price as what I was paying at mcmaster...
did you use hyperbolt.com out of the UK? I found them on my search but cant wait for shipping from out of the country, not sure of the exact conversion rate but they looked roughly the same price as what I was paying at mcmaster...
Thread Starter
Senior Member
SuperBike
Joined: Feb 2007
Posts: 1,252
From: boston
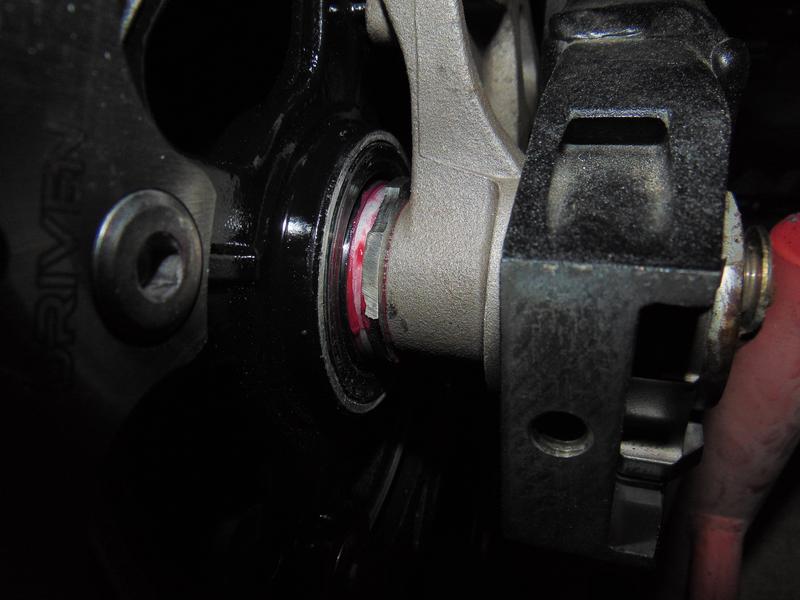
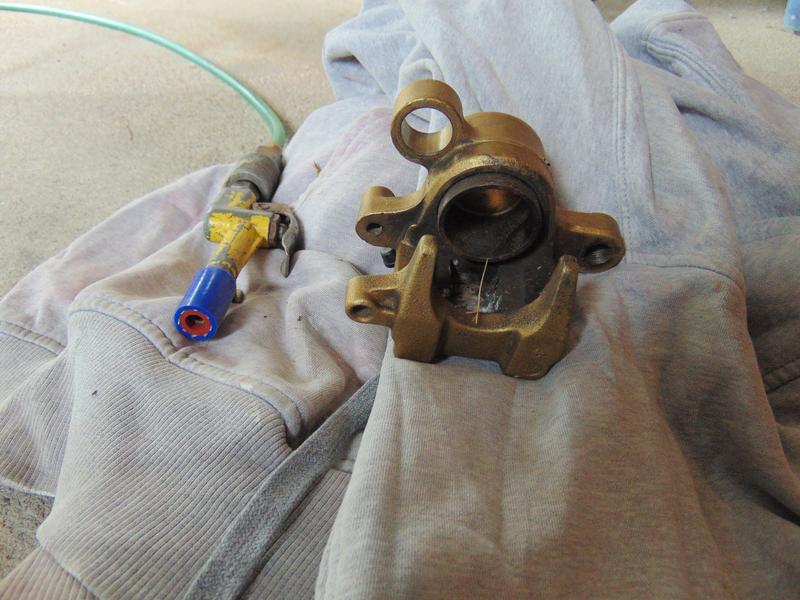
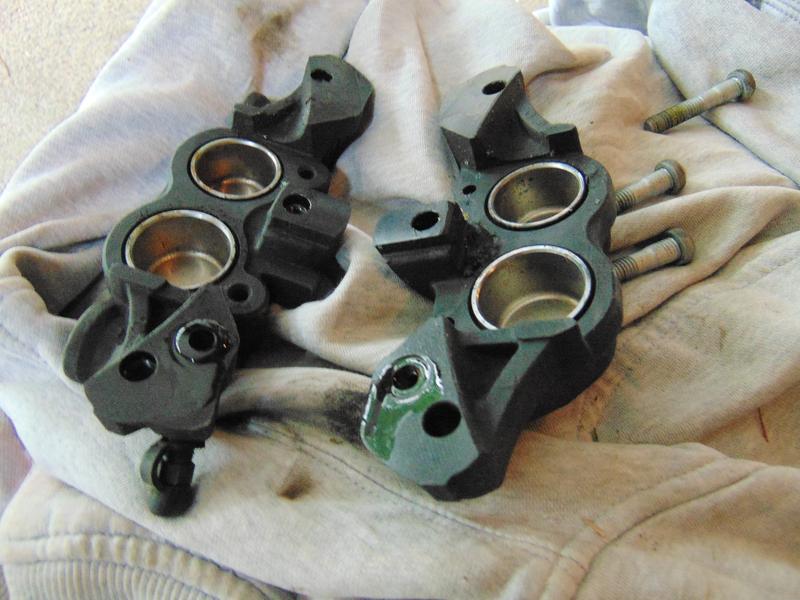
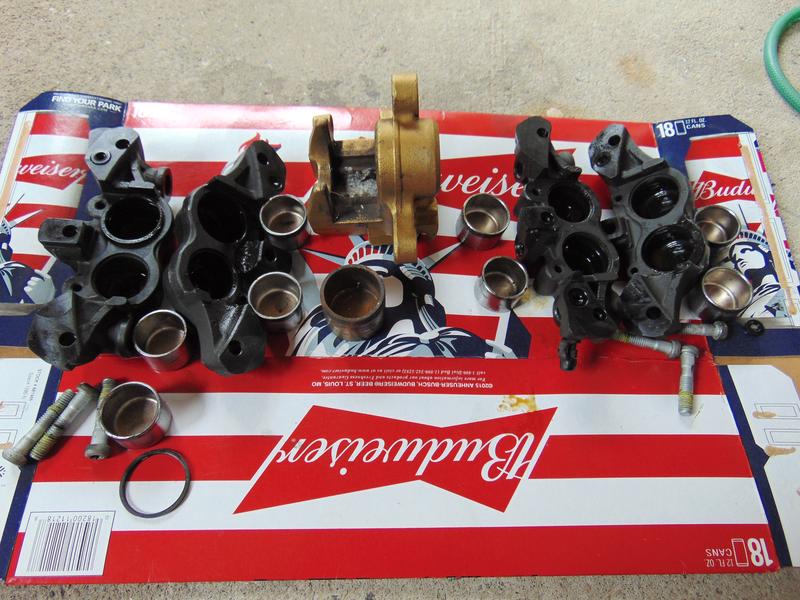
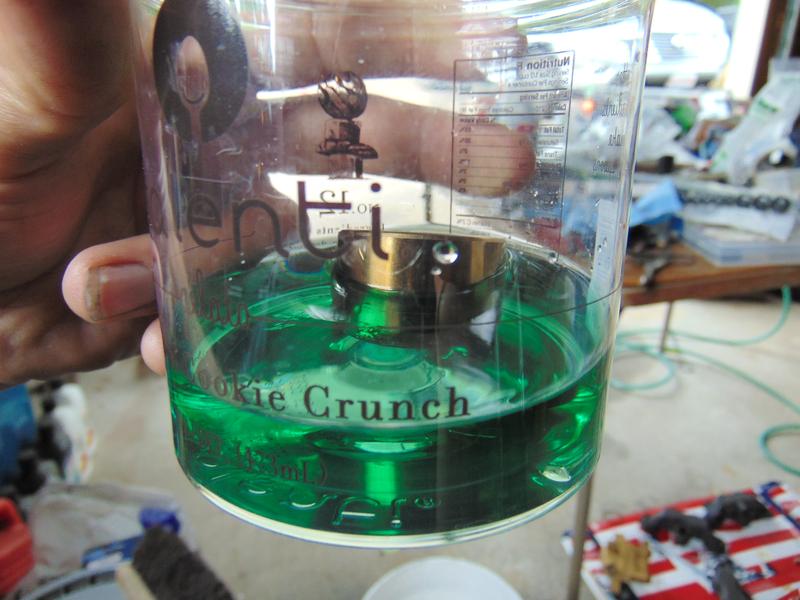
So today I have been working on the brake calipers. Started with the rear caliper, popped the piston out, seperated the two front calipers and popped out all the pistons. Scrubbed the hell outa the calipers and cleaned up the pistons. The rear caliper piston has some heavy corrosion that I am letting sit in rust dissolver for a bit to see if that does the trick before I take an abbrasive to it. About to start reassembly of the front calipers now but here are some pics of the process.

Thread Starter
Senior Member
SuperBike
Joined: Feb 2007
Posts: 1,252
From: boston
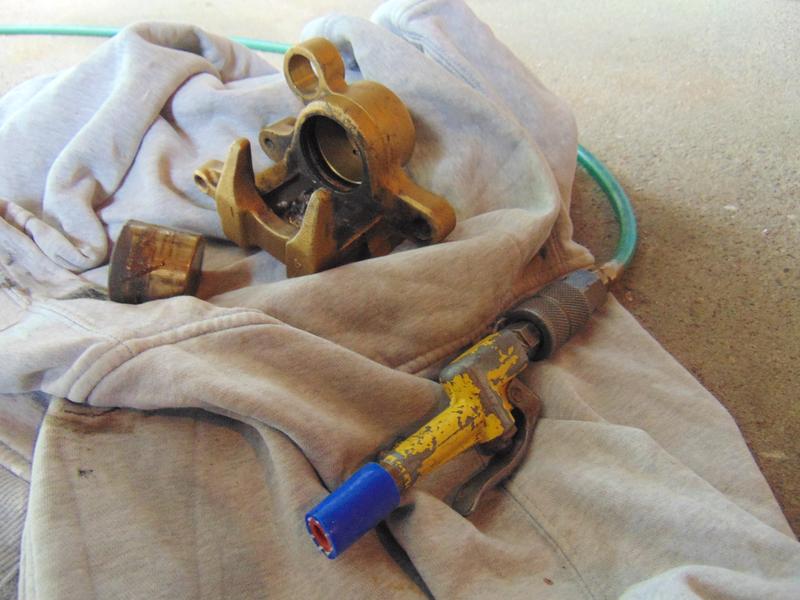
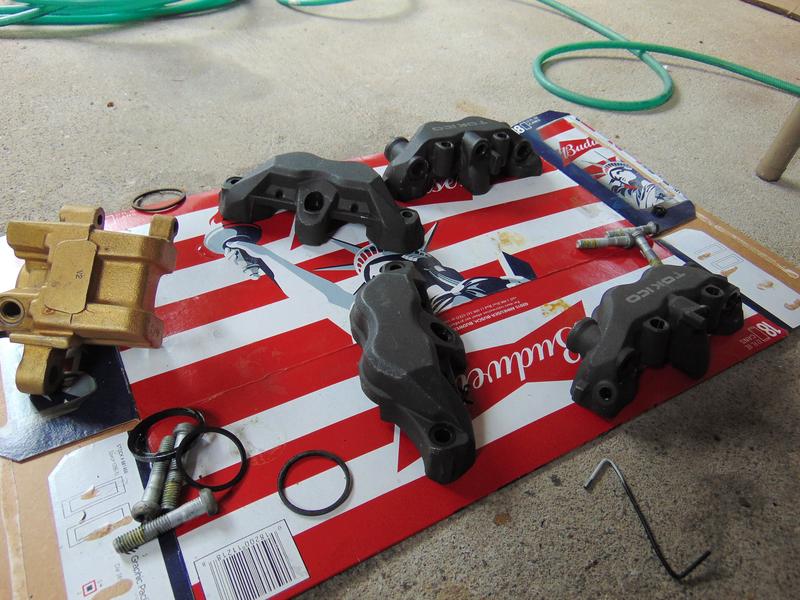
So I guess I'm not painting my calipers and getting my brakes done tonight...
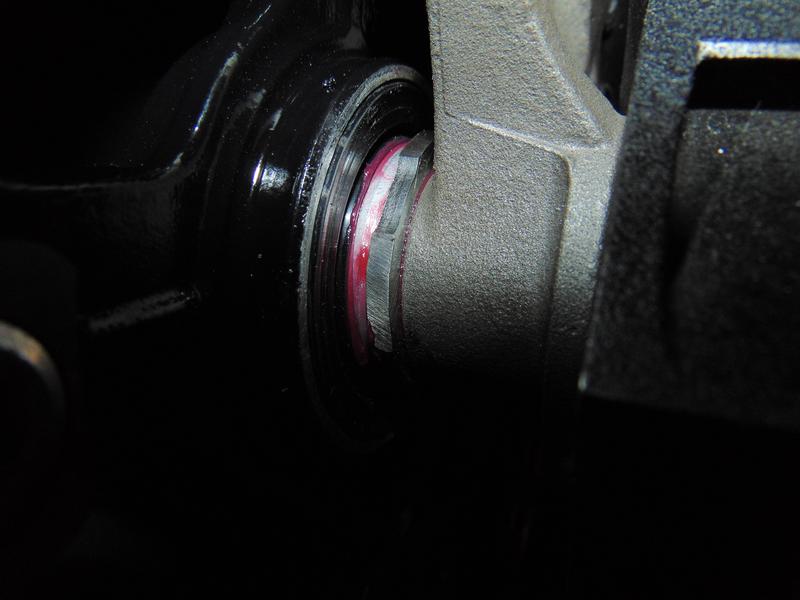
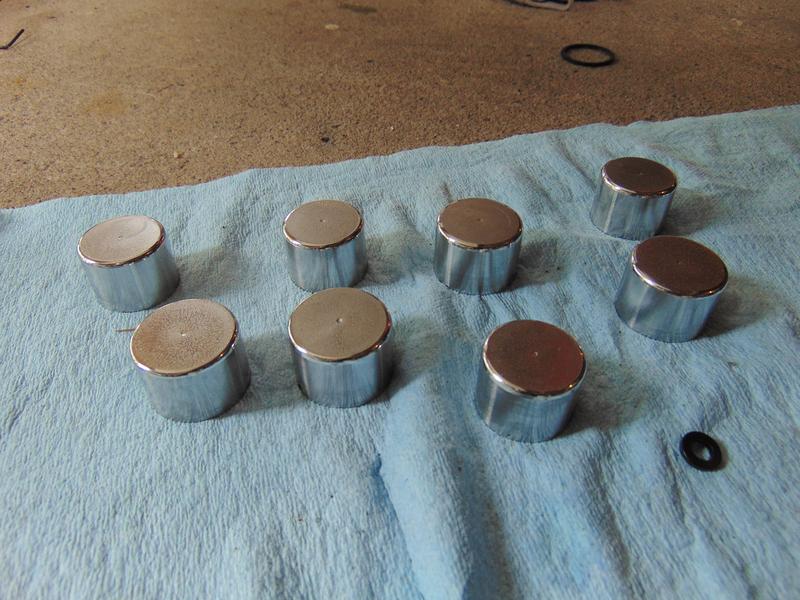
I got the front calipers completely rebuilt, cleaned up and ready for paint but that rust/corrosion on the rear caliper piston wasnt just on the surface, it has fairly deep pitting and I feel like it would be a waste of my time to use this piston with a completely rebuilt brake system...
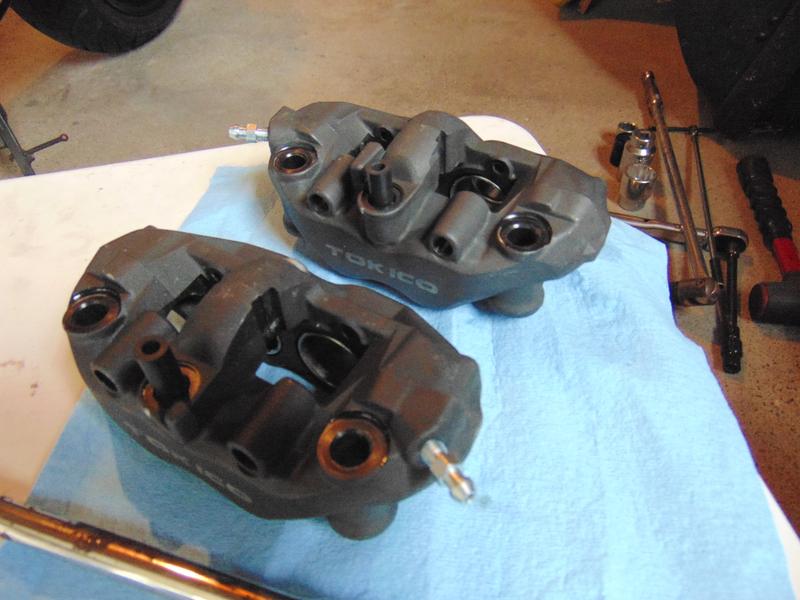
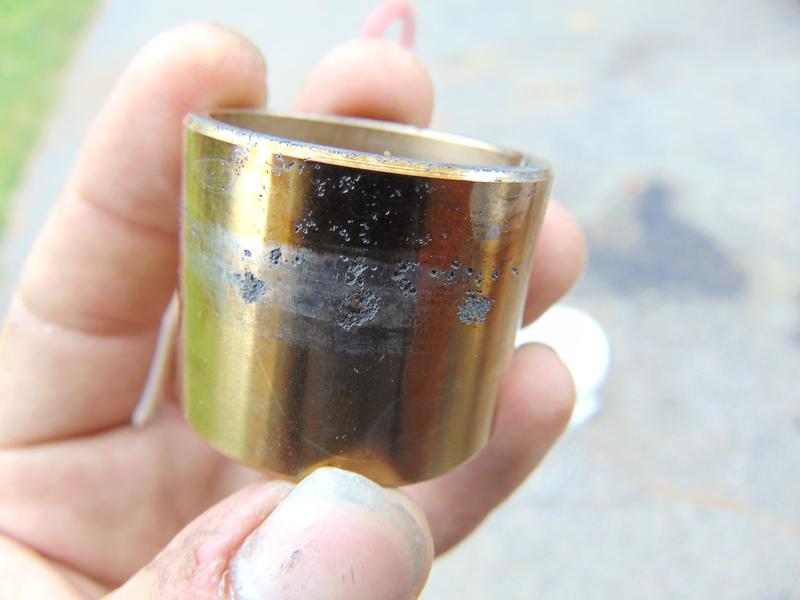
I got the front calipers completely rebuilt, cleaned up and ready for paint but that rust/corrosion on the rear caliper piston wasnt just on the surface, it has fairly deep pitting and I feel like it would be a waste of my time to use this piston with a completely rebuilt brake system...
Senior Member
SuperBike
Joined: Jul 2011
Posts: 1,461
From: South of Live Free or Die & North of Family Guy
Scottie, if you remember, sense you didn't use your rear brake for long time, I did tell you to expect rust on the rear piston and you may as well get a new one, these cavities will not seal well, they are right inline with the rubber seal, check the OEM front brake pistons, maybe you can fit one of them if the piston is the same size, the front will be in much better shape.
Thread Starter
Senior Member
SuperBike
Joined: Feb 2007
Posts: 1,252
From: boston
So I got my calipers painted tonight, I'm happy I finished because this happened
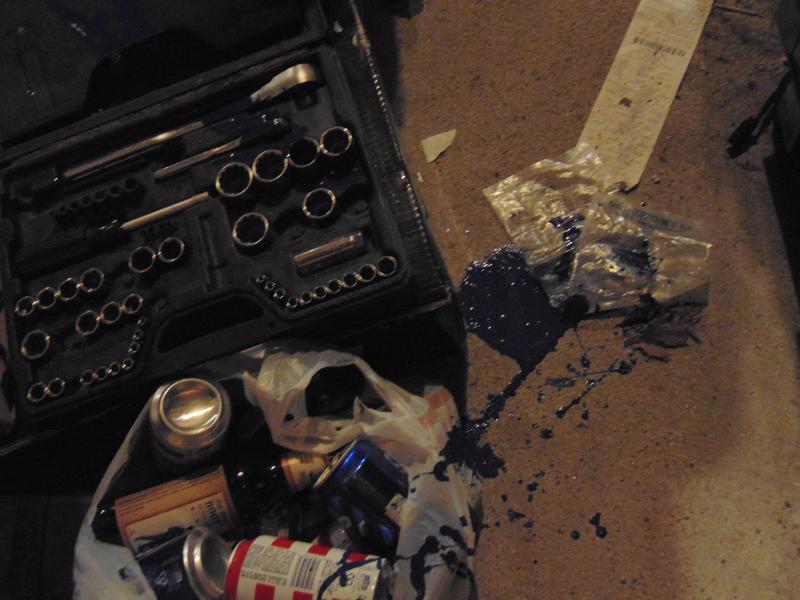
will post pics tomorrow of the finished product and hopefully tomorrow I can get my front brakes sorted
will post pics tomorrow of the finished product and hopefully tomorrow I can get my front brakes sorted
Thread Starter
Senior Member
SuperBike
Joined: Feb 2007
Posts: 1,252
From: boston
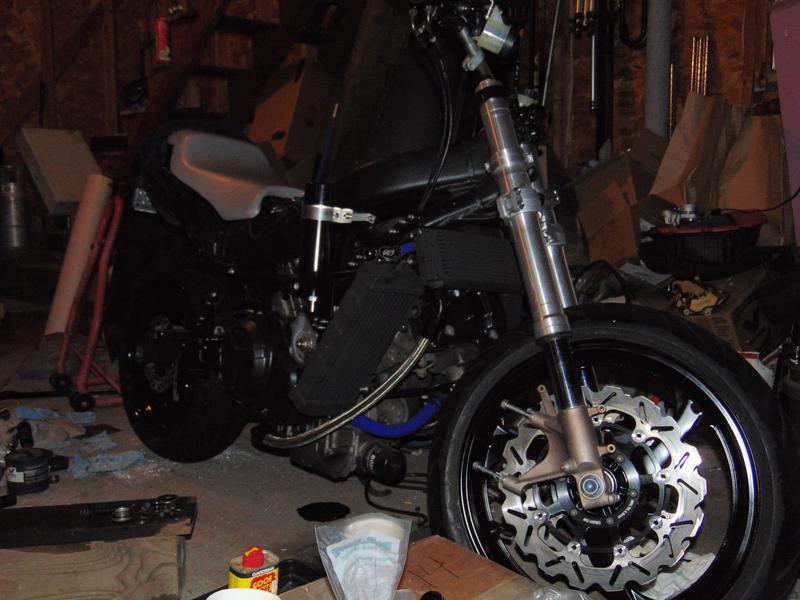
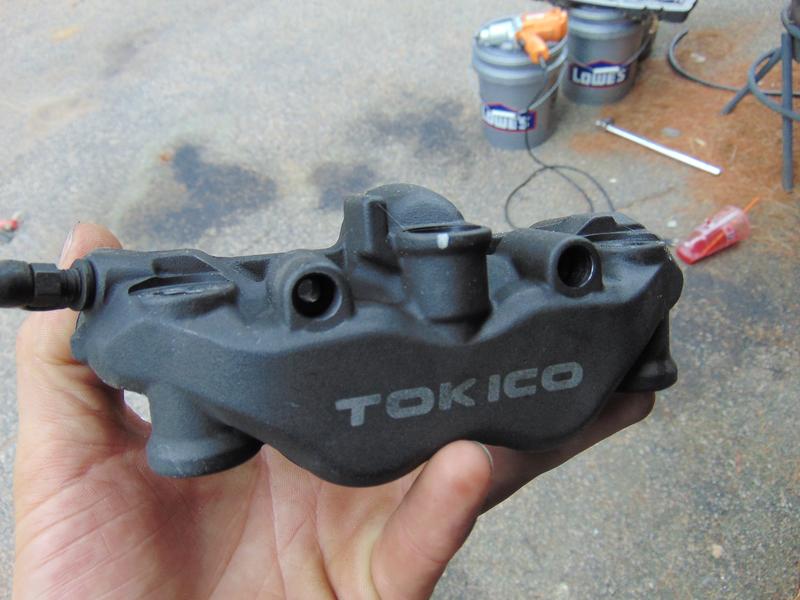
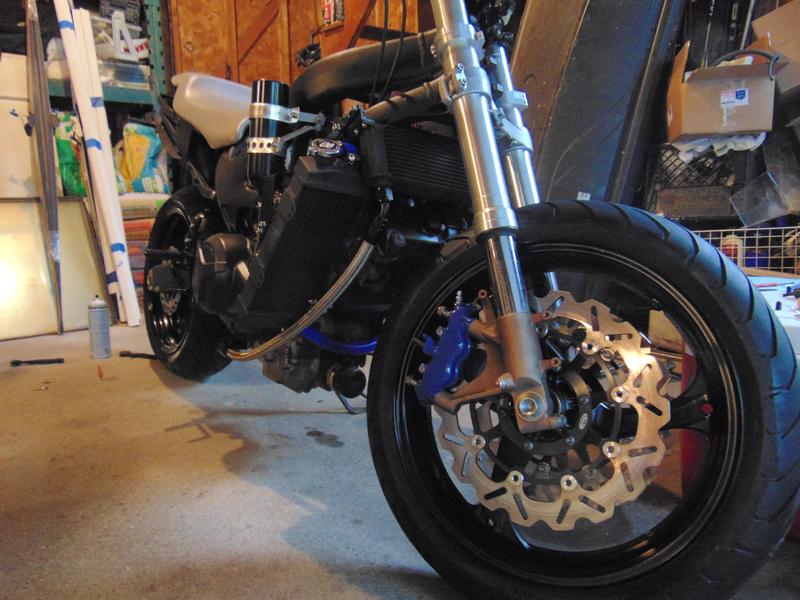
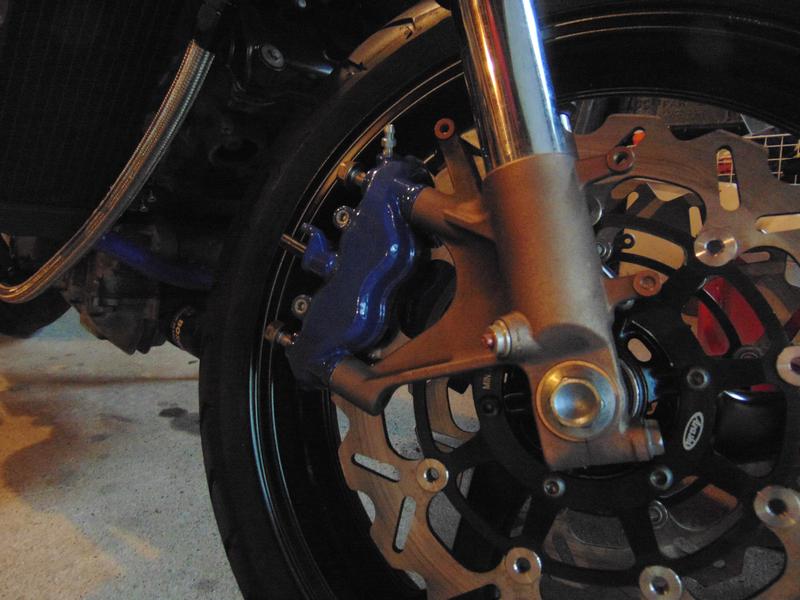
So the calipers are painted, fronts are assembled and mounted(not crancked down yet), waiting on a piston for the rear. The color isnt a perfect match to the hoses but its close enough and I think it will balance out the blue in the middle of the bike...
Thread Starter
Senior Member
SuperBike
Joined: Feb 2007
Posts: 1,252
From: boston
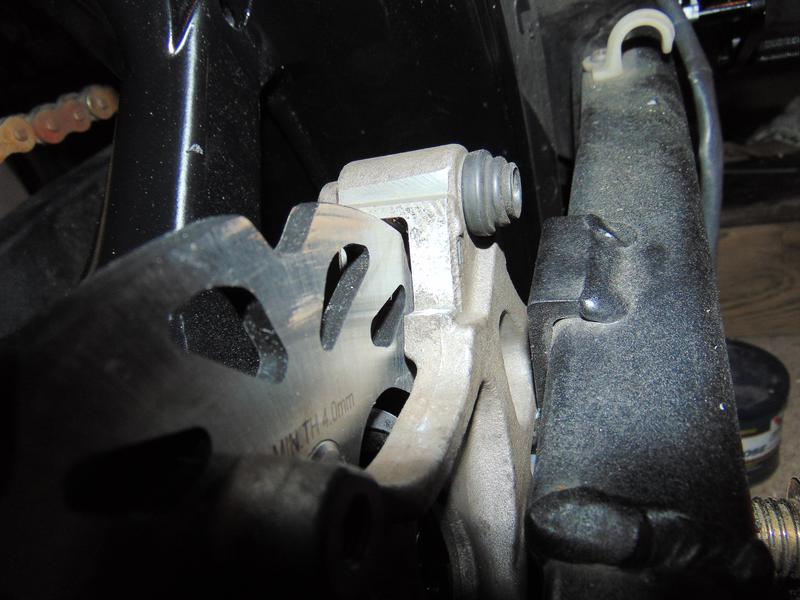
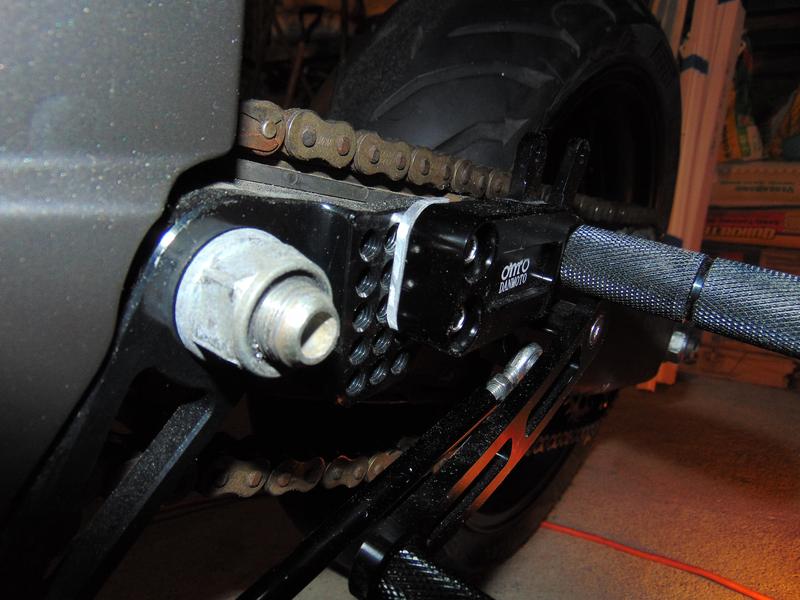
So if any of you remember my shifter issues with the danmotos, it was either hitting the swingarm or itself
well I finally got around to fixing that issue and they are now good to go...made one for the brake side just for sake of my symmetrical sanity...

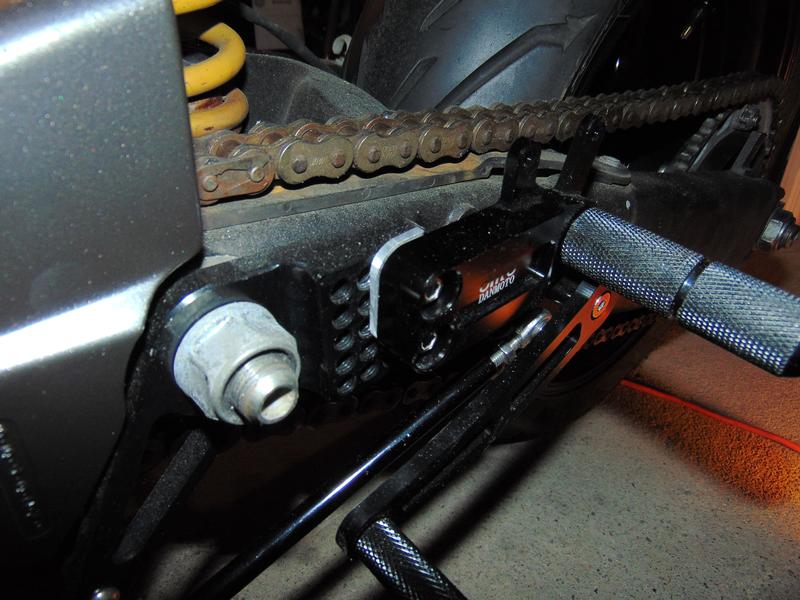
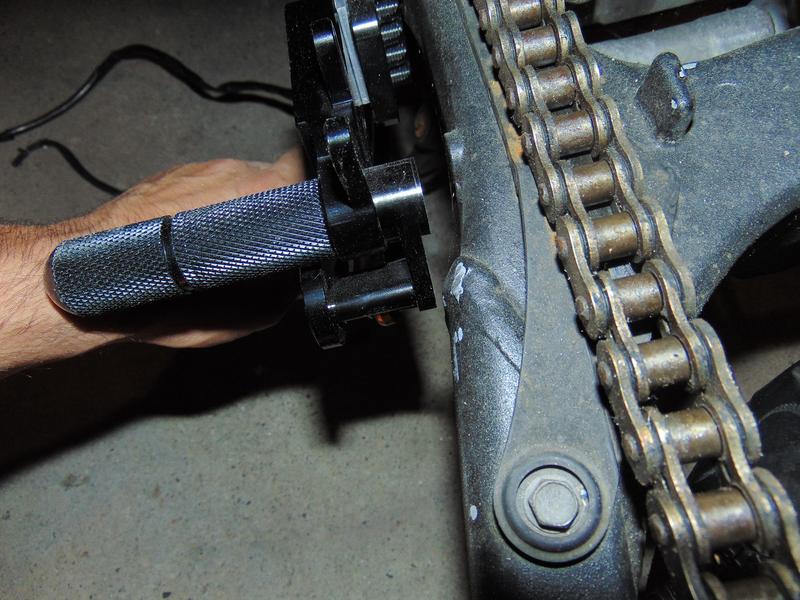
well I finally got around to fixing that issue and they are now good to go...made one for the brake side just for sake of my symmetrical sanity...
Thread Starter
Senior Member
SuperBike
Joined: Feb 2007
Posts: 1,252
From: boston
To be honest I've never heard of anyone having that problem, It could just be that my swinger is offset slightly but it was just barely hitting, like I could push it back and it would go(scraping the swinger) with not too much force...
Senior Member
SuperBike
Joined: Mar 2012
Posts: 1,544
From: New South Wales Australia
Scottie,
The brake calipers are blue?
They look cool mate, shows attention to detail.
As for the Dans , I had the same problem and contacted Dan via E Mail and they sent me some spacers and the problem was solved. Been on for ages now and no problems but I did replace all of the fasteners with , You guessed it , some of the stainless bolts that I bought from the U.K.
I fitted longer bolts into the foot pegs and loc tighted everything and they have been great.
Can't wait to see her with some clothes on( Body work)
Looking really good now mate!
Thread Starter
Senior Member
SuperBike
Joined: Feb 2007
Posts: 1,252
From: boston
Clothes? as in barely bikini clad? lol
With the dans I have a whole bunch of scrap aluminum laying around so it literally cost me a half hour to make up spacers for it...
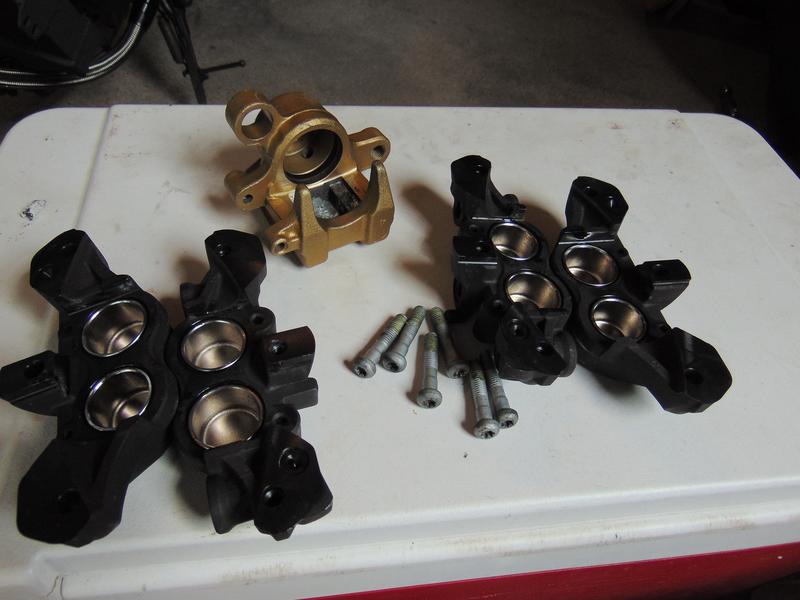
My issue with the calipers were; the rear was gold, the fronts were black, they were faded, beat up, and if I'm going through the trouble of completely rebuilding them I might as well make them look purdy and add some more blue to the bike...
Thank you for keeping up to date on the build, I appreciate the encouragement, especially after 12 hour days of manual labor in 90+ degrees
With the dans I have a whole bunch of scrap aluminum laying around so it literally cost me a half hour to make up spacers for it...
My issue with the calipers were; the rear was gold, the fronts were black, they were faded, beat up, and if I'm going through the trouble of completely rebuilding them I might as well make them look purdy and add some more blue to the bike...
Thank you for keeping up to date on the build, I appreciate the encouragement, especially after 12 hour days of manual labor in 90+ degrees
Senior Member
SuperBike
Joined: Mar 2012
Posts: 1,544
From: New South Wales Australia
I know how you feel, I remember what it was like when I embarked on some major engine work a couple of years back.
Literally two steps forward, one step back!
It will all be worth it when you fire her up for the first ride.
Keep going, and at the end I, we expect to see her in VTR Of The Month!
Not long now dude!
Literally two steps forward, one step back!
It will all be worth it when you fire her up for the first ride.
Keep going, and at the end I, we expect to see her in VTR Of The Month!
Not long now dude!
Thread Starter
Senior Member
SuperBike
Joined: Feb 2007
Posts: 1,252
From: boston
so this past week has been brutal at work, I have been physically impaired every night...
The only thing I've actually accomplished is getting my engine buttoned up... all engine covers, including the front sprocket cover and clutch slave have all been permanently mounted with my immense amount of SS hardware that just came in... i'll try and get pics up tomorrow
the front calipers are permanently mounted, I'm waiting on the piston for the rear caliper, and I'm waiting on levers to come in before I mount all the SS lines and bleed the sombitches


