
What did you do with your SuperHawk today?


Administrator
MotoGP
Joined: Apr 2006
Posts: 4,402
From: Kempner, TX

Didn't when I started  It was a hot mess.
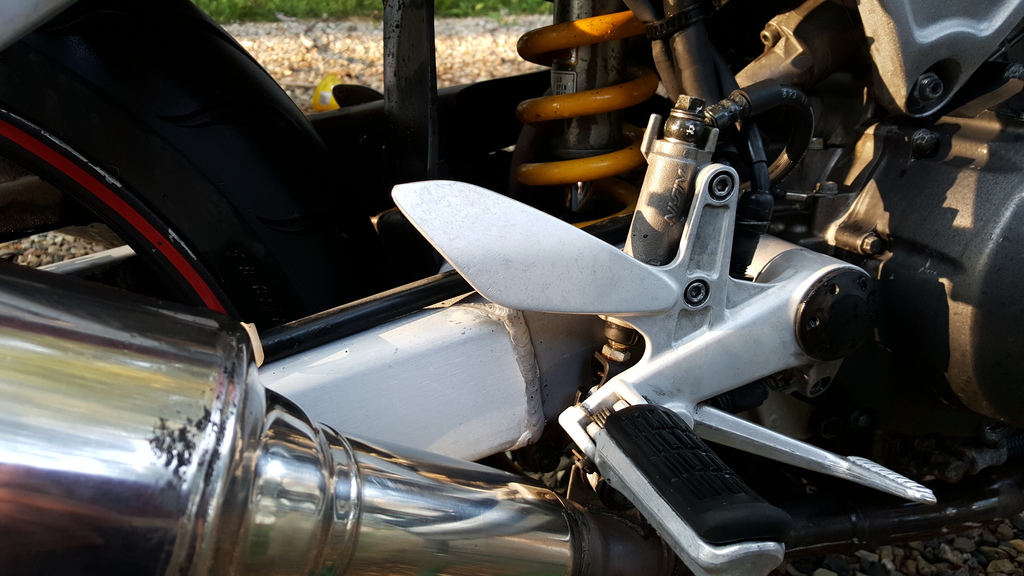
Anyone looking to install an AirTech hugger on a braced VTR swingarm, be ready for a complete custom fitting. If you're comfortable with trimming, drilling, fitting, prepping and painting gel coated fiberglass, then you'll be fine.
I really like the part... the build is clean... and I went into this known it would take fitting.....if I had bought it thinking it was a drill a few holes and attach it would have been a huge disappointment.
Junior Member
Squid
Joined: Aug 2015
Posts: 28
From: Kalamazoo, MI
I got access to some acid today, really made the aluminum pop. No more pitting or corrosion. Makes a 17 year old bike look pretty good.
I have plans for a frame off restoration this winter. New fairings and everything. Expect a build thread to start at the end of fall


I have plans for a frame off restoration this winter. New fairings and everything. Expect a build thread to start at the end of fall

Rex Kramer-Thrill Seeker
SuperBike
Joined: Jan 2011
Posts: 2,312
From: Brookfield, WI
Rubicon, if you didn't add pictures, we would all be wondering if this was in your mind. A small few will get this.
EDIT: On a side note, you just removed the layer of protection on all that aluminum. You will now need to protect it with a polish, which is short term, or clear coat, clear powder coat for long term.
EDIT: On a side note, you just removed the layer of protection on all that aluminum. You will now need to protect it with a polish, which is short term, or clear coat, clear powder coat for long term.
Last edited by CruxGNZ; Aug 15, 2015 at 11:29 PM.
Administrator
MotoGP
Joined: Apr 2006
Posts: 4,402
From: Kempner, TX

Senior Member
SuperBike
Joined: Mar 2012
Posts: 1,544
From: New South Wales Australia
Erich,
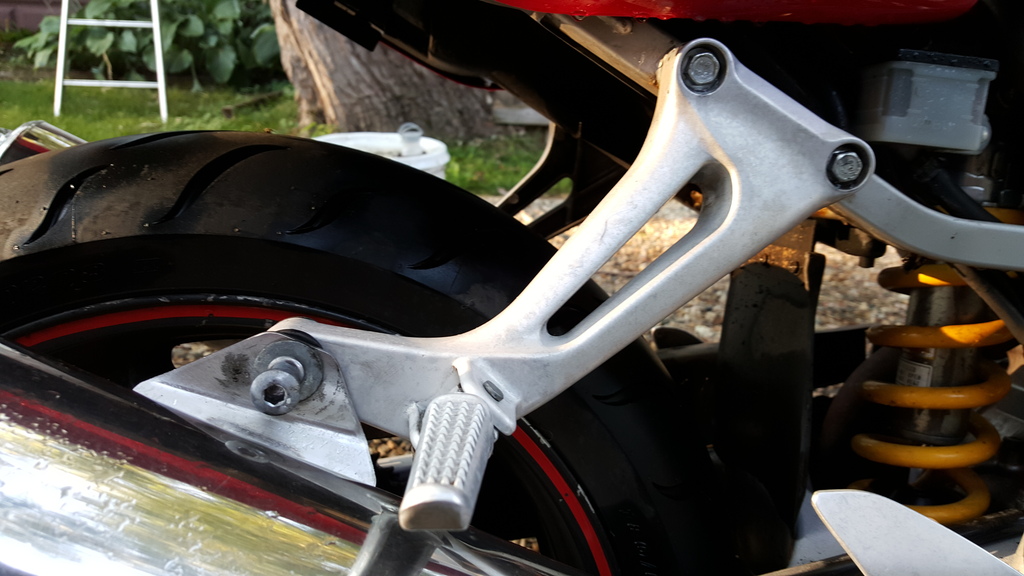
I used a Yamaha R1 2004 hugger that I spaced out to clear the tyre by drilling and tapping the brace and fitted spacers to clear the rear tyre.
Got it of Flea Bay via China for 12 bucks Oz.
Been on for ages with no dramas and does the job.


I used a Yamaha R1 2004 hugger that I spaced out to clear the tyre by drilling and tapping the brace and fitted spacers to clear the rear tyre.
Got it of Flea Bay via China for 12 bucks Oz.
Been on for ages with no dramas and does the job.


Junior Member
Squid
Joined: Aug 2015
Posts: 28
From: Kalamazoo, MI
Rubicon, if you didn't add pictures, we would all be wondering if this was in your mind. A small few will get this.
EDIT: On a side note, you just removed the layer of protection on all that aluminum. You will now need to protect it with a polish, which is short term, or clear coat, clear powder coat for long term.
EDIT: On a side note, you just removed the layer of protection on all that aluminum. You will now need to protect it with a polish, which is short term, or clear coat, clear powder coat for long term.
 It has since been polished for now, when I tear it down this winter, the frame will be getting powdercoated.
Rex Kramer-Thrill Seeker
SuperBike
Joined: Jan 2011
Posts: 2,312
From: Brookfield, WI
I had some parts done not to long ago. Looks so much nicer I think. With the glossy surface, it's a lot easier to keep clean too!

Junior Member
Squid
Joined: Aug 2015
Posts: 28
From: Kalamazoo, MI
The current plan is to get unpainted fairings. The frame will most likely get powdercoated black. I'm not entirely sure of the finish yet, glossy might be a bit too flashy for me haha. I do plan on going with a gunmetal grey/black color scheme though. 2nd gear has started to slip on me a bit lately so I will most likely be replacing the transmission this winter.

Senior Member
Superstock
Joined: Mar 2015
Posts: 409
From: Central CA
Pulled front end to install "blade" parts. Installed tapered head set, front stick coil, MCCTs. Moved radiators back an inch to allow for wider triple and forks.
Ready to install front end soon!
This photo shows the "pain" valve cover off. Much easier with the front end missing.
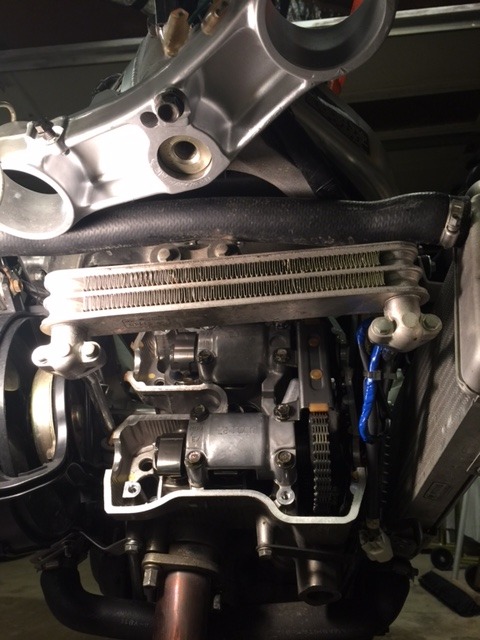
Home Depot aluminum strips to the rescue. I hope the fairing still fits.
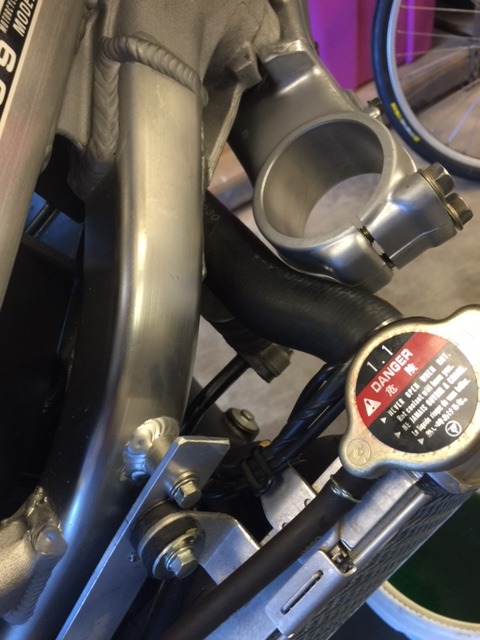
The last photo shows my attempt at modified lower radiator mounts. The left side works, but the fan interfered with the right side. Some strapping will have to do.

Anything else I should do while I have good access to everything?
Last edited by Hangfly; Aug 25, 2015 at 08:22 AM.
Senior Member
Superstock
Joined: Mar 2015
Posts: 409
From: Central CA
Blade'n
Yeah , it took a couple nights after work. But it goes pretty fast. The headset bearings were a lot eaier than I thought.
The MCCTs went better for me by just tearing off everything down to the cams right away instead the staring, pondering and hand wringing like I did on the first bike. You don't have to worry when you can see the cams and chains.
Going to try to fit the triples, forks and bars tonight.
The MCCTs went better for me by just tearing off everything down to the cams right away instead the staring, pondering and hand wringing like I did on the first bike. You don't have to worry when you can see the cams and chains.
Going to try to fit the triples, forks and bars tonight.
Last edited by Hangfly; Aug 25, 2015 at 11:15 AM.


Senior Member
Superstock
Joined: Mar 2015
Posts: 409
From: Central CA
Blade front installed pretty fast but bars are a pain! I had a set of convertibars to use, but they interfere with the lower fairing. Received a new set of 50mm Woodcraft 3" risers yesterday which look like they will work. But with Woodcraft bars, I see you actually end up with the bars forward about an inch. Wonderful, just what I needed. Plus, you need to use Woodcraft bar ends.
A relative newby at moto wrenching, it's amazing how time consuming bar installation and adjustment can be.
They look pretty nice though. More work and pics coming next week.
A relative newby at moto wrenching, it's amazing how time consuming bar installation and adjustment can be.
They look pretty nice though. More work and pics coming next week.
Last edited by Hangfly; Aug 28, 2015 at 09:01 AM.
Senior Member
SuperBike
Joined: Mar 2012
Posts: 1,544
From: New South Wales Australia
That looks nice mate.
Different front post to mine.
Are you gunna paint it?
I have been thinking about my braced swinger and boxing/ plating the sides and have come to the conclusion that it is too much of a pain to do it.
If I had USD front end I might be tempted, but with a modded standard front end that I am happy with I will leave well enough alone.
Get it on your bike and revel in the change that it makes.
It's a most worthy mod.
Post pics when it's on please.

Senior Member
SuperSport
Joined: Apr 2014
Posts: 932
From: Auckland, new Zealand
That looks nice mate.
Different front post to mine.
Are you gunna paint it?
I have been thinking about my braced swinger and boxing/ plating the sides and have come to the conclusion that it is too much of a pain to do it.
If I had USD front end I might be tempted, but with a modded standard front end that I am happy with I will leave well enough alone.
Get it on your bike and revel in the change that it makes.
It's a most worthy mod.
Post pics when it's on please.
Different front post to mine.
Are you gunna paint it?
I have been thinking about my braced swinger and boxing/ plating the sides and have come to the conclusion that it is too much of a pain to do it.
If I had USD front end I might be tempted, but with a modded standard front end that I am happy with I will leave well enough alone.
Get it on your bike and revel in the change that it makes.
It's a most worthy mod.
Post pics when it's on please.
Yes it is the later model brace.

Senior Member
SuperBike
Joined: Sep 2010
Posts: 1,994
From: Bisbee, AZ
Went for a short ride and the first two cagers I encountered tried to run into me.
Incredible luck that the R1 hugger fit the radius of the 900 brace so closely. Did it without shaping? How much did you have to raise it to clear the tire?
Was the increase of the triple width the cause of the interference with the faring?
IIRC others have done a 1K front swap with convertibars and no reports of issues. Hmmm....
Blade front installed pretty fast but bars are a pain! I had a set of convertibars to use, but they interfere with the lower fairing. Received a new set of 50mm Woodcraft 3" risers yesterday which look like they will work. But with Woodcraft bars, I see you actually end up with the bars forward about an inch. Wonderful, just what I needed. Plus, you need to use Woodcraft bar ends.
A relative newby at moto wrenching, it's amazing how time consuming bar installation and adjustment can be.
They look pretty nice though. More work and pics coming next week.
A relative newby at moto wrenching, it's amazing how time consuming bar installation and adjustment can be.
They look pretty nice though. More work and pics coming next week.
IIRC others have done a 1K front swap with convertibars and no reports of issues. Hmmm....
Member
Squid
Joined: Jul 2015
Posts: 32
From: Richmond, VA
Replaced the clear integrated brake light (PO install) with an OEM unit. Added some license plate bolts with lights to stay legal (PO took off the license plate light) . Now to find some turn signals I like and do my undertail install!

Senior Member
SuperSport
Joined: Nov 2007
Posts: 807
From: Hamilton, Ontario, Canada
I replaced the compression Gold Valves and the reshimmed HMAS rebound valves with compression and rebound valves from Jamie Daugherty. I went for a ride last night and noticed a marked improvement. The front suspension was plusher and beautifully controlled. Sharp edged bumps were absorbed more easily. Well worth the money.

Senior Member
Back Marker
Joined: Nov 2013
Posts: 171
From: Los Angeles, CA
Developed a sudden onset exhaust leak on the ride to Cyclegear to pick up my new racesuit
Marked change in sound, seems like the rear cylinder is firing MUCH more noticeably below where I am sitting, also I can feel air with my hand aroundish the rear cylinder exit (hard to tell), and it is backfiring MUCH more on deceleration than what I would consider normal up until now
Any ideas other than just try to tighten everything up? Again no changes to any parts of the system recently, just happened while riding

Member
Squid
Joined: Jun 2015
Posts: 60
So I ordered a spal fan because my old one is dead. and noticed it's way smaller, secondly the holes don't even come close to matching. It seems people recommend the 5.2" fan because no modifications but I'm not seeing than unless they just zip tied it on. Anyone got any ideas?

Senior Member
MotoGP
Joined: Jul 2007
Posts: 5,066
From: NYC
Ren, I would bet that its the dounut gaskets that are in several places on the exhaust.
They tend to perish over time and bumps. Check the ronayers sight for the microfiche for the exhaust. They are the first things to go.
They tend to perish over time and bumps. Check the ronayers sight for the microfiche for the exhaust. They are the first things to go.
That one guy
Back Marker
Joined: Jun 2015
Posts: 228
From: Broken Arrow
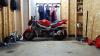
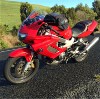
I pulled up behind it as it sat idle in my drive way waiting on the part to come in. I did have to admire her seeing she is a damn good looking machine. That's it for today. Will be adding a lot of pics to the rebuild thread of mine soon.
Senior Member
Back Marker
Joined: Nov 2013
Posts: 171
From: Los Angeles, CA
After taking the day off to investigate, the midpipe connection to the left slip on is loose. Hopefully it is just that and no need to redo the donut gaskets, will head back down in a bit to tighten it up
Great information to have though and I've saved the part numbers for future uses
VTR virgin
Superstock
Joined: Mar 2015
Posts: 447
From: Auckland, New Zealand
I replaced the compression Gold Valves and the reshimmed HMAS rebound valves with compression and rebound valves from Jamie Daugherty. I went for a ride last night and noticed a marked improvement. The front suspension was plusher and beautifully controlled. Sharp edged bumps were absorbed more easily. Well worth the money.
Senior Member
Back Marker
Joined: Nov 2013
Posts: 171
From: Los Angeles, CA
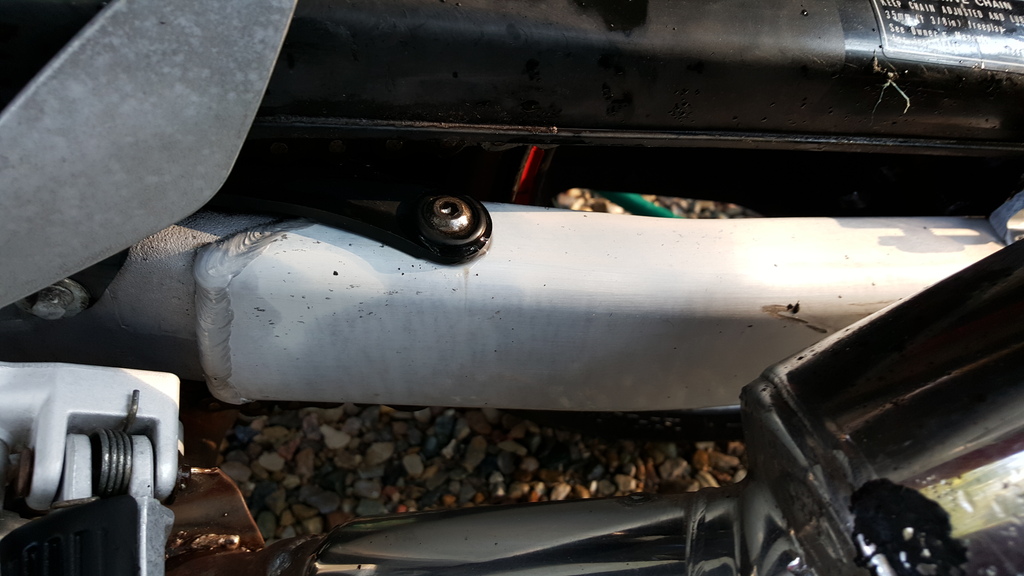
Found the exhaust leak
Previous owner or whomever put this exhaust on had no clue
Completely missing the required gasket between the header exit for the left side muffler and the aftermarket midpipe. They had just smashed it together until it "sealed" and then followed up with massive amounts of black high temp RTV. So that was fun to clean out
Result is that the midpipe portion is now out of round and too small to accept the donut gasket which fits perfectly on the header exit below the shock (I was able to find 3 of them locally in 1 hour, thank you living in Los Angeles), included is a picture
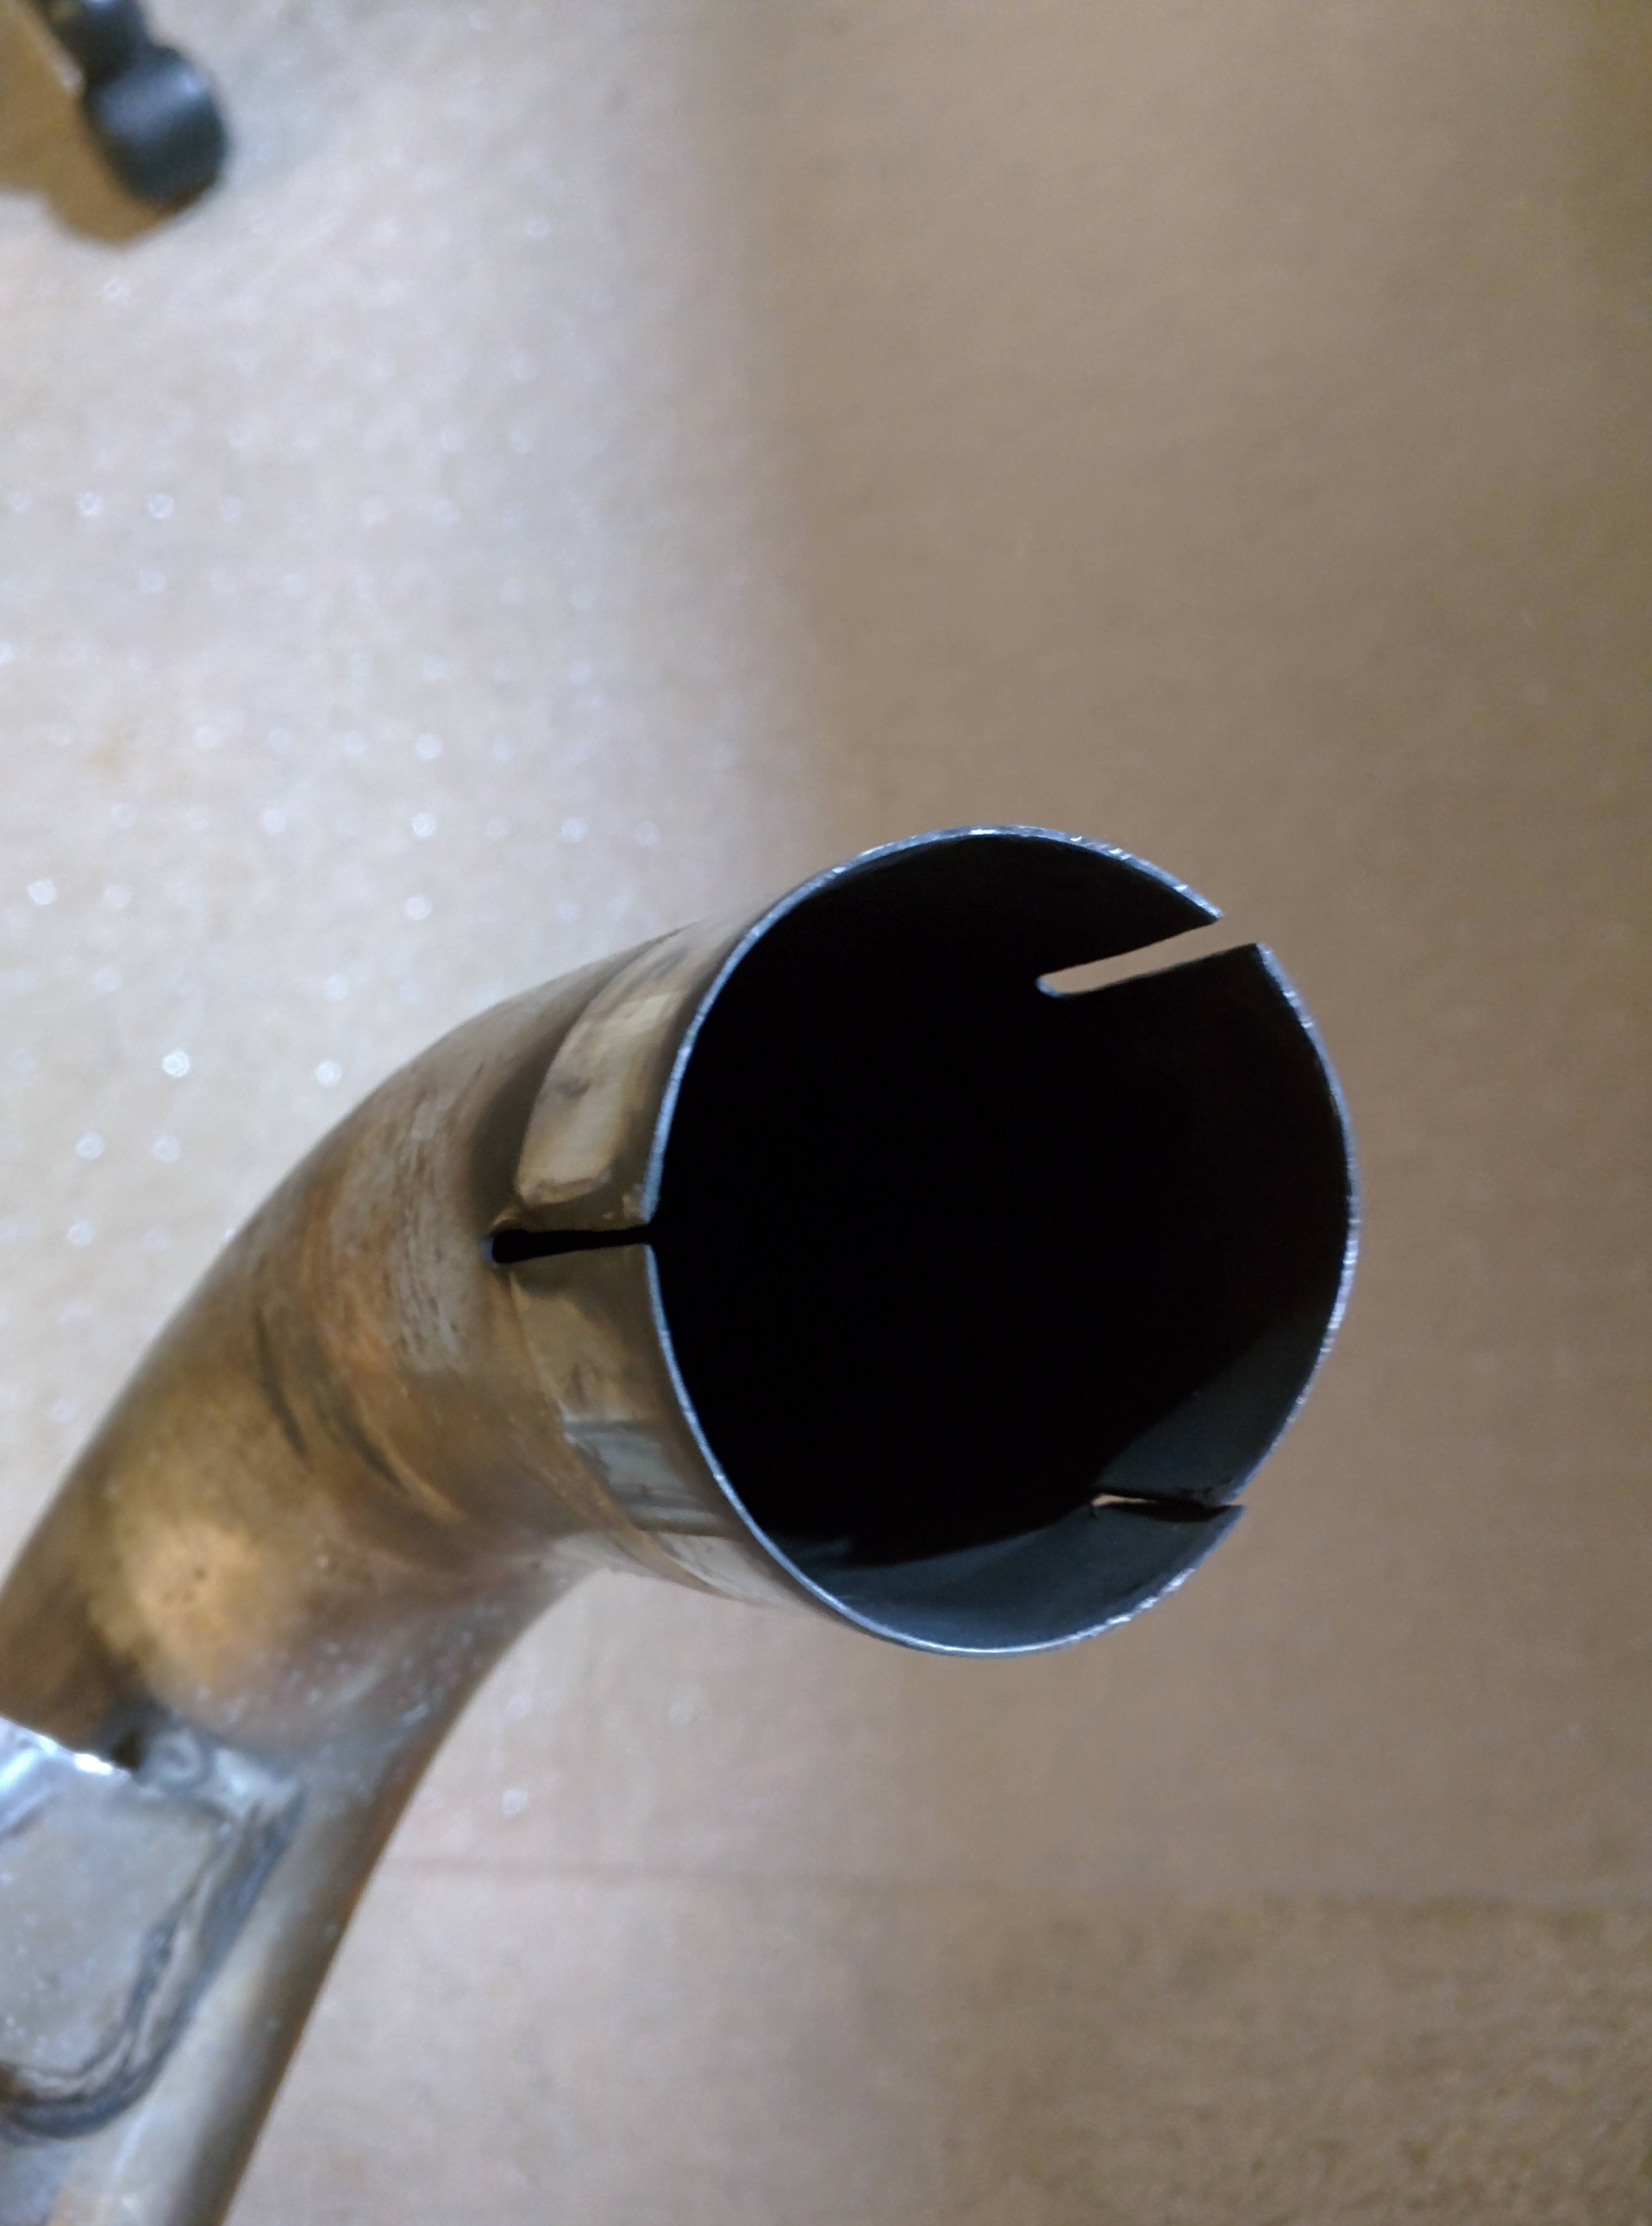
Any ideas on getting it back to round so it will accept the connection with the gasket again? I was thinking of taking it to an exhaust shop and having them heat it up and try bending it out again
Sadly I'd imagine the other 2 connections on the exhaust system that require this gasket are also poorly sealed so I'll probably just order new header gaskets as well and redo the entire system including new header wrap as it is flaking off from ANOTHER botched install. At least the bike is with a caring and passionate owner now!
Recommendations for better clamps?
Previous owner or whomever put this exhaust on had no clue
Completely missing the required gasket between the header exit for the left side muffler and the aftermarket midpipe. They had just smashed it together until it "sealed" and then followed up with massive amounts of black high temp RTV. So that was fun to clean out
Result is that the midpipe portion is now out of round and too small to accept the donut gasket which fits perfectly on the header exit below the shock (I was able to find 3 of them locally in 1 hour, thank you living in Los Angeles), included is a picture
Any ideas on getting it back to round so it will accept the connection with the gasket again? I was thinking of taking it to an exhaust shop and having them heat it up and try bending it out again
Sadly I'd imagine the other 2 connections on the exhaust system that require this gasket are also poorly sealed so I'll probably just order new header gaskets as well and redo the entire system including new header wrap as it is flaking off from ANOTHER botched install. At least the bike is with a caring and passionate owner now!
Recommendations for better clamps?
Senior Member
SuperSport
Joined: Apr 2014
Posts: 932
From: Auckland, new Zealand
C34 is to harsh. Also going to give my Ohlins to KSS to be revalved as its to harsh. It is a common complaint here with stock Ohlins.
Junior Member
Squid
Joined: Aug 2015
Posts: 28
From: Kalamazoo, MI
Pulled the carbs apart last night and cleaned the jets, also adjusted the needles to richen the mixture, then synced the carbs. It's like a whole new bike, no more back firing or gargling when gearing down.


