
The finer points of cowl "body clips"?


Thread Starter
Amateur Hour, Every Hour
Back Marker
Joined: Apr 2014
Posts: 107
From: Bloomington, IN

The finer points of cowl "body clips"?
Howdy All,
So this weekend I performed my first round of maintenance on the new-to-me superhawk:
Clutch & Brakes drained and refilled with Lucas DOT4
Oil Changed with Honda OEM filter and Mobil 1 10w-40 4T oil
I also ordered two body clips for the lower front fairing because they were missing. These snapped in with no issues, but they do have a phillips type screw head on them.
My question is; on these body clips, do I screw them "in" to lock them? Or just push in and "unscrew" to pop them out? I don't want to break off any of the plastic tabs on these clips, just want to know how to use them properly.
Thanks!


Senior Member
SuperSport
Joined: Nov 2007
Posts: 807
From: Hamilton, Ontario, Canada
The original plastic rivets on my 2001 VTR took just a quarter turn to get them seated. The Honda replacements I've purchased recently were fully threaded and took a number of turns to seat. The rivets have Phillips heads but I've found that a very small flat-bladed screwdriver works better to install and remove them. I've been able to use them more than once.

Senior Member
Superstock
Joined: May 2012
Posts: 397
From: UK
The right tool for the job helps when removing trim clips. They are technically not threaded but have ridges so they grip. The idea is that the centre pin is pushed in which pushes the prongs outwards on the outer part so they spread out which holds the fairing in place. The screwdriver slot is only there to aid removal. Turn slightly and they raise enough to get a trim clip tool under. No need to use a screwdriver when inserting them. Just pull the centre part out enough so the prongs fit in the hole and push the centre part back in. They only get broken when the wrong tool is used to remove them, though they do wear down the more times they are removed and put back in.

(:-})
(:-})
Thread Starter
Amateur Hour, Every Hour
Back Marker
Joined: Apr 2014
Posts: 107
From: Bloomington, IN
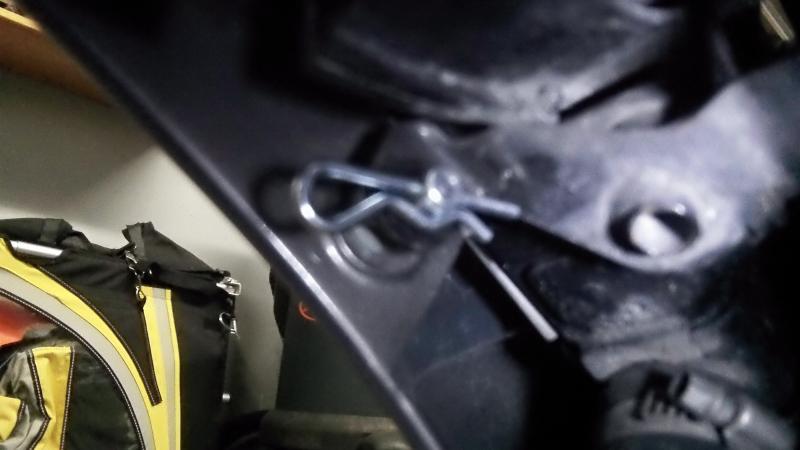
After a few days of enjoying very stable fairings, it appears I've lost one of the clips. Perhaps the bracket wasn't aligned just right or I came down from a wheelie too hard?
Anyway, rather than pay BikeBandit another $1.26 plus $7 shipping, I zip-tied it. I'd say it gives about 85% - 90% of the stability that the OEM Clip does. I'll probably go this route from now on.


Anyway, rather than pay BikeBandit another $1.26 plus $7 shipping, I zip-tied it. I'd say it gives about 85% - 90% of the stability that the OEM Clip does. I'll probably go this route from now on.

Thread Starter
Amateur Hour, Every Hour
Back Marker
Joined: Apr 2014
Posts: 107
From: Bloomington, IN

Moderator
MotoGP
Joined: Jul 2007
Posts: 5,223
From: Gettysburg, Pa
I've had these clips in and out several times over the years. As you screw the phillips in it expands the rear of the clip securing it in place. I was always real careful not to over tighten and bugger the threads. And to remove, I always backed out the screw just enough that the rear could be pulled through without the screw coming out, never a need for a pry tool.

And... great choice on oil, seriously. I've found nothing better.
And... great choice on oil, seriously. I've found nothing better.
Thread Starter
Amateur Hour, Every Hour
Back Marker
Joined: Apr 2014
Posts: 107
From: Bloomington, IN
I've had these clips in and out several times over the years. As you screw the phillips in it expands the rear of the clip securing it in place. I was always real careful not to over tighten and bugger the threads. And to remove, I always backed out the screw just enough that the rear could be pulled through without the screw coming out, never a need for a pry tool.
And... great choice on oil, seriously. I've found nothing better.
And... great choice on oil, seriously. I've found nothing better.
Moderator
MotoGP
Joined: Jul 2007
Posts: 5,223
From: Gettysburg, Pa
Not sure TBone. I just wanted to show the threads and what they expand behind the clip edge. The pic is from gasgoo.com., not our OEM obviously.

Thread Starter
Amateur Hour, Every Hour
Back Marker
Joined: Apr 2014
Posts: 107
From: Bloomington, IN
Jack Flash sent me some of his karting "nassau panel clips". They worked out really well!
Just drill out the existing bracket holes to 3/8 or 7/16 (or 10 mm for the metric folks) and squeeze, stuff, and cram the rubber grommets into their new home.
The nylock nut and washer go on the inside of the fairing/cowl lip and really stabilize the lower fairing much better than those cheap plastic push-pins.


Thread
Thread Starter
Forum
Replies
Last Post
rogeratdserve
General Discussion
5
Mar 19, 2013 08:25 PM


