
Exhaust shortening/how to.

Thread Starter
Senior Member
Superstock
Joined: Apr 2009
Posts: 395
From: Columbus, OH

Exhaust shortening/how to.
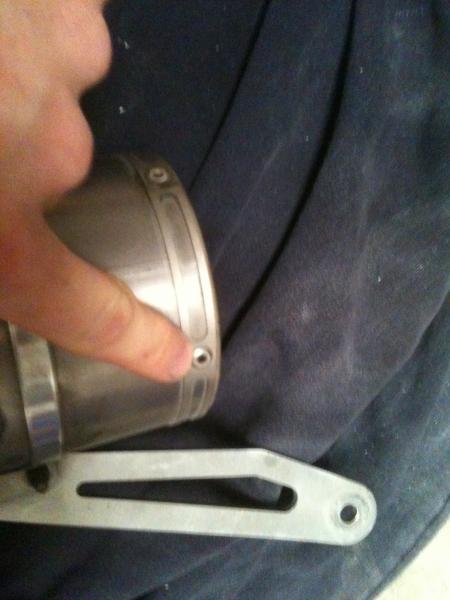
First I drilled out the rivets.
This is what it looks like after the rivets are removed.
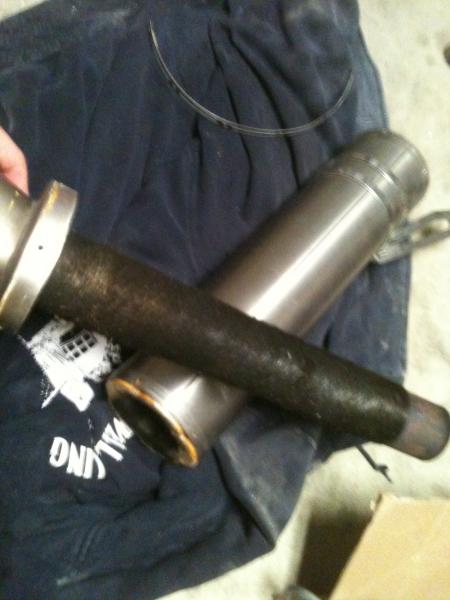
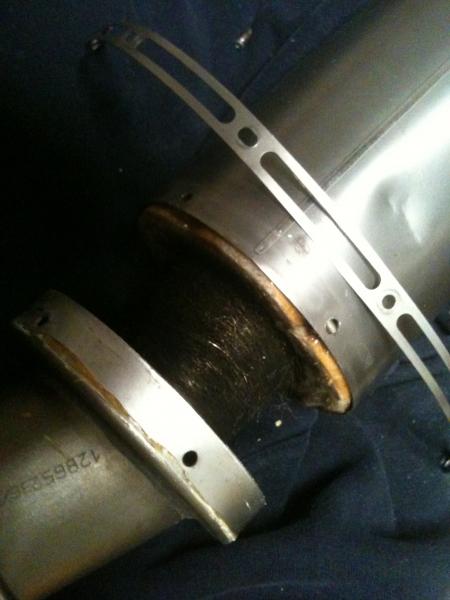
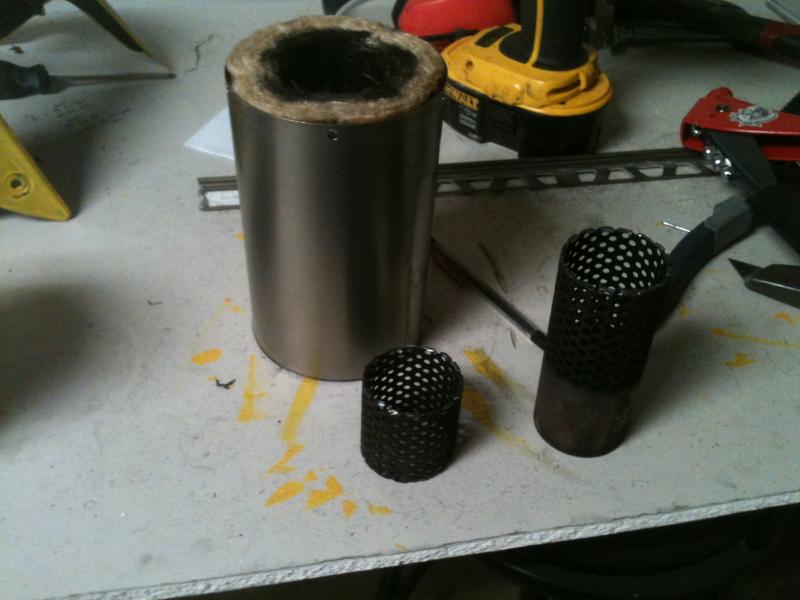
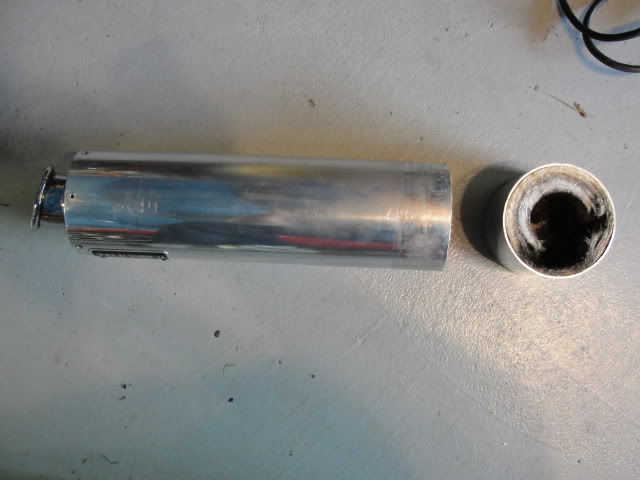
This is what you get when you pull it all apart.
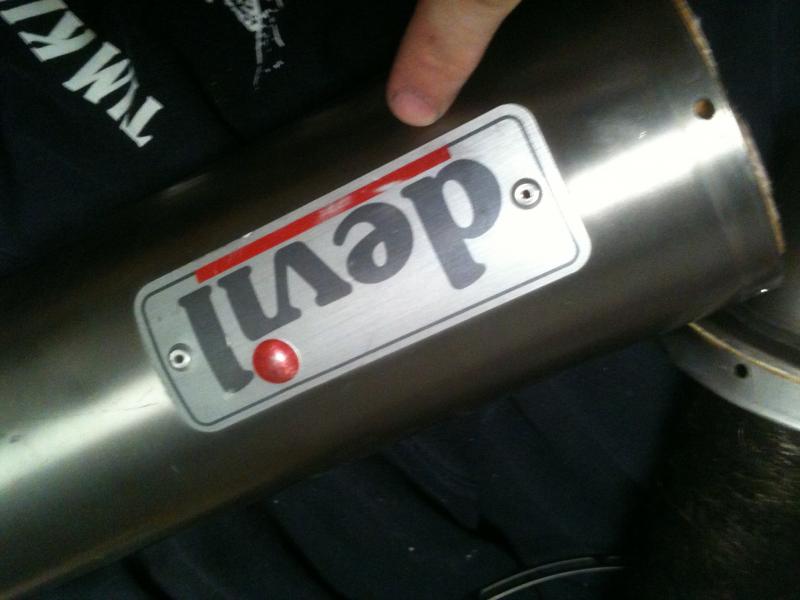
I then drilled out the Devil plate so it can be moved.
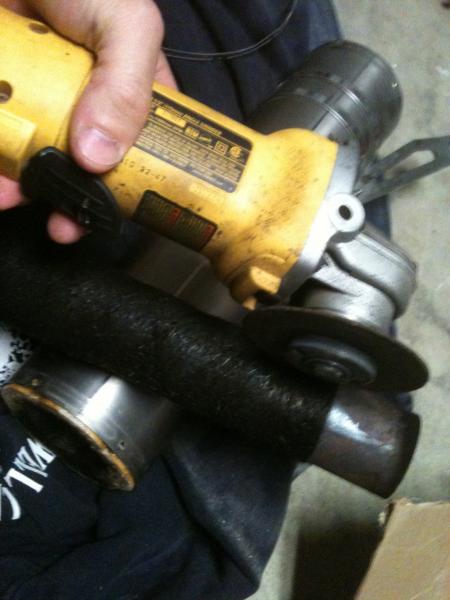
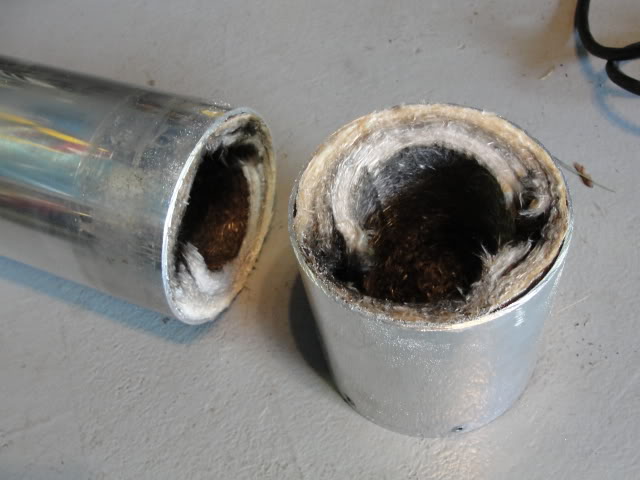
I used the metal cutting wheel to lightly score the steel wool material as i found that the easiest way to cut it back and remove it.
Last edited by Wolverine; Apr 9, 2012 at 10:35 AM.
Thread Starter
Senior Member
Superstock
Joined: Apr 2009
Posts: 395
From: Columbus, OH
Exhaust how to/ part 2
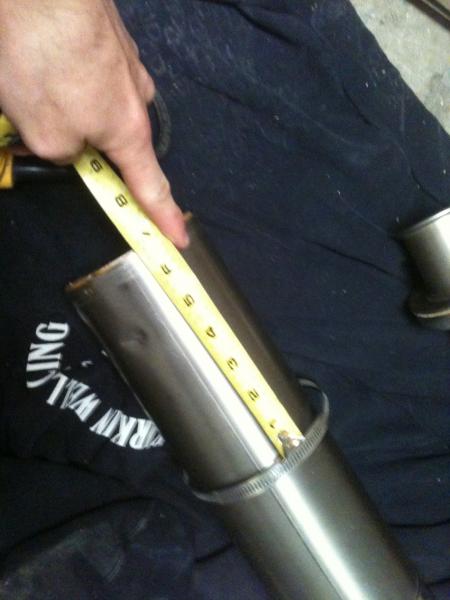
A hose clamp makes a great guide thanks to a forum members suggestion for cutting. Cut off 6 1/2 inches.
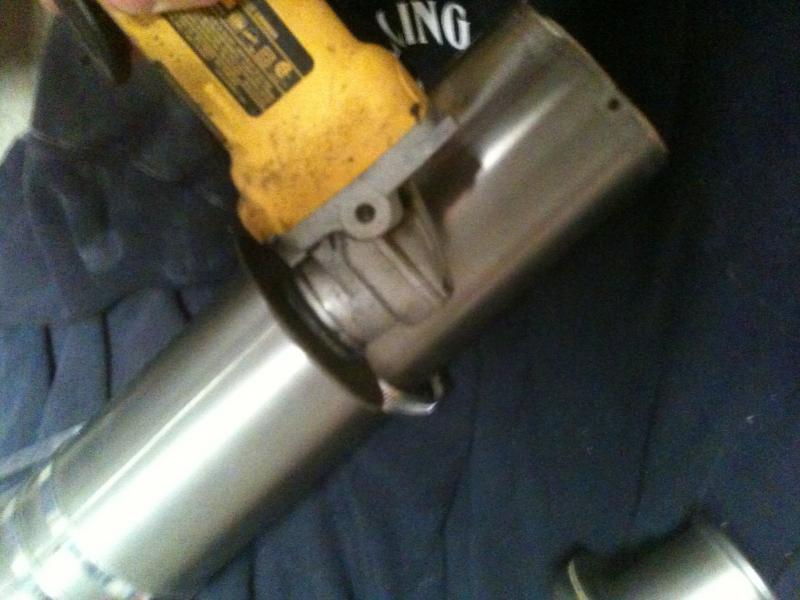
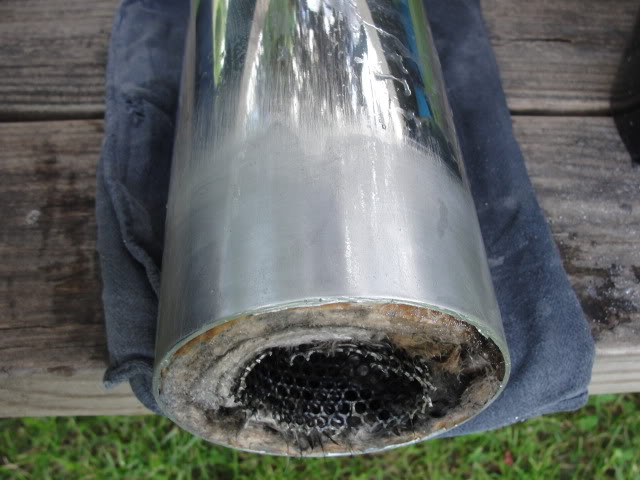
So this is the actual cutting. Metal cutting wheel in a grinder.
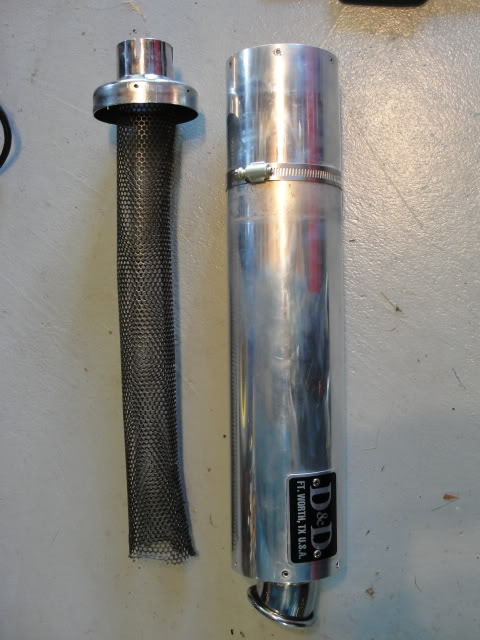
This is the removed material.
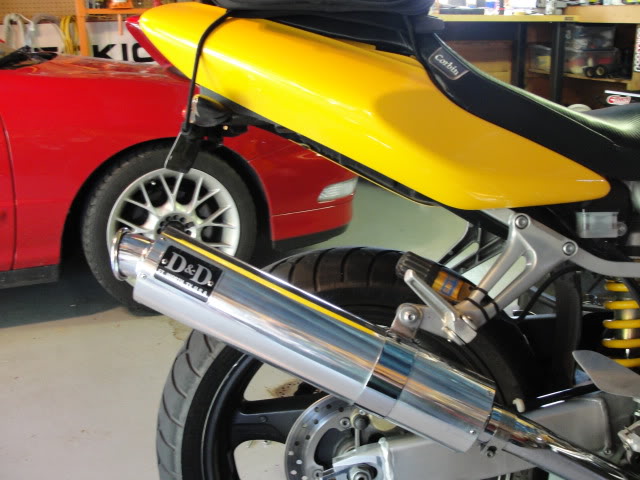
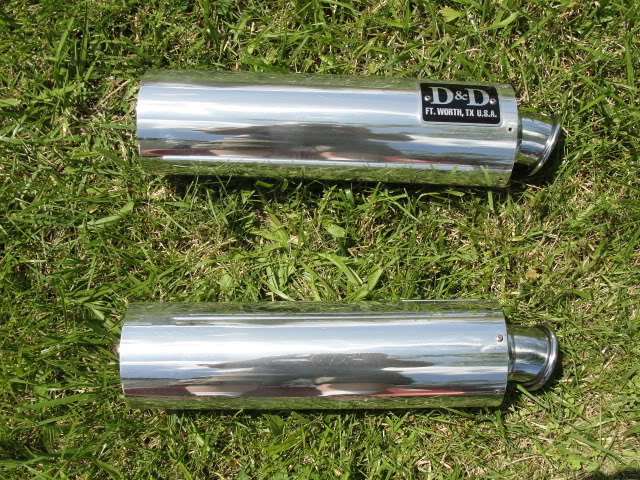
This is actually the end result. Stainless steel rivets hold it all together.
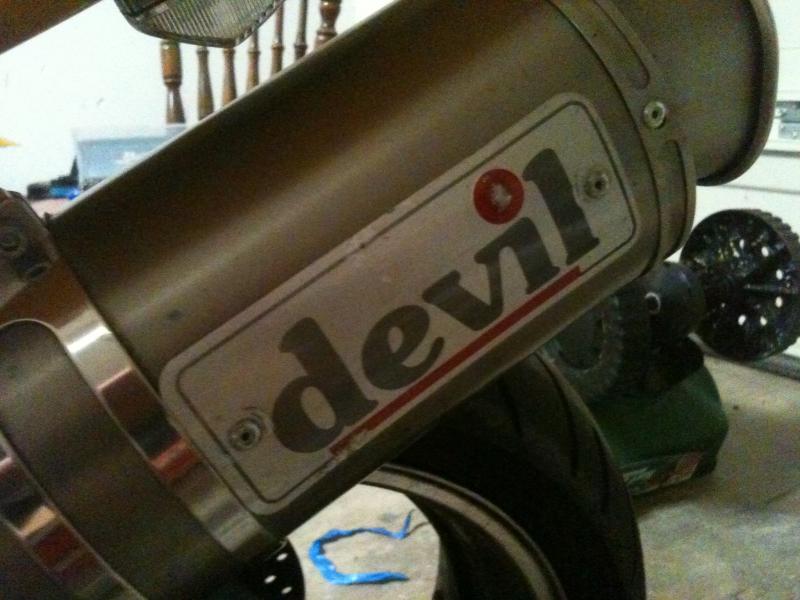
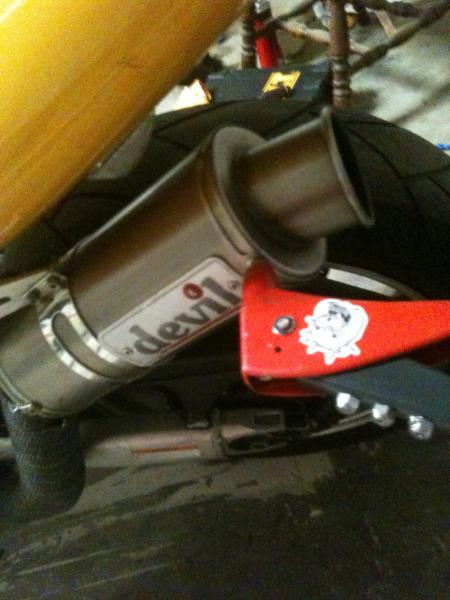
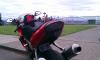
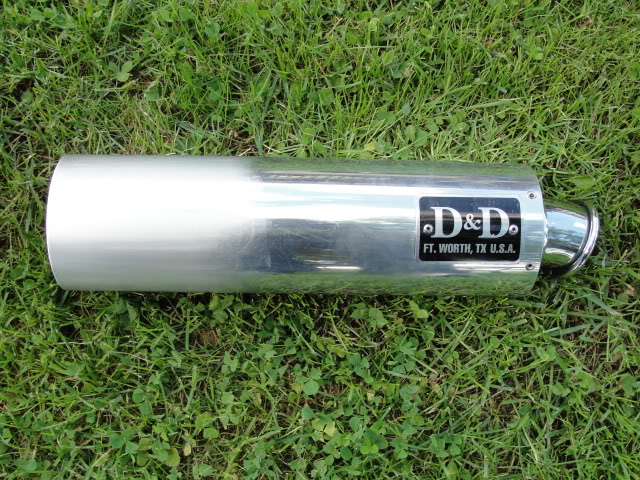
This is the finished product and the new placement for the devil logo plate.
Last edited by Wolverine; Apr 9, 2012 at 10:39 AM.


Thread Starter
Senior Member
Superstock
Joined: Apr 2009
Posts: 395
From: Columbus, OH
Sorry smokinjoe!! Credit given for the clamp idea lol. Couldn't remember at the drop of a hat who gave me the idea. 97wolverine, the order is great. Thanks man. I thought of taking off a bit less but decided to just go for it. It is loud I will say that but I love the deep loud tone. I'm happy with it. But everyone is different and we all know that opinions fly freely on the forum haha!
Thread Starter
Senior Member
Superstock
Joined: Apr 2009
Posts: 395
From: Columbus, OH
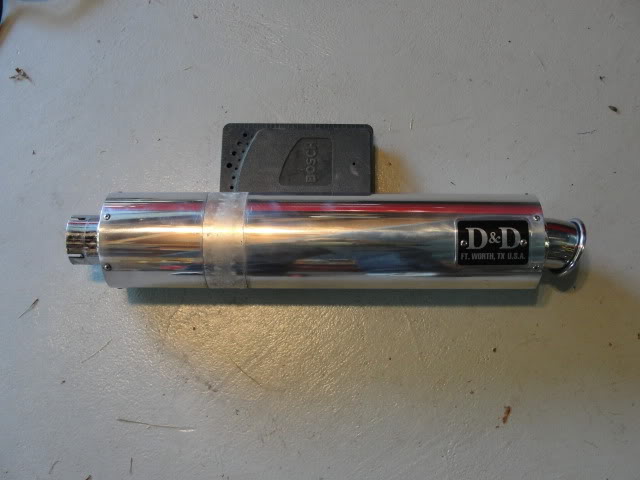
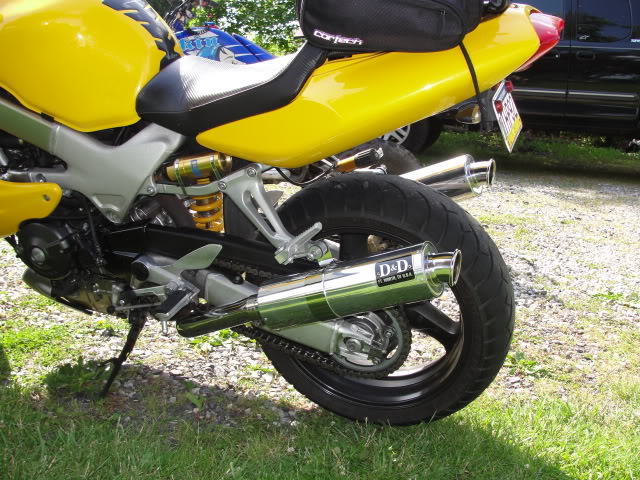
Averagejoe, when I switched from stock to the devil cans I shimmed the carbs and that whole mess so when the devils got shortened I didn't notice any loss or gain of any kind. I'm not much of a technical guy like some of the members but decreasing backpressure can make her a little bitchy(carb farts) but if it's fine with the RT-1s then you shouldn't notice a difference. In terms of sound she makes harley riders cry lol. The Hawk screams with the shortened Devil cans but I love it very loud. Bottom line, it will be considerably louder. As for the baffle, on the devil cans the baffle and the end cap are one piece. So the baffle had to go back in. I would recommend putting it back regardless. I just had to shorten mine so it would slide back into the opposite end cap where the exhaust pipe connects. See picture 3 to see the baffle and end cap. Hope that all helps and makes sense.
Seasoned tech
SuperSport
Joined: Apr 2012
Posts: 576
From: Issaquah, WA
The VTR I just got had been down on the right side and the guy had leaned it up against a pole on the left so both cans are messed up. I read this thread and LOVE the idea of just cutting a section of the can off to get rid of the scraped up parts! Thanks for the idea!!

Moderator
MotoGP
Joined: Jul 2007
Posts: 5,225
From: Gettysburg, Pa
Not trying to jack, just adding to the info
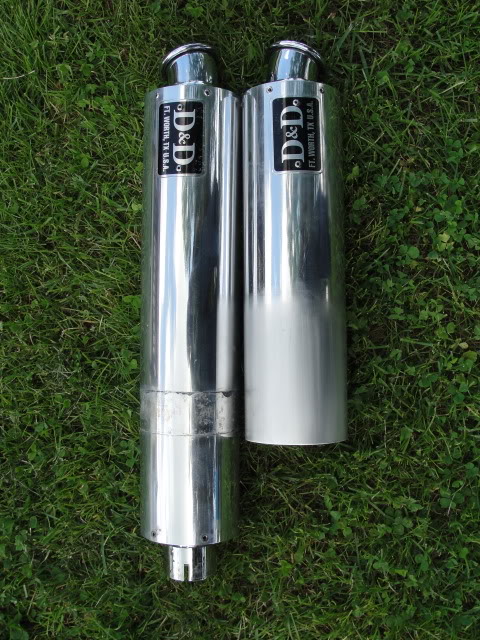
Started w/
Drill out rivets and w/ much persuasion
and I have to give credit where credit is due...smokinjoe, thanks for the clamp tip!
I used a hand held hack saw
Then I had to start sanding off clamp marks. 3M wet paper, 200-400-800-1k

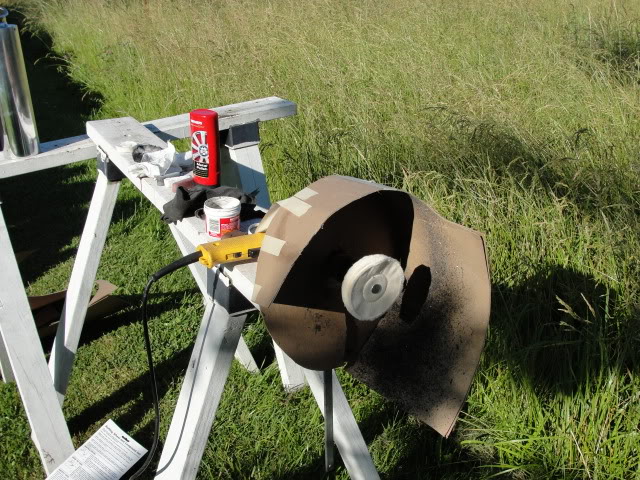
Hand sanding complete, I set up my drill and made a shroud
And bling bling
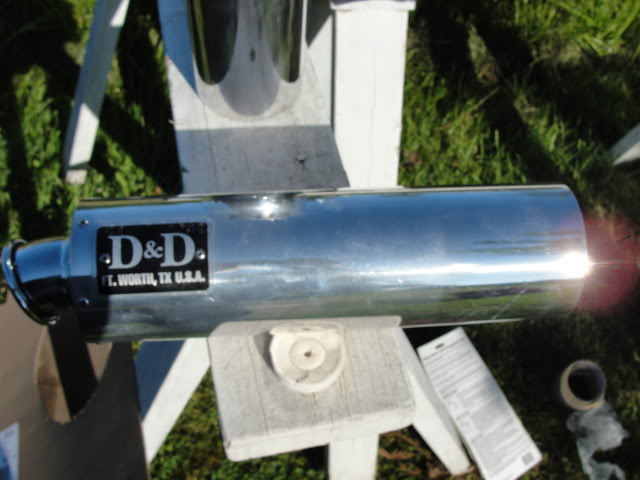
Can still see some pitting but I'm ok w/ what I got

Subtle but I really like the looks!
Can't wait to go for a ride tomorrow!!
Started w/
Drill out rivets and w/ much persuasion
and I have to give credit where credit is due...smokinjoe, thanks for the clamp tip!
I used a hand held hack saw
Then I had to start sanding off clamp marks. 3M wet paper, 200-400-800-1k
Hand sanding complete, I set up my drill and made a shroud
And bling bling
Can still see some pitting but I'm ok w/ what I got
Subtle but I really like the looks!
Can't wait to go for a ride tomorrow!!

Thread
Thread Starter
Forum
Replies
Last Post
SlowHAWK
General Discussion
13
Oct 28, 2007 08:33 PM


