
Coerce Racing sprocket guard Vs OEM


Thread Starter
Administrator
MotoGP
Joined: Apr 2006
Posts: 4,402
From: Kempner, TX

Coerce Racing sprocket guard Vs OEM
Some had asked me to compare the Coerce Racing sprocket guard Vs OEM one for weight.
OK, here ya go
OEM 13.25 oz
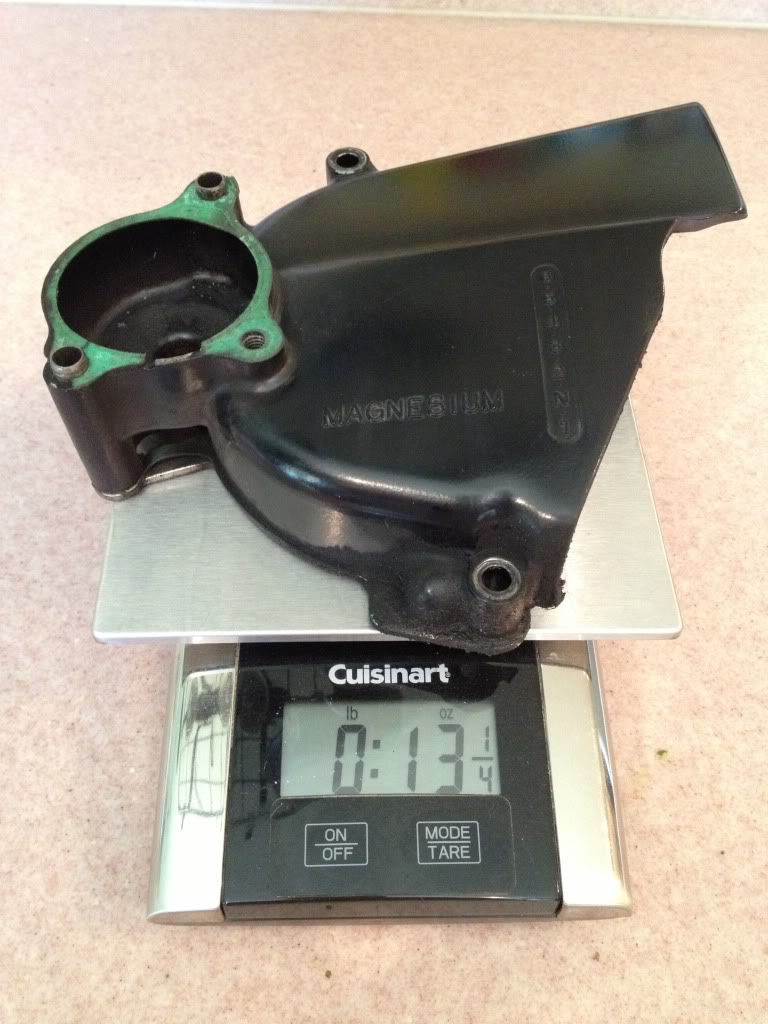
Those are the parts replaced by the Coerce part. Fasteners not included as each requires the same thing mostly..
Coerce Racing sprocket guard 5.125 oz
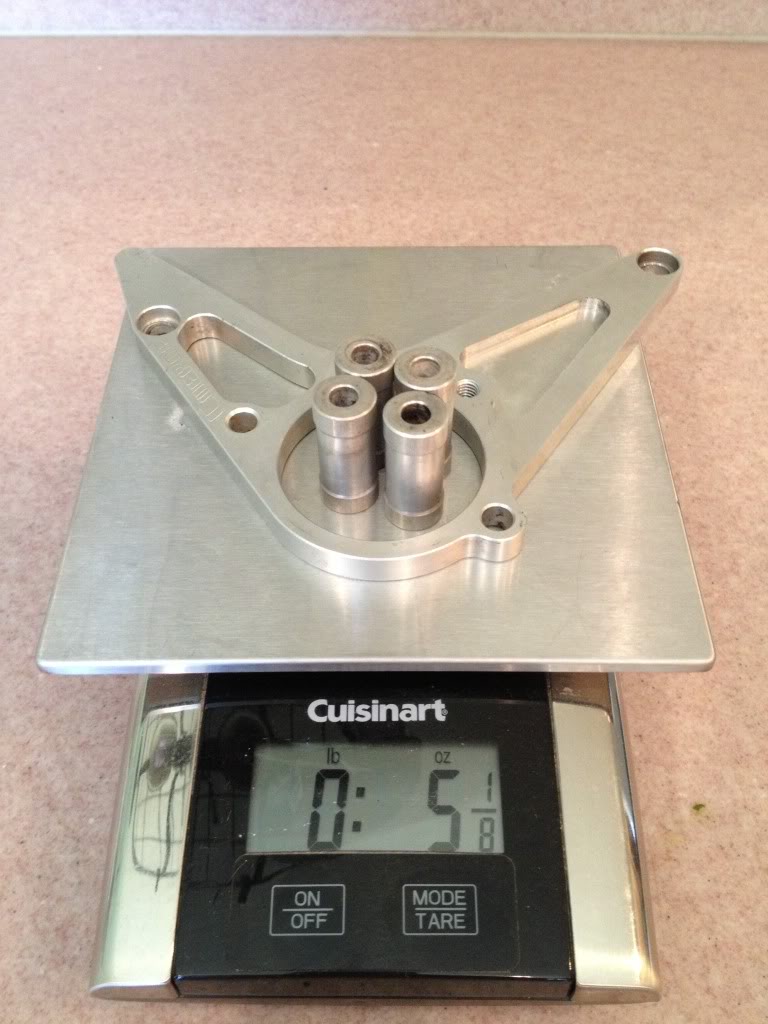
The Coerce one is a whopping 8.125 oz lighter")
So no, not really a performance mod on a piggy of a bike.
OF NOTE: The Coerce guard does not use hollow dowel pins for locating either the guard or the slave cylinder.
That accounts for some of the weight, but it also means the parts are not located well by way of a very sloppy fit fastener in a non precision fit hole.
I'm not pleased with that setup, so I will counterbore the sprocket guard for dowel pins as soon as the new end mil and reamer show up. Why? because I can,,, does it need it? likely no.
This used guard had one damaged spacer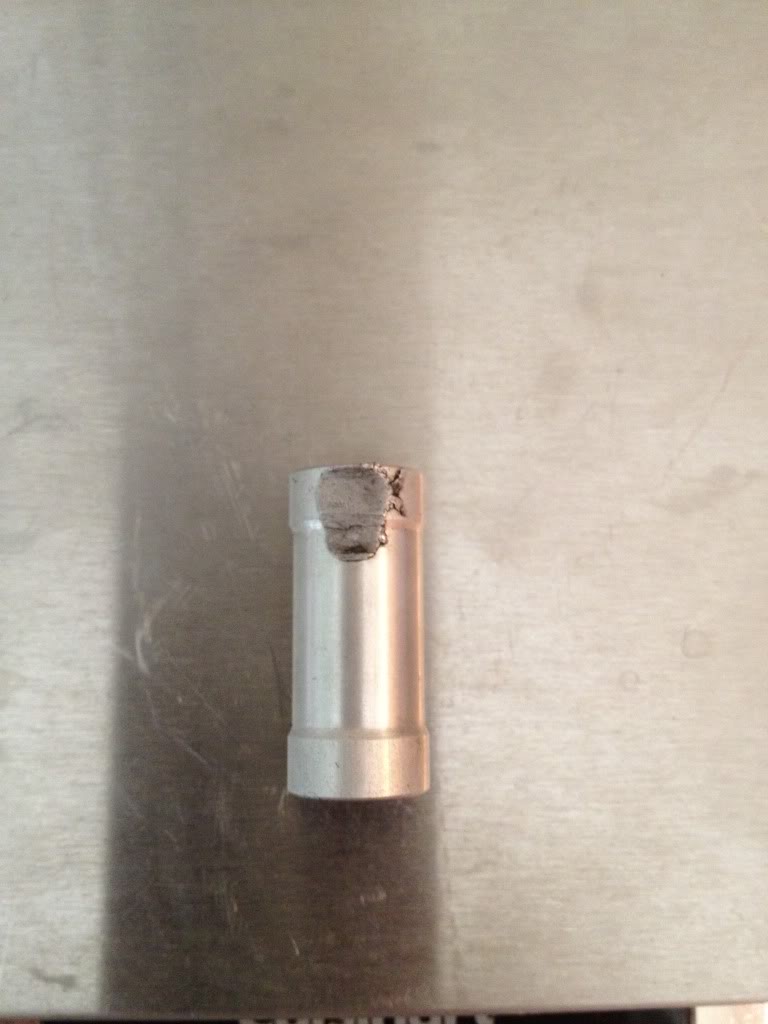
likely from running with a loose chain. I'll machine a new one from 7075 aluminium next week as a replacement as well.
Once I decide I like it, I'll have my local powder coater spray um for me... color yet to be determined.
Black?..... gunmetal? or perhaps I'll polish them up and clear coat.
Bottom line... this is an appearance mod for the most part, a bit less weight, more access to clean that area without removing the cover...but really just an appearance mod.
OK, here ya go
OEM 13.25 oz

Those are the parts replaced by the Coerce part. Fasteners not included as each requires the same thing mostly..
Coerce Racing sprocket guard 5.125 oz

The Coerce one is a whopping 8.125 oz lighter
So no, not really a performance mod on a piggy of a bike.
OF NOTE: The Coerce guard does not use hollow dowel pins for locating either the guard or the slave cylinder.
That accounts for some of the weight, but it also means the parts are not located well by way of a very sloppy fit fastener in a non precision fit hole.
I'm not pleased with that setup, so I will counterbore the sprocket guard for dowel pins as soon as the new end mil and reamer show up. Why? because I can,,, does it need it? likely no.
This used guard had one damaged spacer

likely from running with a loose chain. I'll machine a new one from 7075 aluminium next week as a replacement as well.
Once I decide I like it, I'll have my local powder coater spray um for me... color yet to be determined.
Black?..... gunmetal? or perhaps I'll polish them up and clear coat.
Bottom line... this is an appearance mod for the most part, a bit less weight, more access to clean that area without removing the cover...but really just an appearance mod.


Last edited by E.Marquez; May 5, 2013 at 10:19 AM.


Thread Starter
Administrator
MotoGP
Joined: Apr 2006
Posts: 4,402
From: Kempner, TX
Ever seen the aftermath of a chain coming off the sprockets at speed? Not once, in the dozens of examples I've seen, did the the flimsy steel "case saver" save the cases. Street, dirt, track bikes, not one escaped damage. So in my opinion, the steel case saver is a useless part.
The OEM part looks like crap when installed behind the Coerce guard... so for me that left a few choices.
- OEM case saver in place-- Looks like crap, and provides only marginal safety increase if the chain falls off at walking speed or less.
- Longer spacers- Looks better, but no protection of the Coerce guard for even rolling the chain off the sprockets while on the stand.
- Trim the OEm case saver of the extra material no longer needed based on the different contact and clamp points between OEM and Coerce.
- Fabricate a new case saver- Best plan I think and what I will do at some point

Rex Kramer-Thrill Seeker
SuperBike
Joined: Jan 2011
Posts: 2,312
From: Brookfield, WI
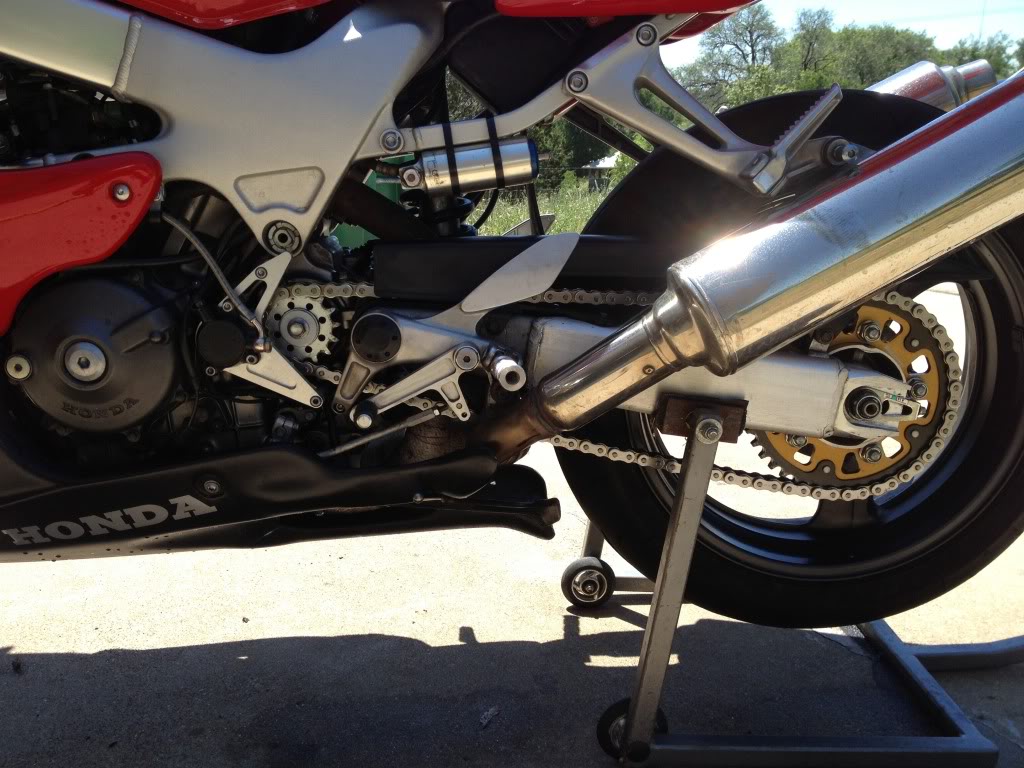
That kinda looks like like mine. However, I like the Coerce one a heck of a lot better. A friend of mine said that he wouldn't ride my bike like that, because he said, your shoe lace or loose pants could get caught and pulled in. His worries went away after I showed him where your foot actually rests.
I cut mine to be different and to have more of a mechanical look to the bike.
I cut mine to be different and to have more of a mechanical look to the bike.


Senior Member
MotoGP
Joined: Jul 2010
Posts: 3,871
From: Phoenix, AZ
Thread Starter
Administrator
MotoGP
Joined: Apr 2006
Posts: 4,402
From: Kempner, TX

Rex Kramer-Thrill Seeker
SuperBike
Joined: Jan 2011
Posts: 2,312
From: Brookfield, WI
...a squid and a hack...

Banned
MotoGP
Joined: Aug 2007
Posts: 5,942
From: Lake View Terrace, CA

Thread Starter
Administrator
MotoGP
Joined: Apr 2006
Posts: 4,402
From: Kempner, TX


Thread Starter
Administrator
MotoGP
Joined: Apr 2006
Posts: 4,402
From: Kempner, TX
It's not the cutting on this low magnesium content alloy to be overly cautious on.. it's the chips, filings, strings you need to watch out for around open flame or sparks.

Junior Member
Squid
Joined: Jul 2012
Posts: 5
From: Wales
It is designed to use the guard, and if you do not, you need to add some length to the spacers. Otherwise you change the effective length of the push rod, and you force the clutch open.
Ever seen the aftermath of a chain coming off the sprockets at speed? Not once, in the dozens of examples I've seen, did the the flimsy steel "case saver" save the cases. Street, dirt, track bikes, not one escaped damage. So in my opinion, the steel case saver is a useless part.
The OEM part looks like crap when installed behind the Coerce guard... so for me that left a few choices.
- OEM case saver in place-- Looks like crap, and provides only marginal safety increase if the chain falls off at walking speed or less.
- Longer spacers- Looks better, but no protection of the Coerce guard for even rolling the chain off the sprockets while on the stand.
- Trim the OEm case saver of the extra material no longer needed based on the different contact and clamp points between OEM and Coerce.
- Fabricate a new case saver- Best plan I think and what I will do at some point
You mentioned about "adding some length to the spacers" - is that required if I'm just replacing the OEM guard with the Coerce one? If so I'd better fire the lathe up...
Thread Starter
Administrator
MotoGP
Joined: Apr 2006
Posts: 4,402
From: Kempner, TX
If you reuse the steel case saverfrom the OEM cover.. No mods are required.
If you do not use the steel casesaver, you need to account for the thickness of that steel part in the spacerssupplied. That can be a washer of the correct thickness added.. Or longerspacers made.
The installed position of the clutchslave cylinder is very sensitive.. Any closer to the engine case and yourclutch will be forced OPEN and will not engage.
Basically the piston in the slave isbottomed out when the slave is installed at the factory distance from the case.Less is bad, a few .001" more is workable, but not too much.
Junior Member
Squid
Joined: Jul 2012
Posts: 5
From: Wales
If you reuse the steel case saverfrom the OEM cover.. No mods are required.
If you do not use the steel casesaver, you need to account for the thickness of that steel part in the spacerssupplied. That can be a washer of the correct thickness added.. Or longerspacers made.
The installed position of the clutchslave cylinder is very sensitive.. Any closer to the engine case and yourclutch will be forced OPEN and will not engage.
Basically the piston in the slave isbottomed out when the slave is installed at the factory distance from the case.Less is bad, a few .001" more is workable, but not too much.
Thread Starter
Administrator
MotoGP
Joined: Apr 2006
Posts: 4,402
From: Kempner, TX
Junior Member
Squid
Joined: Jul 2012
Posts: 5
From: Wales
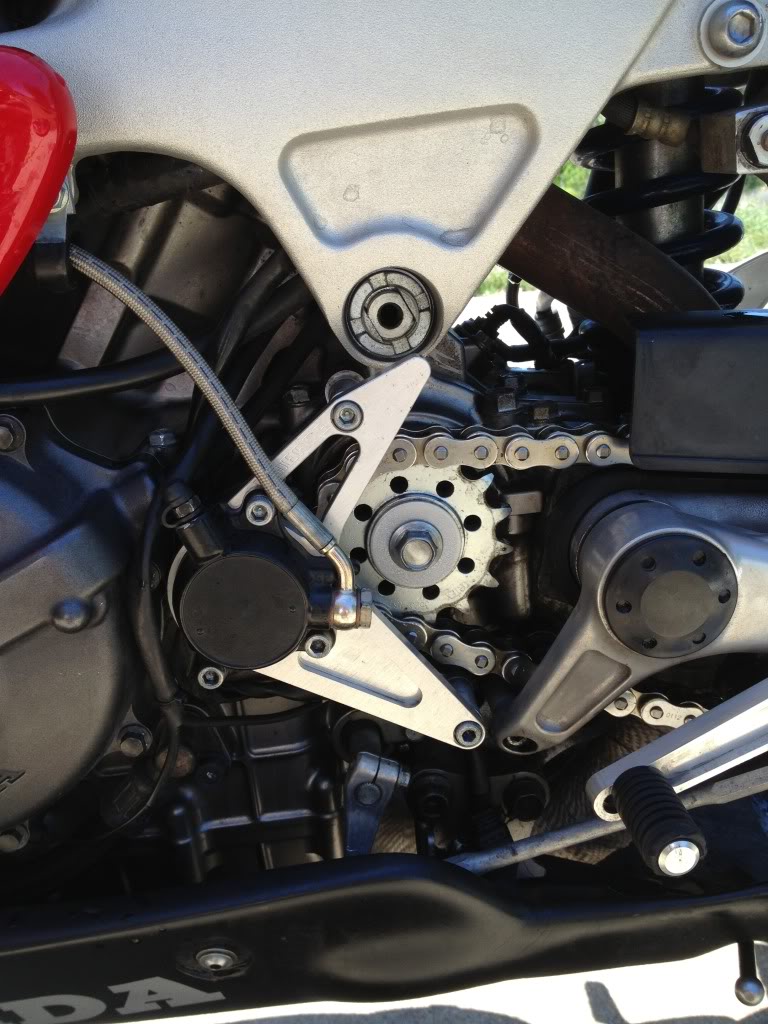
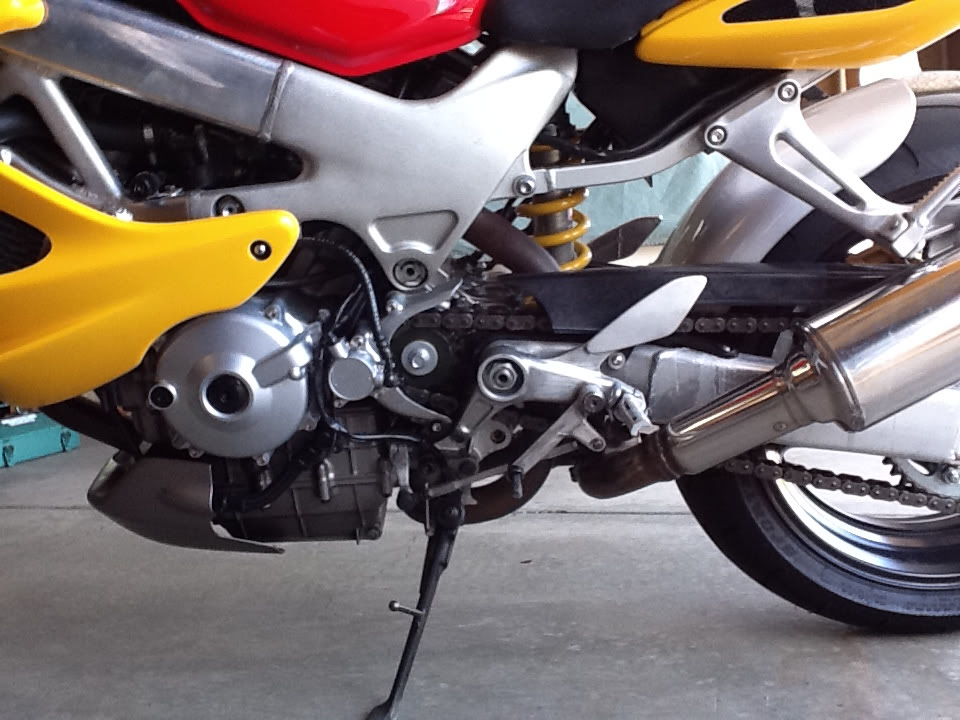
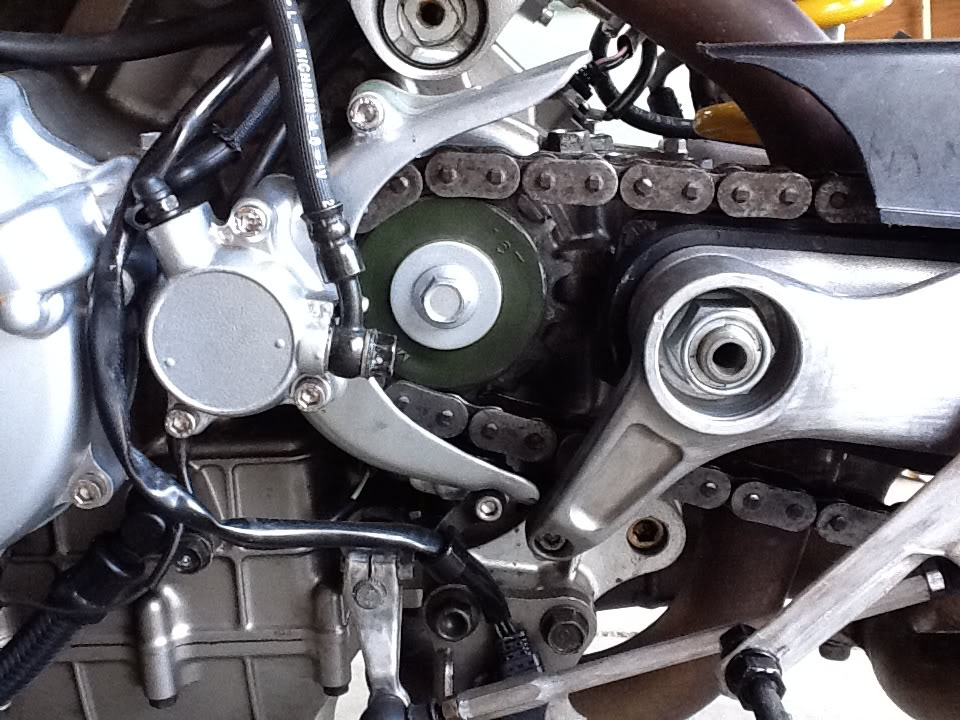
Following the earlier posts, I decided to modify my Coerce sprocket guard because I thought it stood too far off the sprocket to actually do any guarding! So I turned up some new spacers 10mm shorter than the standard ones and then made up a slave cylinder spacer to compensate. Result is the sprocket guard sits much closer to the chain and sprocket and the slave cylinder is still in its proper place. Pics should show what I've done...

Senior Member
SuperSport
Joined: Apr 2013
Posts: 972
That kinda looks like like mine. However, I like the Coerce one a heck of a lot better. A friend of mine said that he wouldn't ride my bike like that, because he said, your shoe lace or loose pants could get caught and pulled in. His worries went away after I showed him where your foot actually rests.
I cut mine to be different and to have more of a mechanical look to the bike.


I cut mine to be different and to have more of a mechanical look to the bike.
Senior Member
SuperSport
Joined: Apr 2013
Posts: 972
That kinda looks like like mine. However, I like the Coerce one a heck of a lot better. A friend of mine said that he wouldn't ride my bike like that, because he said, your shoe lace or loose pants could get caught and pulled in. His worries went away after I showed him where your foot actually rests.
I cut mine to be different and to have more of a mechanical look to the bike.
I cut mine to be different and to have more of a mechanical look to the bike.
Rex Kramer-Thrill Seeker
SuperBike
Joined: Jan 2011
Posts: 2,312
From: Brookfield, WI
I just used a sawzall. Then used a angle grinder with a flap wheel to even it all out. After that, a file to clean up the edges.
Last edited by CruxGNZ; Jun 12, 2013 at 07:11 PM.
Rex Kramer-Thrill Seeker
SuperBike
Joined: Jan 2011
Posts: 2,312
From: Brookfield, WI
You will probably have an easier time with a smaller tool like a jigsaw with a metal/bimetal blade. I just used the sawzall, because my pnuematic body saw was being repaired at the time.
Have fun, and if you can, post up pics when you're done!
Have fun, and if you can, post up pics when you're done!
Senior Member
SuperSport
Joined: Apr 2013
Posts: 972
Went to glue loose grips on and thought it was all set. Til I saw the blob of superglue sitting on the fairing paint. That's where the power outlet is now. Close one!

Member
Squid
Squid
Joined: Mar 2009
Posts: 53
From: Sherman Island, Ca.
As Mr. Marquez stated "to each his own". I ended-up using the stock guard, as I like how it supports the slave cylinder so much better and allows the use of the steel plate without looking out of place. Plus, the price was right...an afternoon in the shop? After all the cutting and grinding, I sandblasted mine and shot it with lacquer. Kinda gave it that sand-cast look. Hope you like it?


