
Clutch Cover Query


Thread Starter
Senior Member
Superstock
Joined: May 2012
Posts: 397
From: UK

Clutch Cover Query
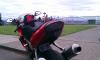
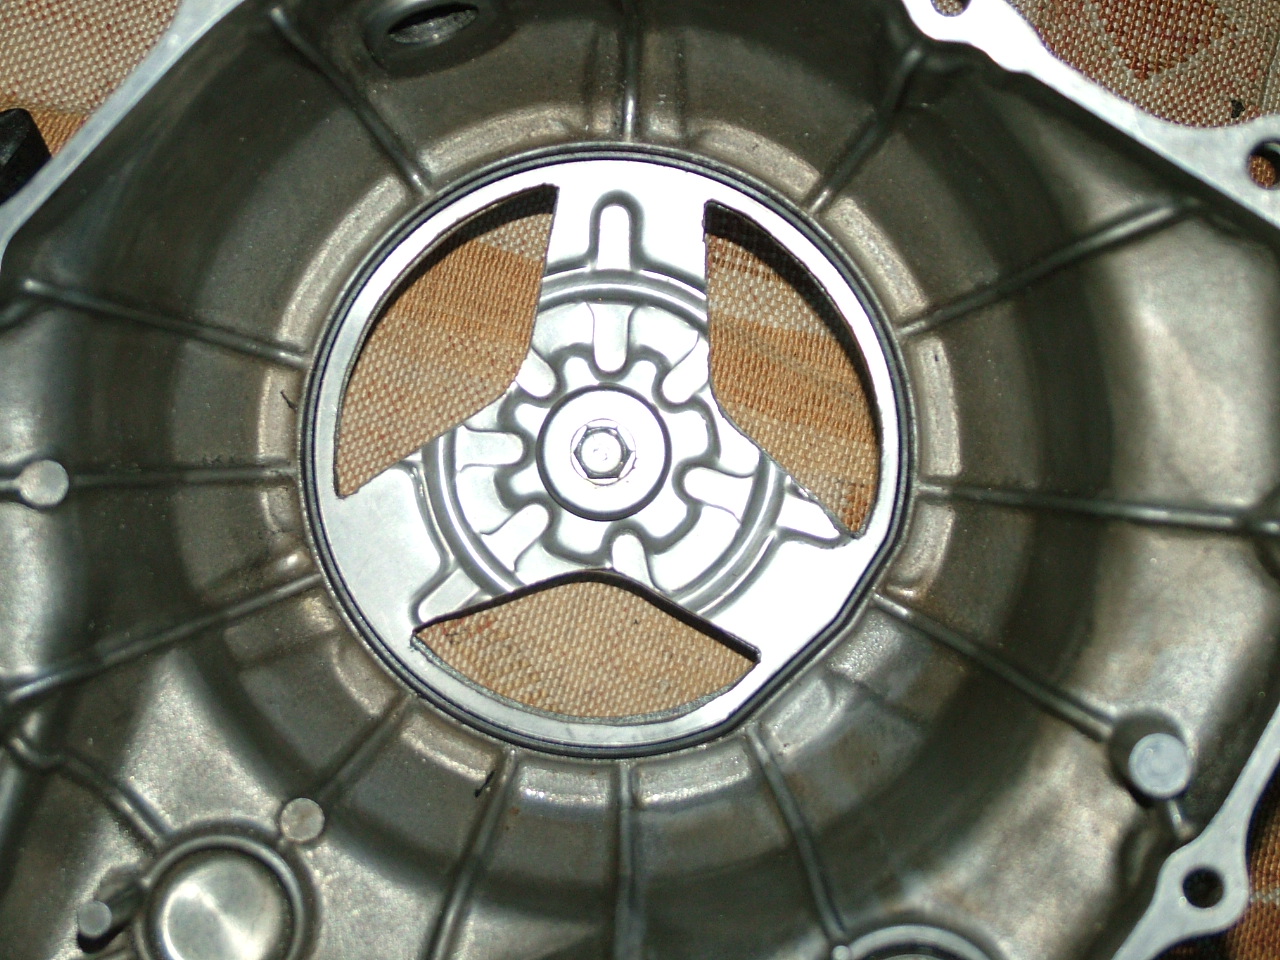
What is the purpose of this plate? 
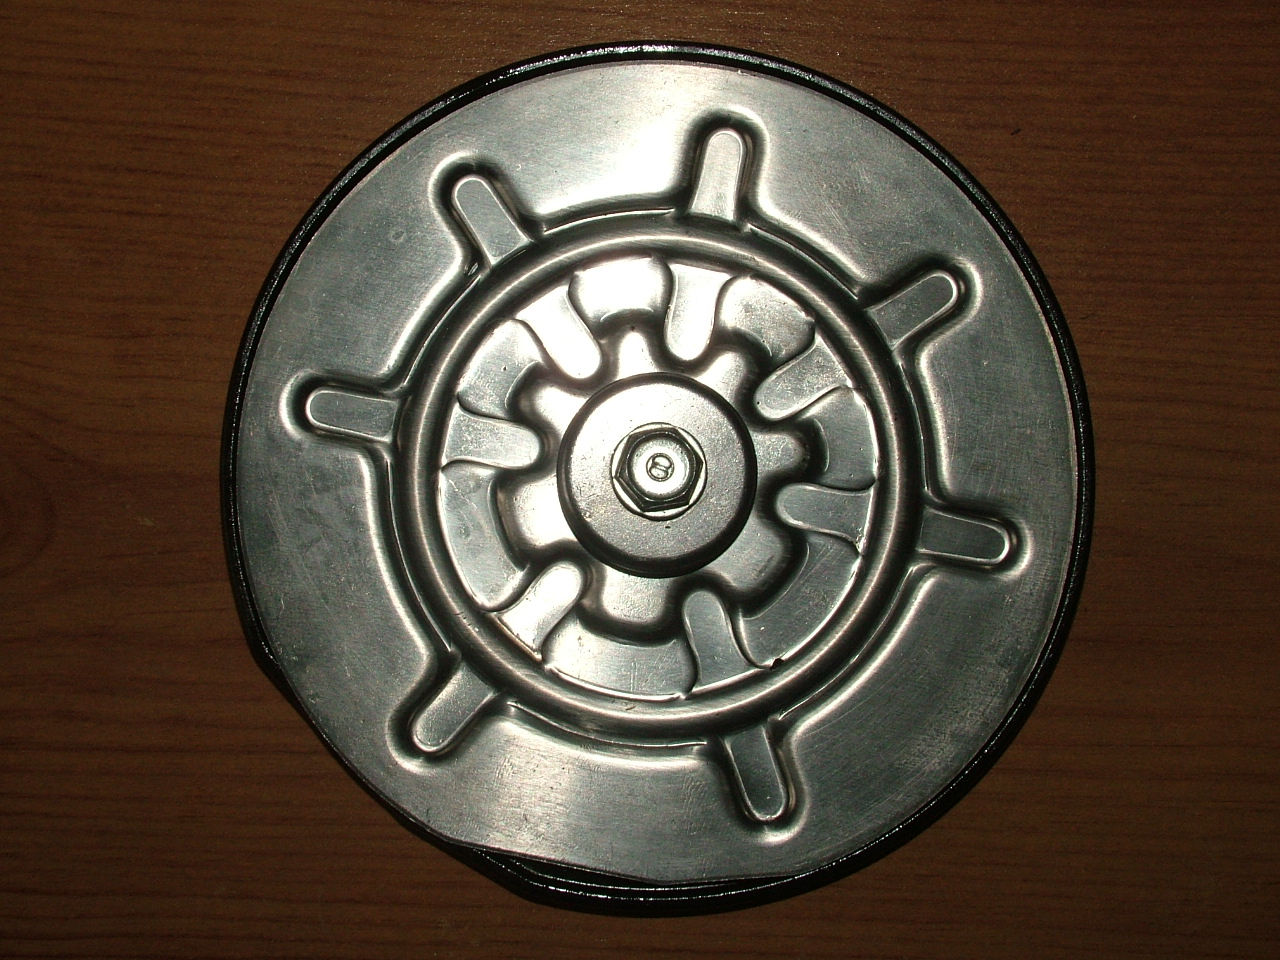
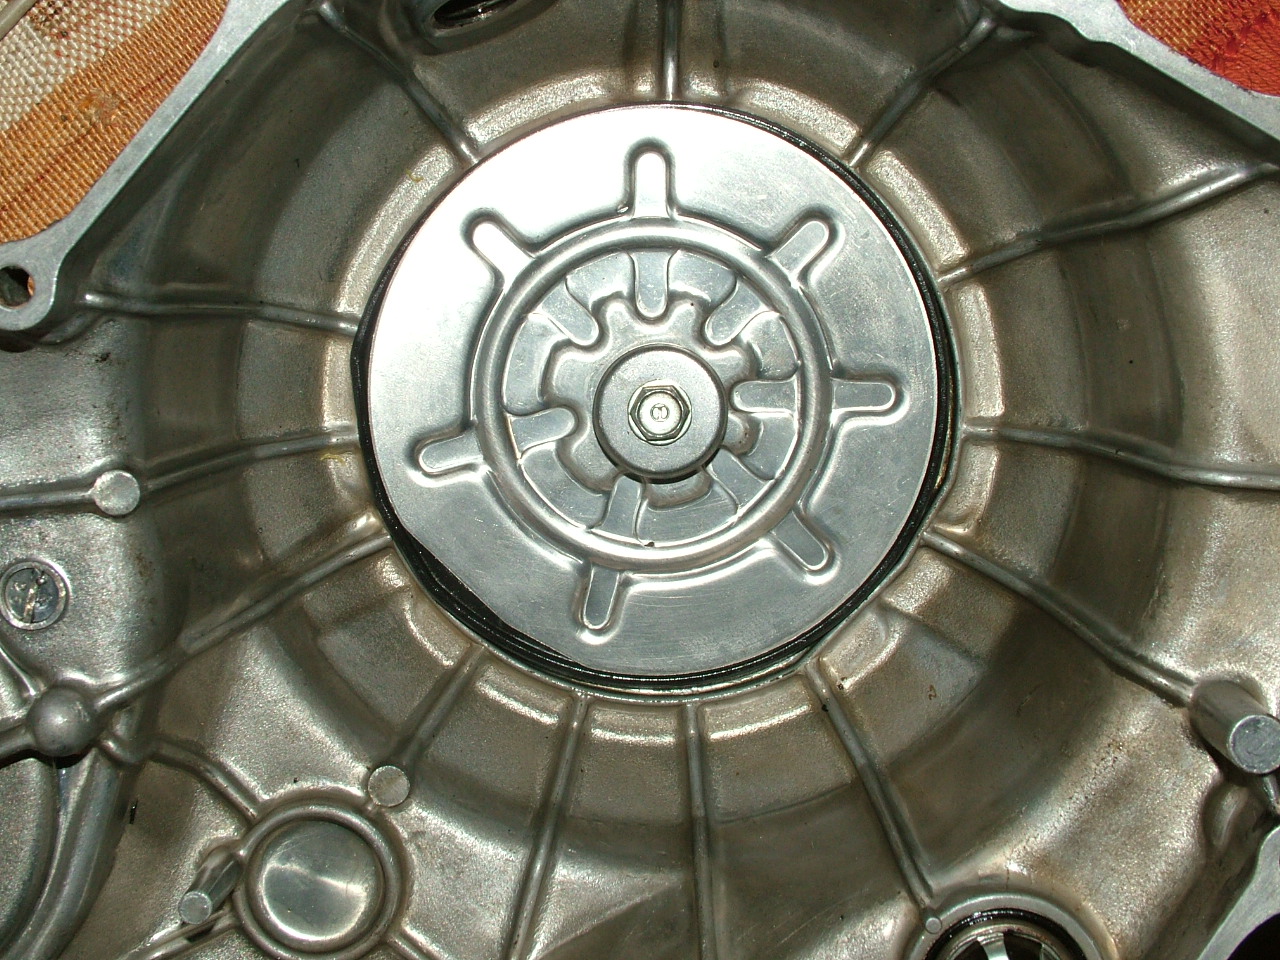
The only thing I can think of, is that it's there to help distribute the oil around the clutch area. But then why does it sit slightly raised with a rubber O ring and only that slight gap where oil could get trapped underneath it.

(:-})
The only thing I can think of, is that it's there to help distribute the oil around the clutch area. But then why does it sit slightly raised with a rubber O ring and only that slight gap where oil could get trapped underneath it.
(:-})
Thread Starter
Senior Member
Superstock
Joined: May 2012
Posts: 397
From: UK
Argh that's good I was told this by someone else as well so that pleases me. Just needed it confirmed. It's just sitting loose inside that picture, I'm removing it to put a window in. I'm sure it wont make to much difference not being there with the sound of my cans LOL
It just suppresses light noise from the clutch spinning or something then. A bit like the rubber on the original front drive sprocket.
Thanks for the speedy reply.
(:-})
It just suppresses light noise from the clutch spinning or something then. A bit like the rubber on the original front drive sprocket.
Thanks for the speedy reply.
(:-})


Thread Starter
Senior Member
Superstock
Joined: May 2012
Posts: 397
From: UK
Thanks Out with the drill tomorrow then. I'l keep you guys posted on my window.
I saw that thread a long time ago and the video and it was my inspiration. I'm going to leave the cross piece that goes across the front though.
(:-})
I saw that thread a long time ago and the video and it was my inspiration. I'm going to leave the cross piece that goes across the front though.
(:-})
Last edited by cybercarl; Feb 28, 2013 at 12:43 PM.

Senior Member
MotoGP
Joined: Jul 2010
Posts: 3,871
From: Phoenix, AZ
Come on, Joe! Who would want to cut holes in their perfectly functional engine covers for no practical reason?!
You know it makes the bike faster right? I have hard butt-dyno evidence that the bike will make it to the coffee shop at least 30 seconds faster and make it easier to order a mocha-frappa-camel smoothie shot at the same time!
You know it makes the bike faster right? I have hard butt-dyno evidence that the bike will make it to the coffee shop at least 30 seconds faster and make it easier to order a mocha-frappa-camel smoothie shot at the same time!

Senior Member
MotoGP
Joined: Jul 2007
Posts: 5,066
From: NYC
Yeah, must be a frappamokachino thing. Maybe it speeds up tweeting speeds. Maybe the entire engine case could be cut so you could see the pistions move, plexiglass heads and all.
I dont know, when I am 1000miles from home at night on a mountain road trying to get to a destination, I just dont want vital enginge components to be in question.
Hey you could drill holes in the clutch plates to make them lighter too.
I dont know, when I am 1000miles from home at night on a mountain road trying to get to a destination, I just dont want vital enginge components to be in question.
Hey you could drill holes in the clutch plates to make them lighter too.
Thread Starter
Senior Member
Superstock
Joined: May 2012
Posts: 397
From: UK
I have just had it confirmed that it is indeed a quietening device. Roger D used to always remove them on the race bikes so you could be onto something there 7moore with the speed increase. 
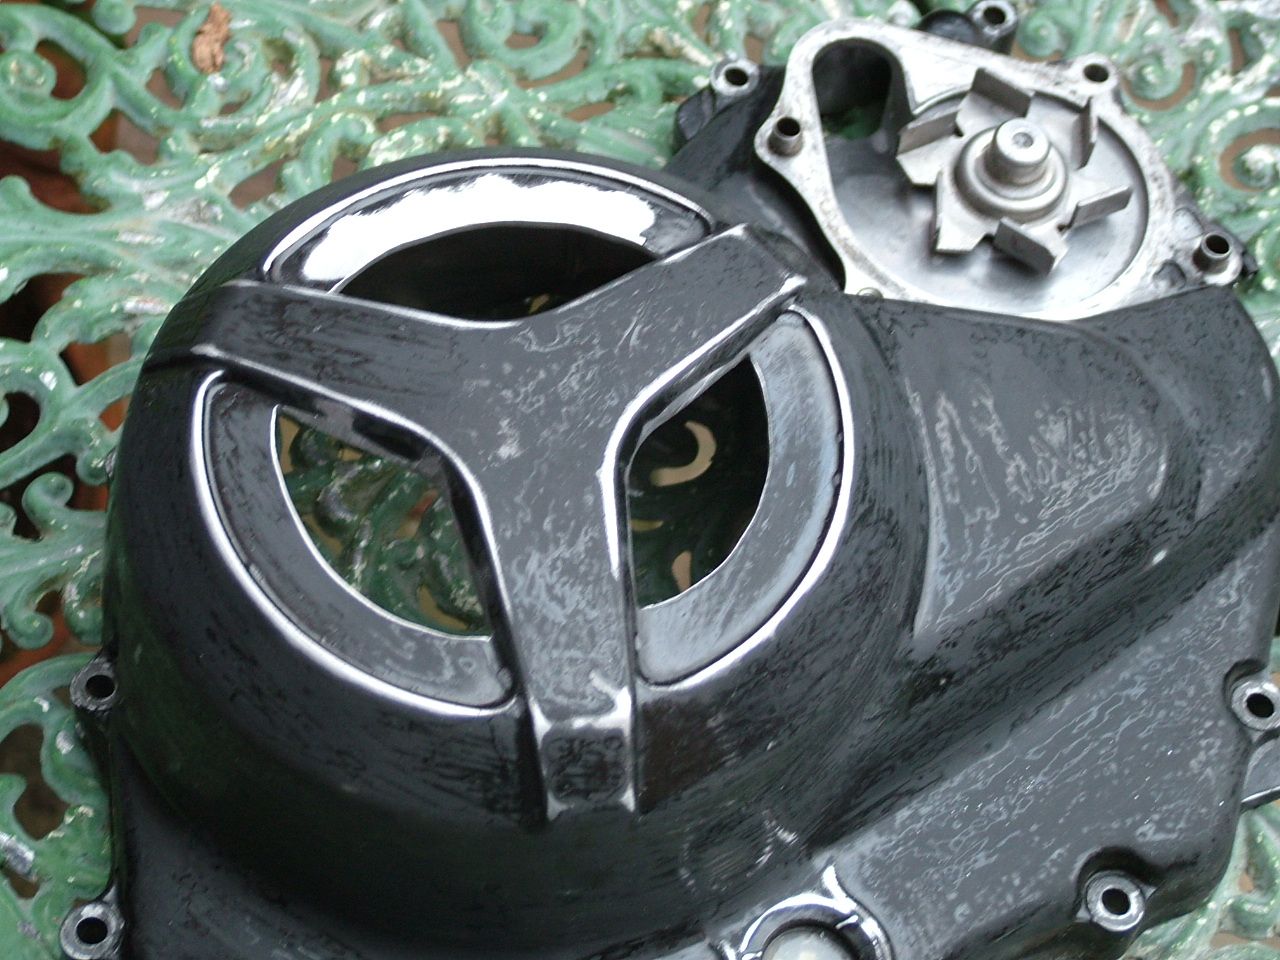
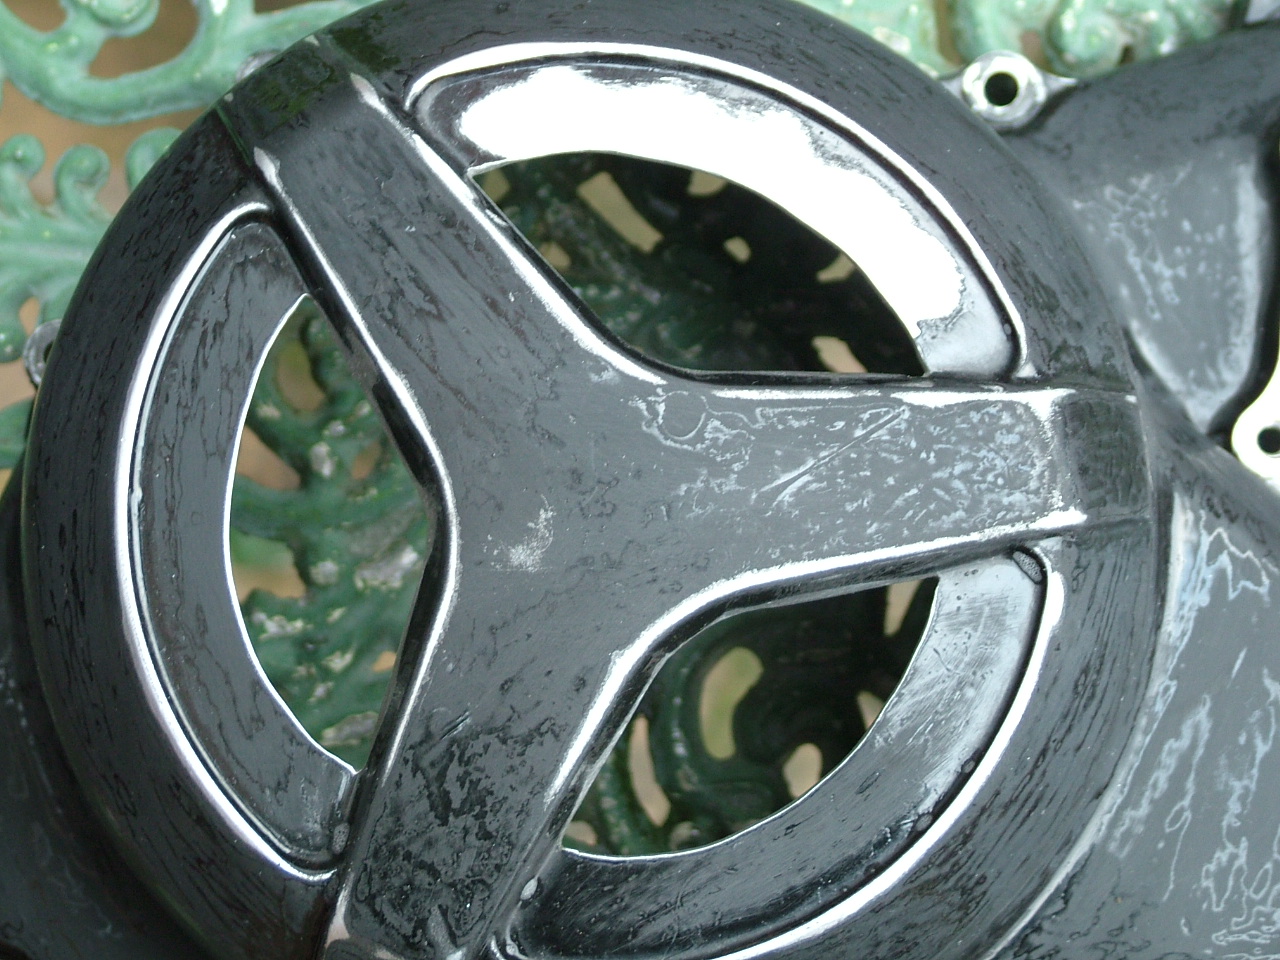
A couple of pics of what I done today.

I'm going to use the rubber seal and centre mounting bolt to help hold it in place.
7moore do you think 6mm Lexan will be OK for clearnce?
(:-})
A couple of pics of what I done today.
I'm going to use the rubber seal and centre mounting bolt to help hold it in place.
7moore do you think 6mm Lexan will be OK for clearnce?
(:-})

Senior Member
SuperBike
Joined: Jul 2011
Posts: 1,461
From: South of Live Free or Die & North of Family Guy
I have just had it confirmed that it is indeed a quietening device. Roger D used to always remove them on the race bikes so you could be onto something there 7moore with the speed increase.
A couple of pics of what I done today.

I'm going to use the rubber seal and centre mounting bolt to help hold it in place.
7moore do you think 6mm Lexan will be OK for clearnce?
(:-})
A couple of pics of what I done today.
I'm going to use the rubber seal and centre mounting bolt to help hold it in place.
7moore do you think 6mm Lexan will be OK for clearnce?
(:-})
Thread Starter
Senior Member
Superstock
Joined: May 2012
Posts: 397
From: UK
Makes me cringe seeing a perfectly good clutch cover get holes in it. I would have sent you mine that's a little rashed up to use for that project.
I guess better for the integrity of the clutch cover in case the bike tips over on this side
(:-})

Junior Member
Squid
Joined: Feb 2013
Posts: 3
cybercarl, hope you don't mind me asking this in your thread. I'm looking at buying a VTR with some road rash on the clutch cover. See pic here: https://i.imgur.com/NwykdSX.jpg
Owner said it was "moist" with oil which is why he applied some plastic padding. I suppose it's fairly safe to ride in that condition but would like to take it off and see the damage on the back of the cover. Will I need to drain the oil before removing the cover?
I'd also like to try and sand it down evenly and spray the whole thing black (rattle can spray). Anything I should know about prior to doing this?
Senior Member
MotoGP
Joined: Jul 2007
Posts: 5,066
From: NYC
If you just bought the bike & its been down you should change the oil now anyway. But you dont have to drain it to remove the cover, you just need to lean the bike away from that side.
Is the oil leaking through the cover? That would be an issue.
Is the oil leaking through the cover? That would be an issue.
Senior Member
MotoGP
Joined: Jul 2010
Posts: 3,871
From: Phoenix, AZ
6mm sounds about right. If you're not using screws to attach to the edge, you'll have more room than I did because the bolts won't touch the clutch cover plate. It sounds like you're doing one bolt in the middle and just RTV/silicon on the edge? This would look freakin awesome if it holds!
On a side note, you may be able to get some LED's between the supports and the Lexan to light the thing up. May not be enough room, and then you'd have a wire running to your casing. I tried several ways to do this but couldn't get it to work.
On a side note, you may be able to get some LED's between the supports and the Lexan to light the thing up. May not be enough room, and then you'd have a wire running to your casing. I tried several ways to do this but couldn't get it to work.
Thread Starter
Senior Member
Superstock
Joined: May 2012
Posts: 397
From: UK
Formed Babby +1 on what SmokingJoe said
Use wet n dry (silicone carbide) paper for rubbing down. Use it wet. As for paint, pretty much anything is OK as long as it's heat resistant and you may want some chemical resistance. Engine enamel or something will do the job. You could use VHT but it's a bit of a faff having to heat it to cure fully.
7moore many thanks for your input. Funny you mentioned the LED's, someone suggested this in the UK and it's got me thinking. And yes I was just intending on using the centre bolt with some high temp silicone sealant around the outside along with the seal. Cutting out the plate may be a good idea, but I'm not sure if it's necessary and it will add to my clearance. I shall have a think about that.
Got myself some small grindstones for my drill to clean up the cutouts. Not sure if I will get anything done today though as the weather is not to good. Unfortunately I have to work outside with the elements out in my back yard.
(:-})
I'd also like to try and sand it down evenly and spray the whole thing black (rattle can spray). Anything I should know about prior to doing this?
7moore many thanks for your input. Funny you mentioned the LED's, someone suggested this in the UK and it's got me thinking. And yes I was just intending on using the centre bolt with some high temp silicone sealant around the outside along with the seal. Cutting out the plate may be a good idea, but I'm not sure if it's necessary and it will add to my clearance. I shall have a think about that.
Got myself some small grindstones for my drill to clean up the cutouts. Not sure if I will get anything done today though as the weather is not to good. Unfortunately
(:-})
Senior Member
MotoGP
Joined: Jul 2010
Posts: 3,871
From: Phoenix, AZ
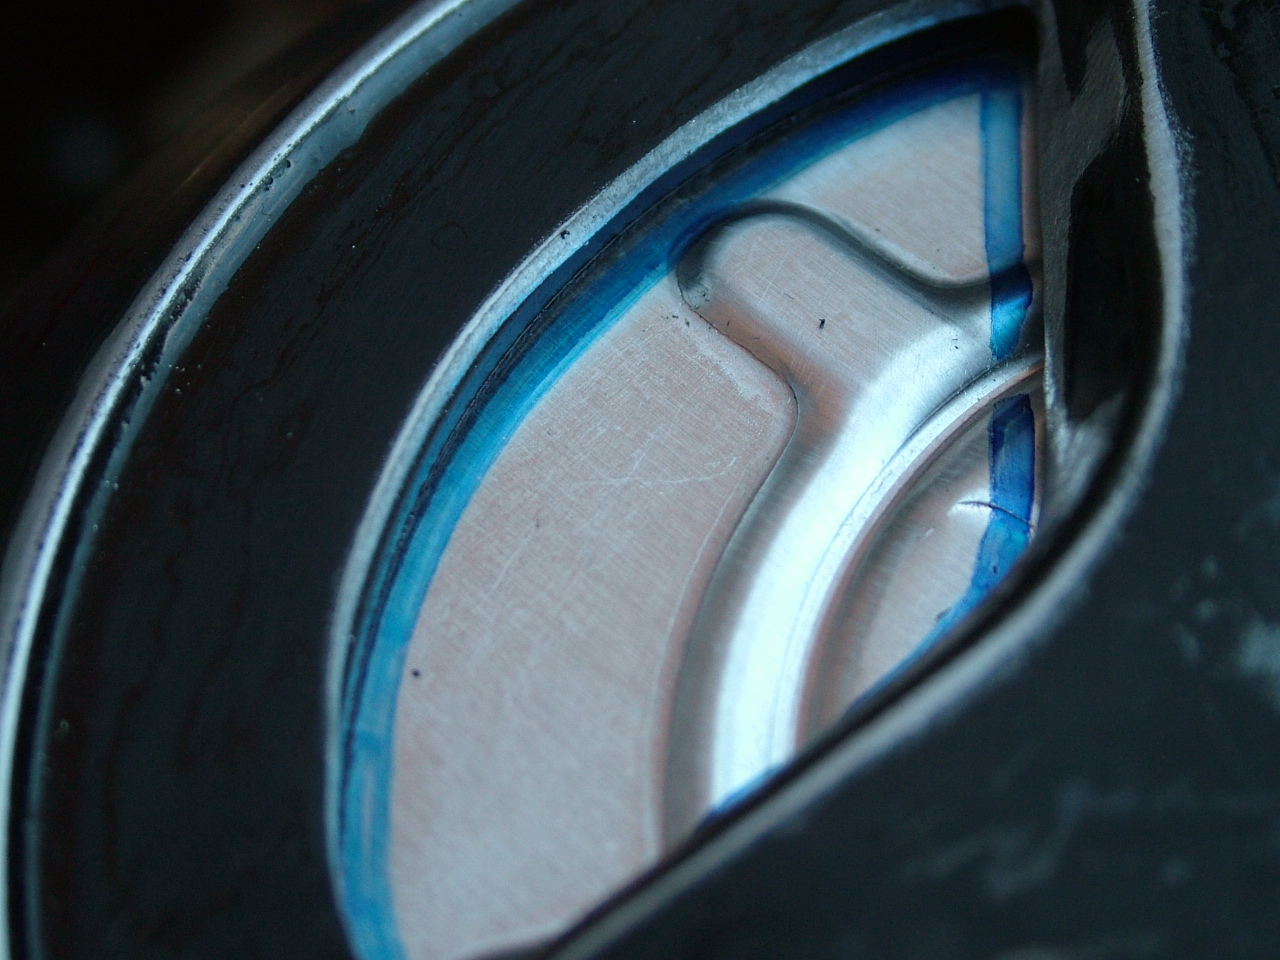
Yeah after thinking about it I don't think the center plate will help at all. The way you're describing it, I'd get thicker lexan so it's stiffer. You actually have a bit of clearance in the center b/c there's a recess where the clutch bearings are. It's the edges around the bearing that are more of a problem, but my bolts added another 4-5mm. So you may be able to get away with 8mm lexan.
Babby, when painting on smooth metal or paint (I use engine enamel on mine, works very well for what it is), make sure to do 4-5 or more light coats and then a couple of heavy ones. Enamel dries fast, so I give about 10-15 minutes between coats, but too heavy at first and the surface tension will pull the paint into puddles (not drips) and it will be tough to fix this.
Babby, when painting on smooth metal or paint (I use engine enamel on mine, works very well for what it is), make sure to do 4-5 or more light coats and then a couple of heavy ones. Enamel dries fast, so I give about 10-15 minutes between coats, but too heavy at first and the surface tension will pull the paint into puddles (not drips) and it will be tough to fix this.
Senior Member
SuperBike
Joined: Jul 2011
Posts: 1,461
From: South of Live Free or Die & North of Family Guy
6mm sounds about right. If you're not using screws to attach to the edge, you'll have more room than I did because the bolts won't touch the clutch cover plate. It sounds like you're doing one bolt in the middle and just RTV/silicon on the edge? This would look freakin awesome if it holds!
On a side note, you may be able to get some LED's between the supports and the Lexan to light the thing up. May not be enough room, and then you'd have a wire running to your casing. I tried several ways to do this but couldn't get it to work.
On a side note, you may be able to get some LED's between the supports and the Lexan to light the thing up. May not be enough room, and then you'd have a wire running to your casing. I tried several ways to do this but couldn't get it to work.
Thread Starter
Senior Member
Superstock
Joined: May 2012
Posts: 397
From: UK
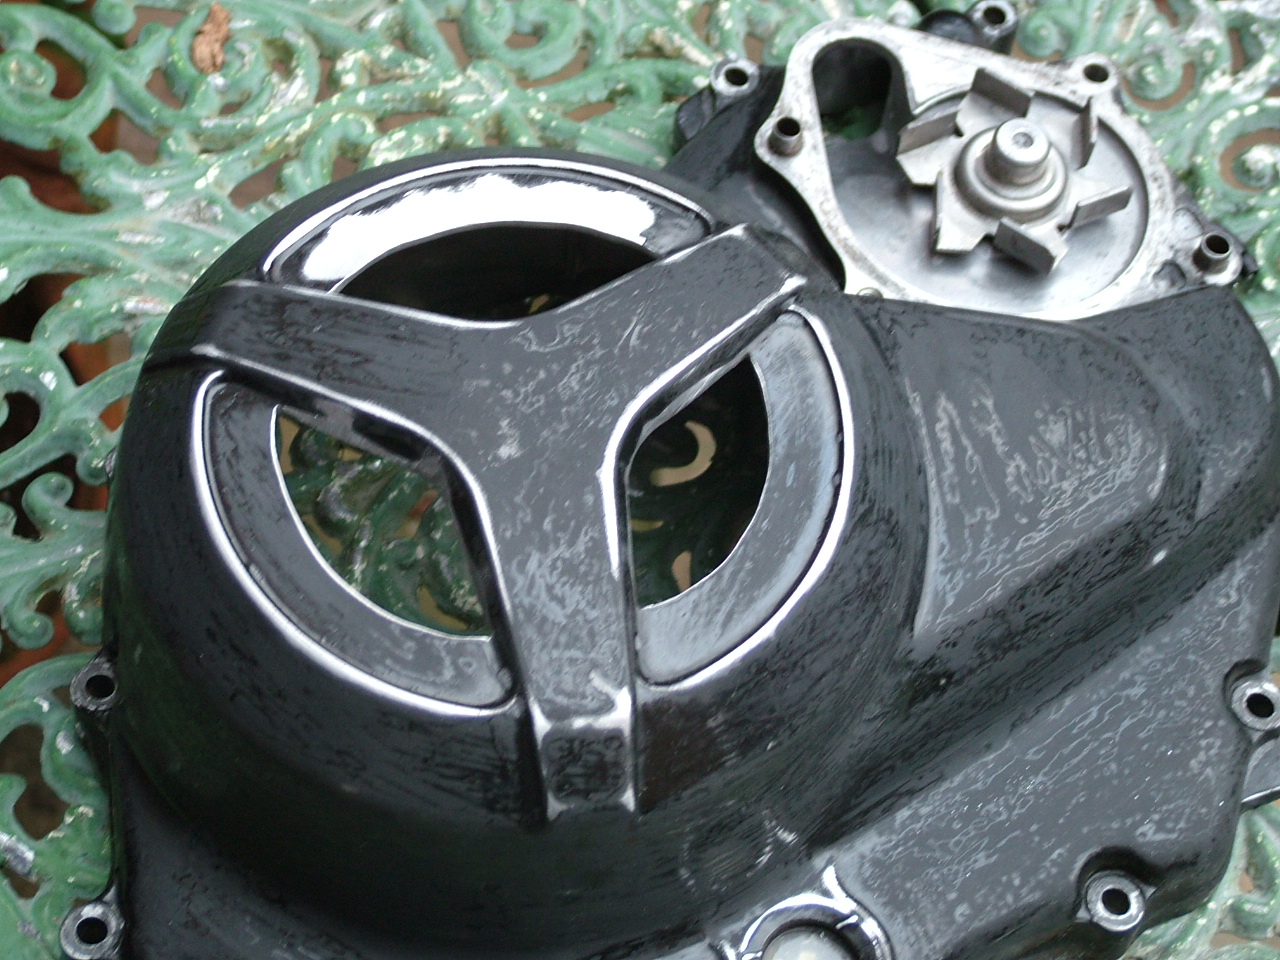
Update
Ok folks I have the window all cut out.
And I have also cut out the sound plate in case I decide to use it.
I've done quite a bit since I last posted and now have it all painted as well.
I went for a textured granite look. Inspired by Aussie Shanes engine casings.
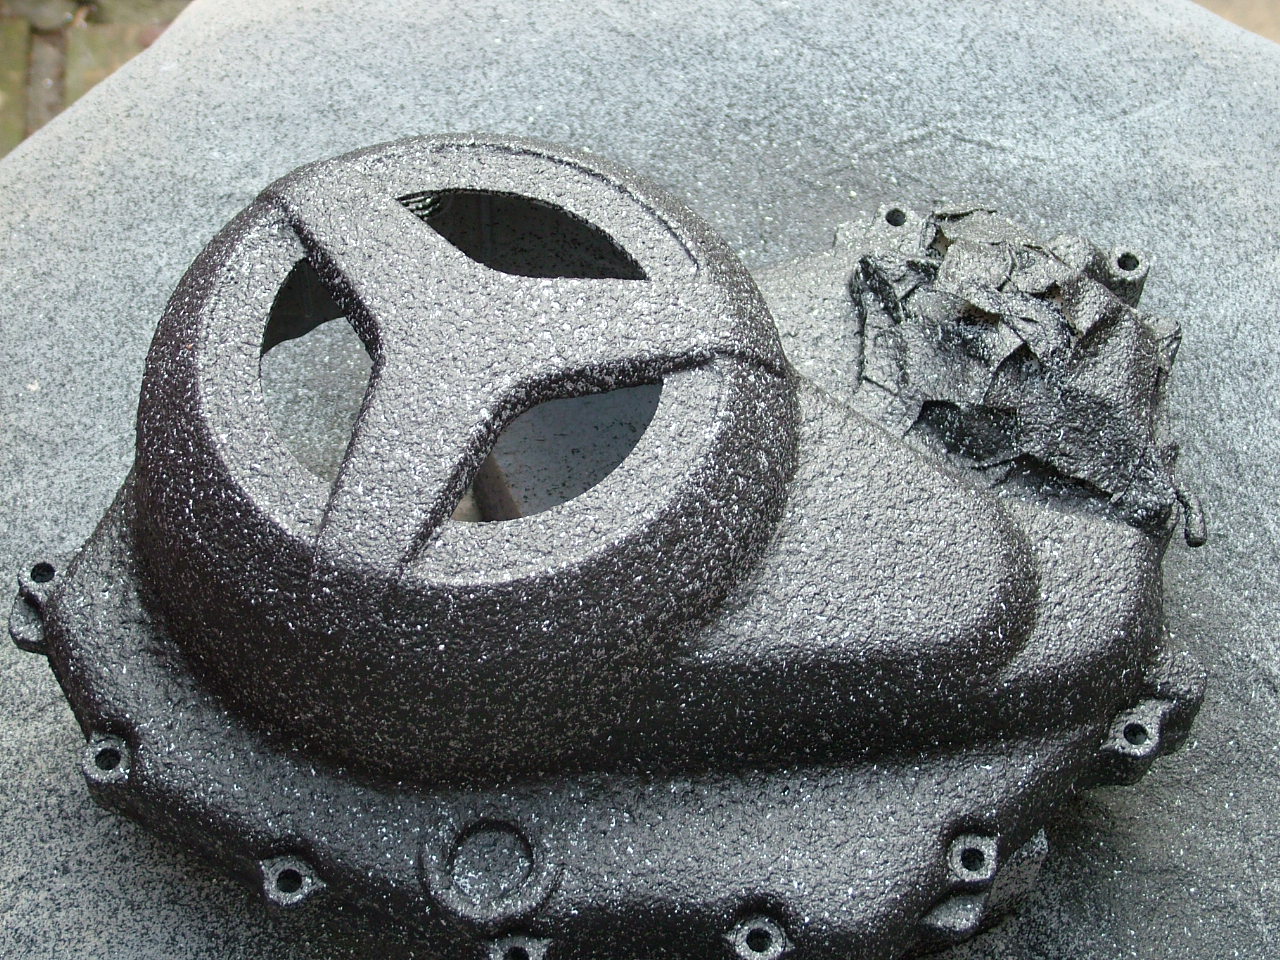
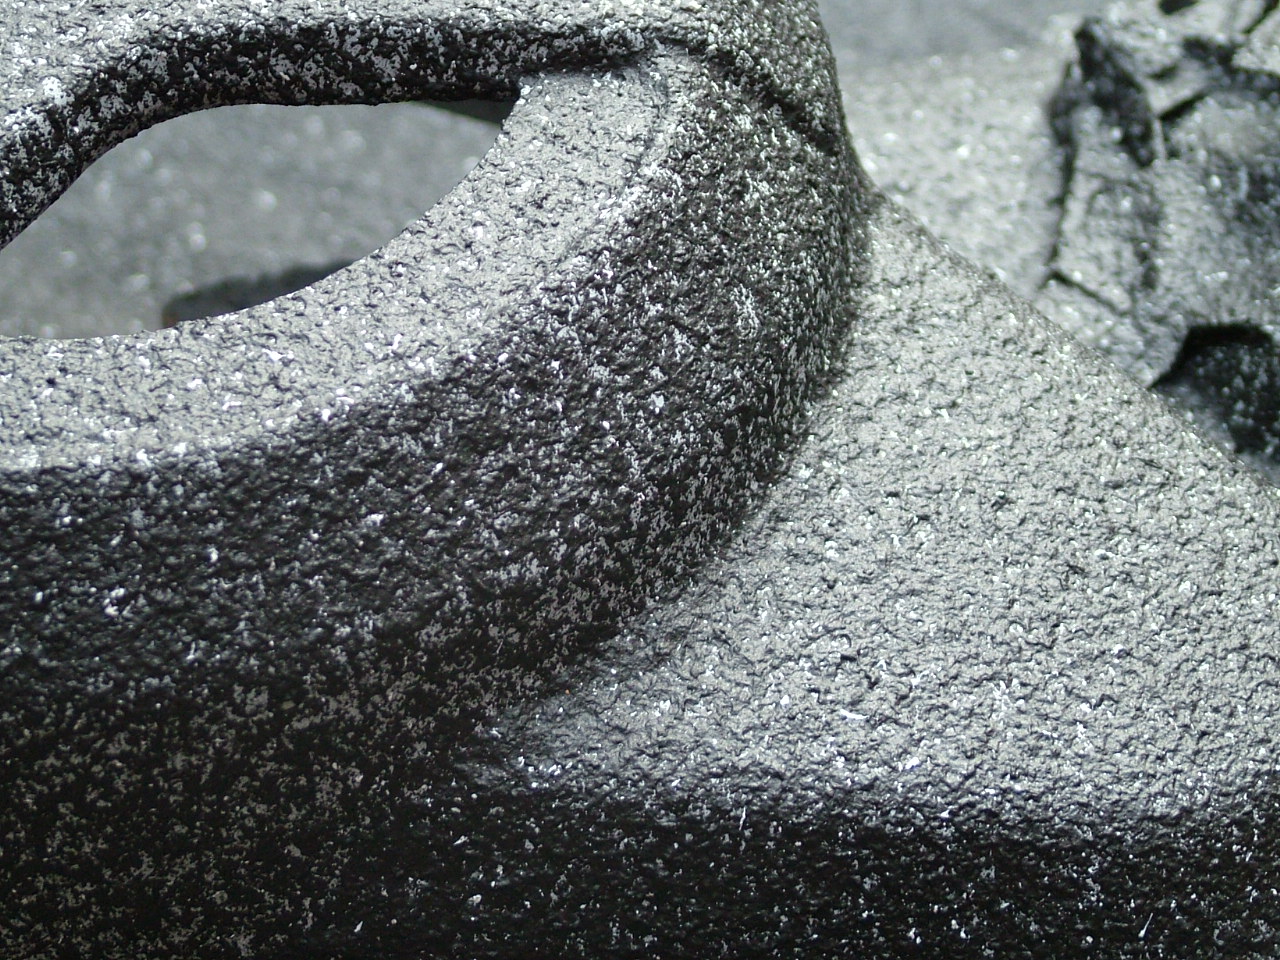
And clear coated with a Matte finish
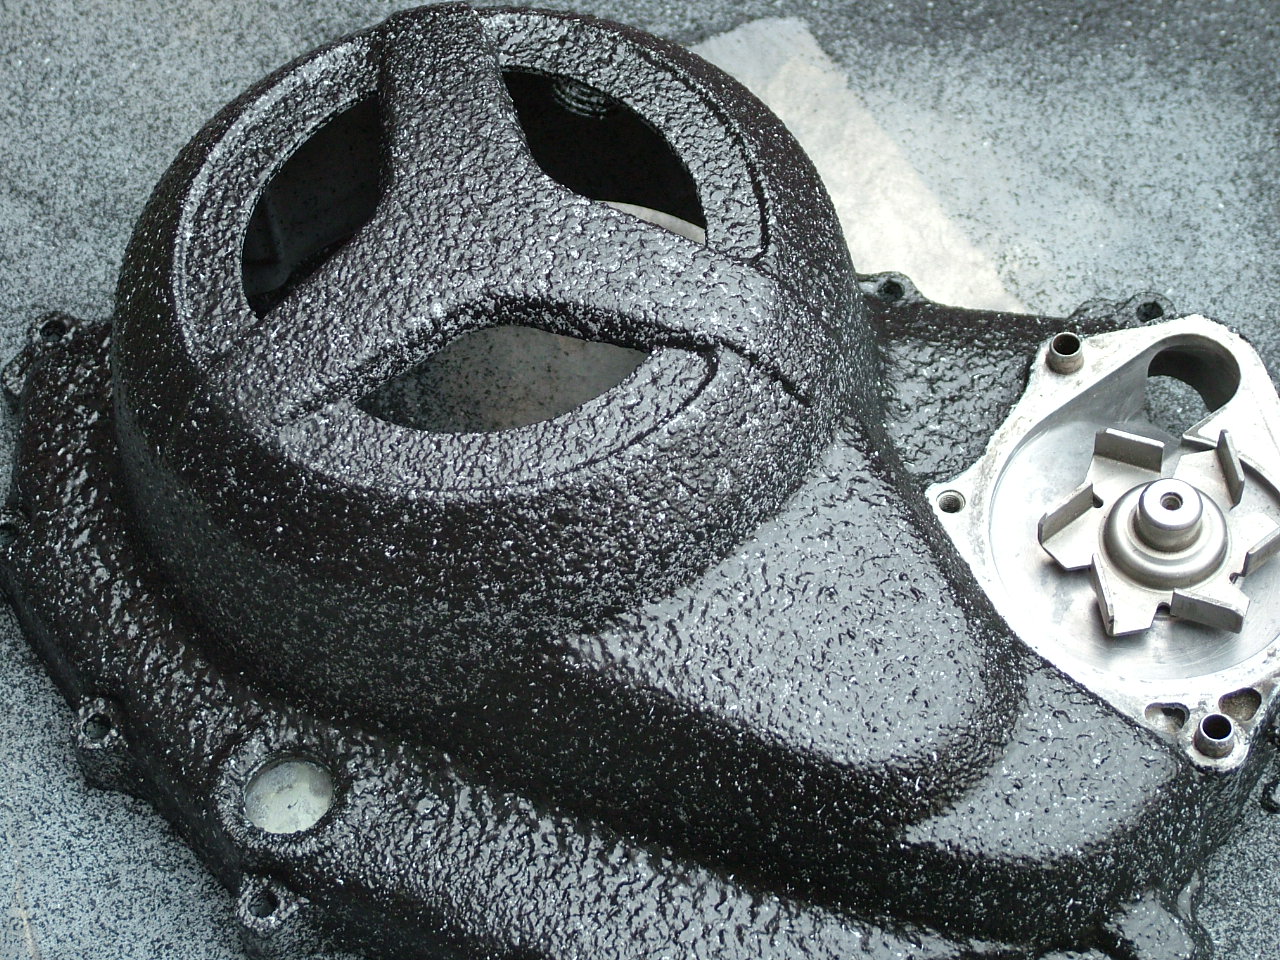
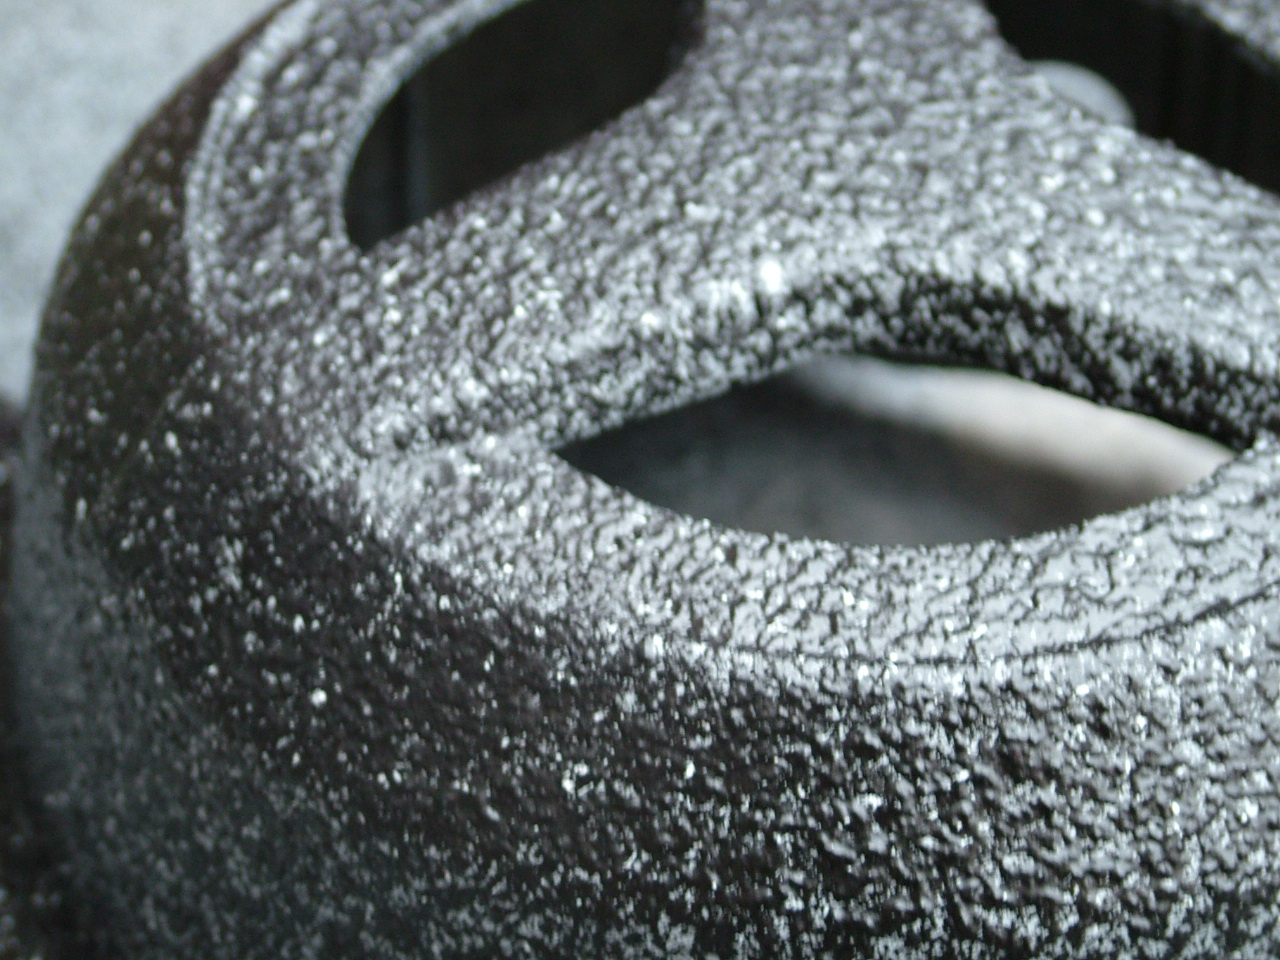
It's still got a bit of sheen to it as it hasn't fully cured yet. I'm hoping it will dull down a bit more.
Next I shall fit to the bike and check what clearances I have and then order the Lexan sheet. I have decided to recess the Lexan so it fits flush with the front of the casing like the original. It's going to be a bit tricky but I figured I could just use a flat grindstone on a drill and a bit of filling/rubbing down. So basically there is a 6mm gap to recess and then however many mm I decide to cover the whole thing. Hence the reason I need to check my clearances thoroughly.
I'm also thinking of fitting an LED strip around the circumference of the case. There should be enough room toward the outside of the case on the other side of the filler plug. Got to check my clearances for this too. As for wiring it up, I was thinking of maybe wiring it into the LT ignition circuit via a three way switch so it strobes with the revs. I will have an off, on, on strobe. Well, that's what I'm hoping. We will see.
(:-})
Ok folks I have the window all cut out.
And I have also cut out the sound plate in case I decide to use it.
I've done quite a bit since I last posted and now have it all painted as well.
I went for a textured granite look. Inspired by Aussie Shanes engine casings.
And clear coated with a Matte finish
It's still got a bit of sheen to it as it hasn't fully cured yet. I'm hoping it will dull down a bit more.
Next I shall fit to the bike and check what clearances I have and then order the Lexan sheet. I have decided to recess the Lexan so it fits flush with the front of the casing like the original. It's going to be a bit tricky but I figured I could just use a flat grindstone on a drill and a bit of filling/rubbing down. So basically there is a 6mm gap to recess and then however many mm I decide to cover the whole thing. Hence the reason I need to check my clearances thoroughly.
I'm also thinking of fitting an LED strip around the circumference of the case. There should be enough room toward the outside of the case on the other side of the filler plug. Got to check my clearances for this too. As for wiring it up, I was thinking of maybe wiring it into the LT ignition circuit via a three way switch so it strobes with the revs. I will have an off, on, on strobe. Well, that's what I'm hoping. We will see.
(:-})

Well take off, eh.
SuperBike
Joined: Jun 2012
Posts: 1,206
From: QC, Canada
Looks good Cyber. I wouldn't have the ***** to go with a finish like that since I'd be affraid of the cleaning it part once dirty. Nevertheless, looks awesome.
Be sure to take a quick video of the LED effect once engine is running so we can all appreciate your hard work
Be sure to take a quick video of the LED effect once engine is running so we can all appreciate your hard work

Thread
Thread Starter
Forum
Replies
Last Post
Crashrat
Classifieds
40
Oct 11, 2012 08:25 PM


