
Cheap (or free) DIY tail pack


Thread Starter
Member
Squid
Joined: Jan 2013
Posts: 41
From: Hudson, Florida

Cheap (or free) DIY tail pack
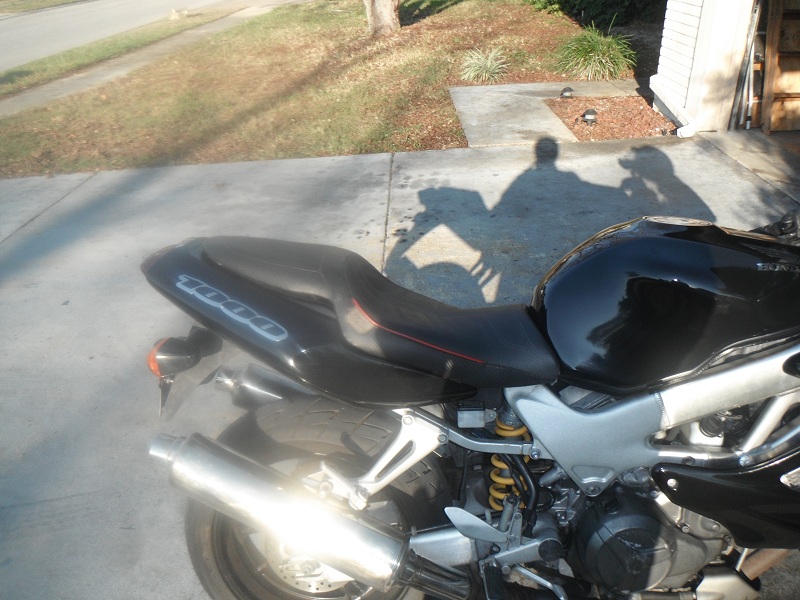
First off I'm used to having storage on my bike, not Goldwing storage but my last bike was a KLR650 with a Stanley FatMax toolbox bolted to the rear rack so less than two hours after bringing my Superhawk home I started thinking about storage and went from soft lunchboxes as saddlebags to spiderweb strapped bags on the tank and then this idea popped into my head...
What you'll need ...
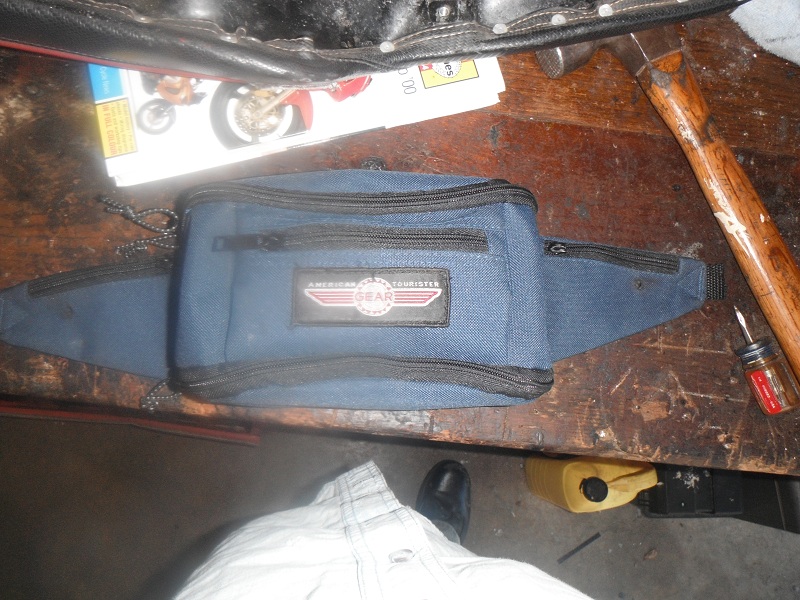
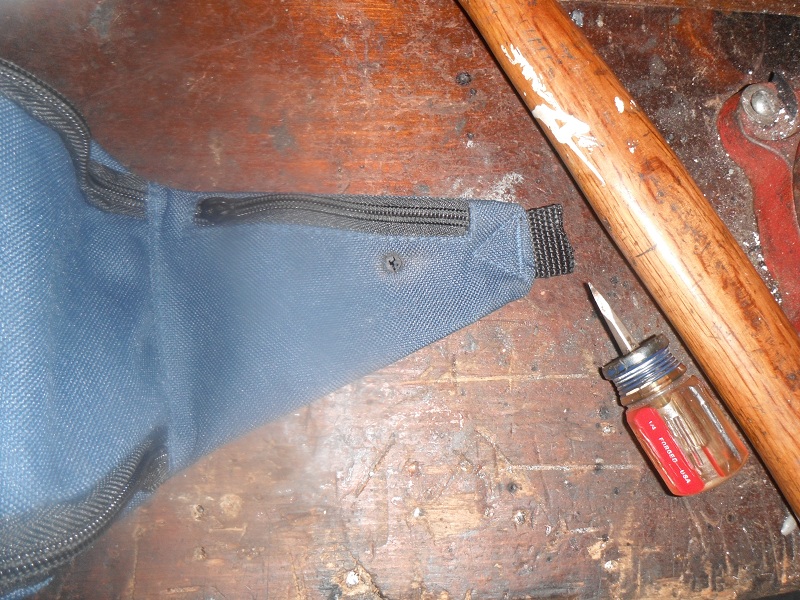
- A fanny pack you can modify (so don't borrow one from someone, unless they owe you a few bucks)
- 4 large flat washers
- 2 small washers
- 2 screws that will fit into the mounting holes on the seat for the rear seat cover.
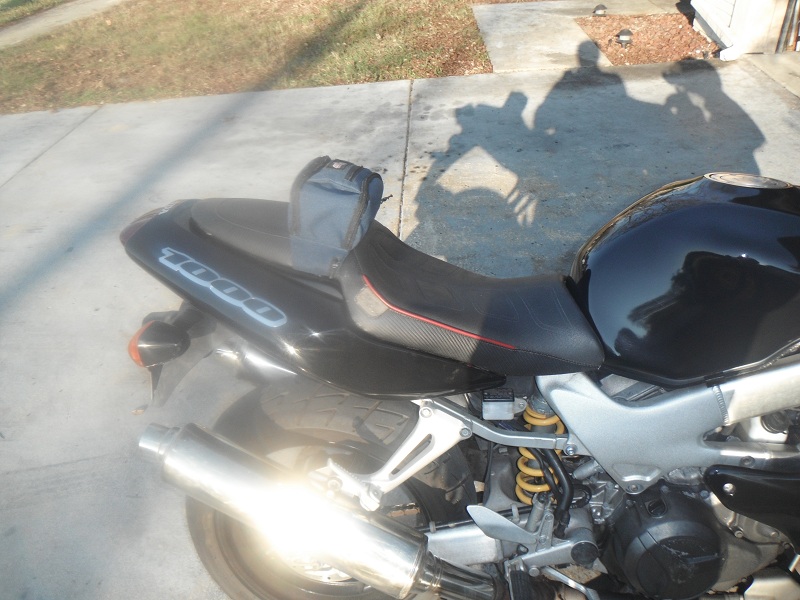
Now lets begin with a before picture.
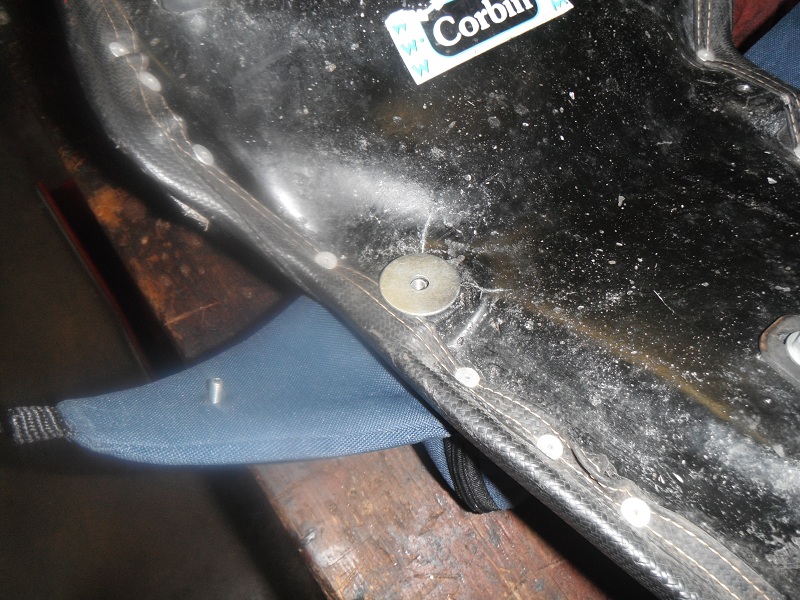
Now the mounting holes where we'll mount the fanny pack which will from now forwards be referred to as a tail pack to avoid the mental image of an old bingo granny with a flamingo pink visor that the phrase "fanny pack" conjurers up. Got that in your head now? Good! Use that as your motivation and transform that granny pack into a tail pack!
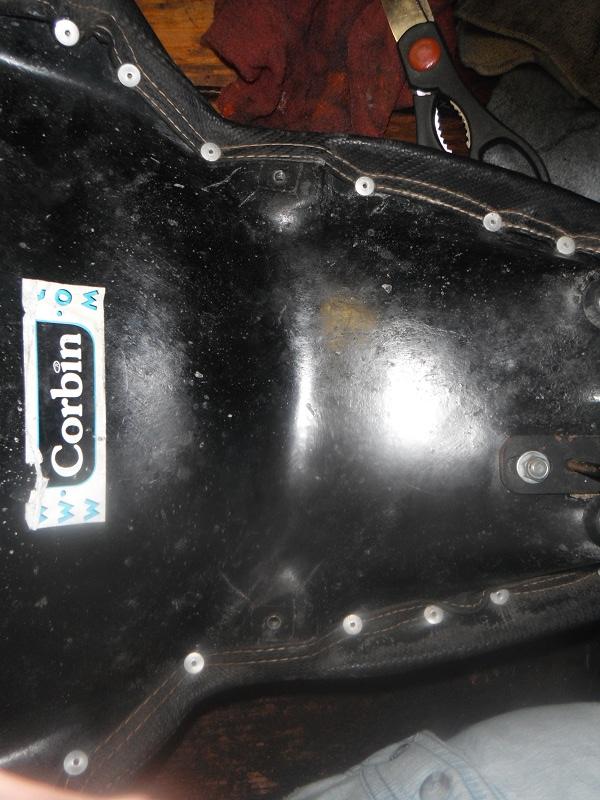
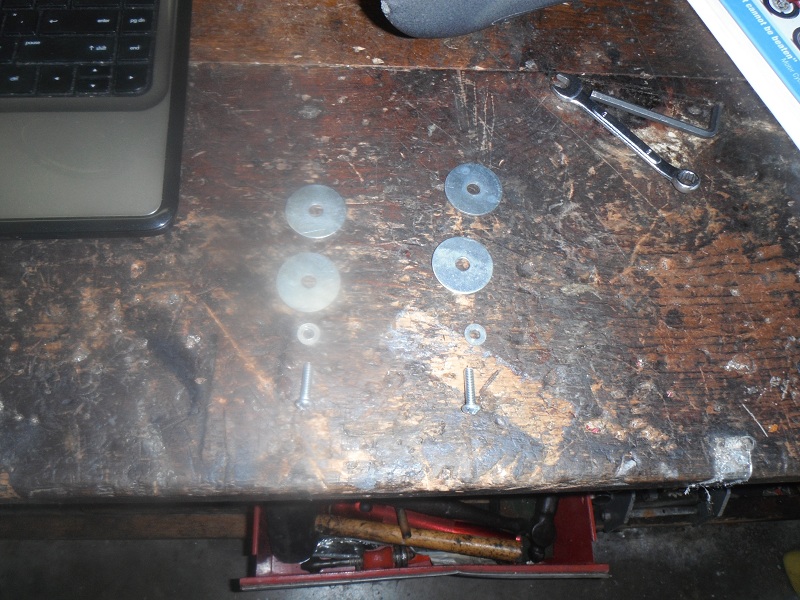
Here's a closer look.
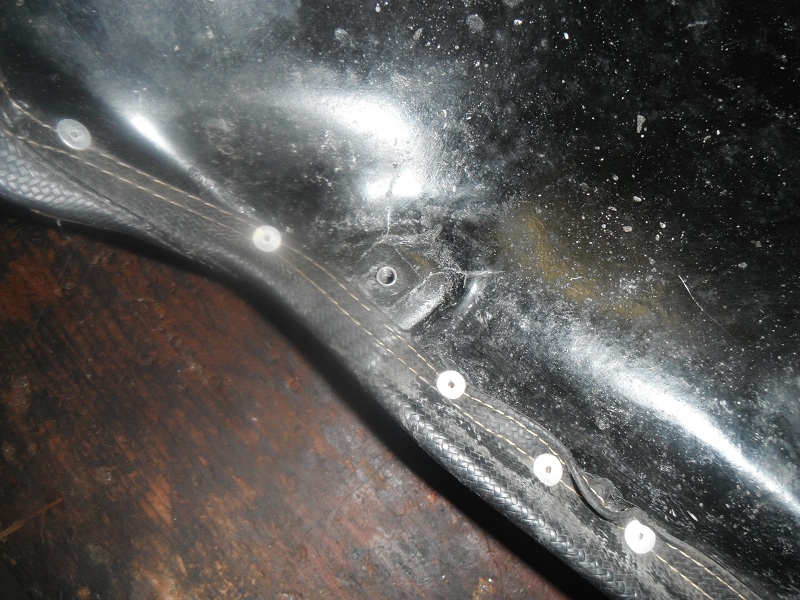
Now for the prep work you'll need to center the pack on the seat and figure out where to punch some holes in the strap or in my case the side pockets on the "tail pack".
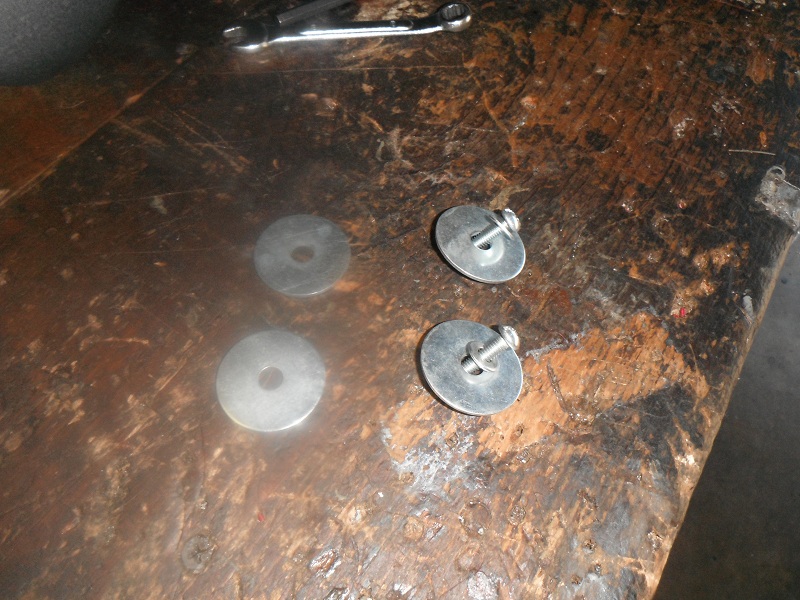
Now that that's done lets look at the hardware needed and see how it comes together, the pictures should be self explanatory.
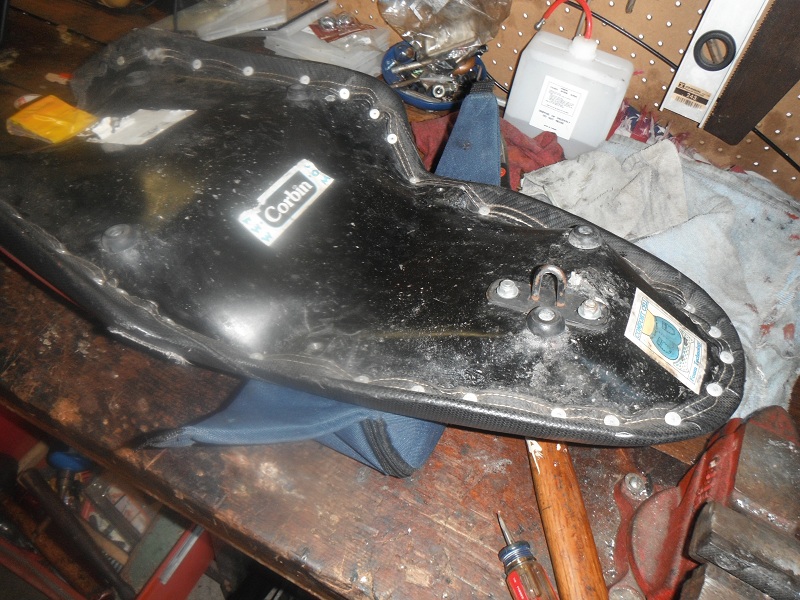
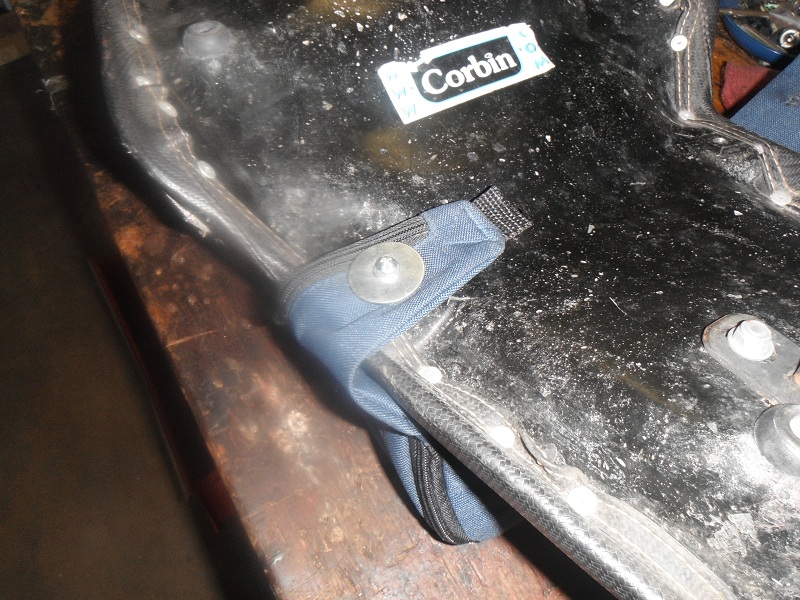
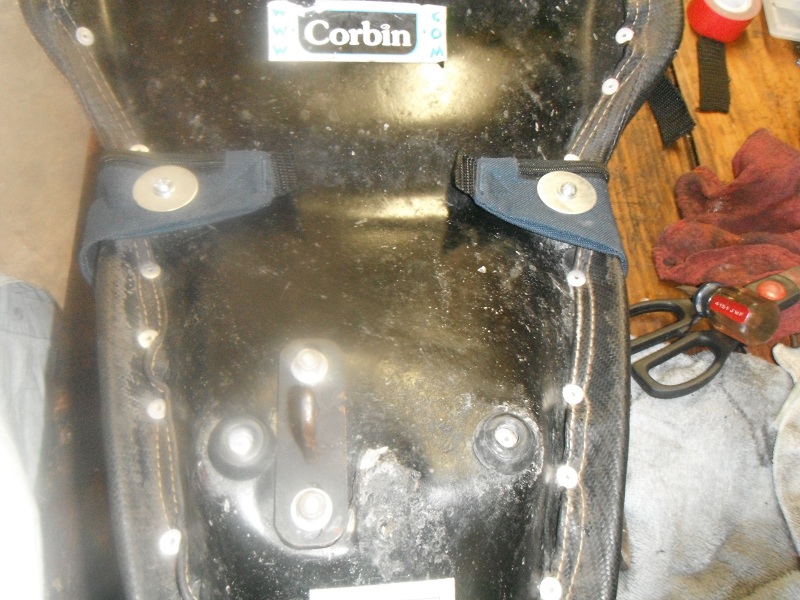

Tada! Now you might have to make a slight modification to the bike for the seat to close. The screw heads might contact the metal loops under the seat and they might need to be bent or tapped back a bit. After you're sure you got everything right you can trim the straps on the "tail pack".
I haven't found any harm in doing so but if anyone knows otherwise please let me know. Now here it is on the bike.
Even better is if the "tail pack" is expandable like so.
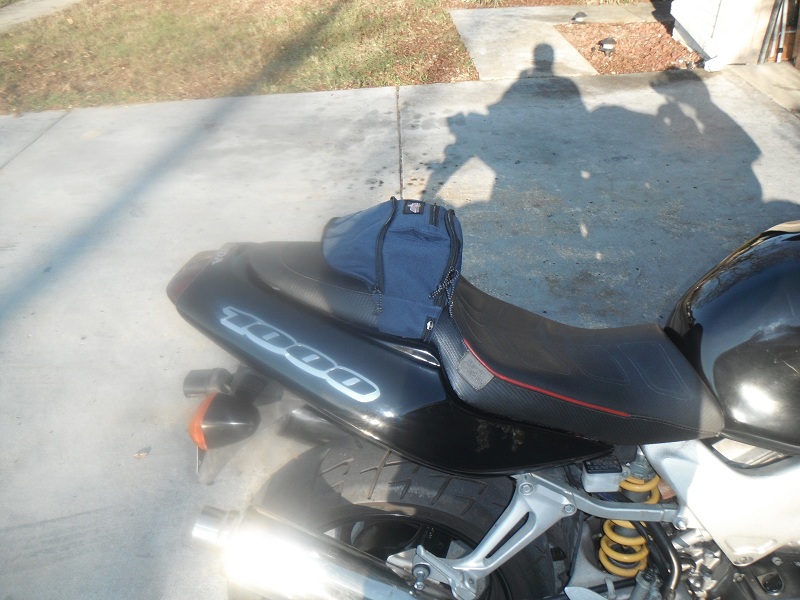
Overall it cost me nothing since I had everything on hand. But figure a few bucks for the hardware and I remember picking this pack up at the Salvation Army for less than $3 so it's quite cheap! I was able to fit a 7" tablet, 16oz travel mug, leather gloves, rag, face mask, multitool and a couple other small odds and ends in there.
What you'll need ...
- A fanny pack you can modify (so don't borrow one from someone, unless they owe you a few bucks)
- 4 large flat washers
- 2 small washers
- 2 screws that will fit into the mounting holes on the seat for the rear seat cover.
Now lets begin with a before picture.
Now the mounting holes where we'll mount the fanny pack which will from now forwards be referred to as a tail pack to avoid the mental image of an old bingo granny with a flamingo pink visor that the phrase "fanny pack" conjurers up. Got that in your head now? Good! Use that as your motivation and transform that granny pack into a tail pack!
Here's a closer look.
Now for the prep work you'll need to center the pack on the seat and figure out where to punch some holes in the strap or in my case the side pockets on the "tail pack".
Now that that's done lets look at the hardware needed and see how it comes together, the pictures should be self explanatory.
Tada! Now you might have to make a slight modification to the bike for the seat to close. The screw heads might contact the metal loops under the seat and they might need to be bent or tapped back a bit. After you're sure you got everything right you can trim the straps on the "tail pack".
I haven't found any harm in doing so but if anyone knows otherwise please let me know. Now here it is on the bike.
Even better is if the "tail pack" is expandable like so.
Overall it cost me nothing since I had everything on hand. But figure a few bucks for the hardware and I remember picking this pack up at the Salvation Army for less than $3 so it's quite cheap! I was able to fit a 7" tablet, 16oz travel mug, leather gloves, rag, face mask, multitool and a couple other small odds and ends in there.

Banned
MotoGP
Joined: Aug 2007
Posts: 5,942
From: Lake View Terrace, CA
The only "issue" I see is that there is supposed to be a set of hooks that mount in those holes which engage those metal hooks you pushed out of the way.
They make it harder for the seat to come off if the latch happens to fail for some reason and I kind of like that.
They make it harder for the seat to come off if the latch happens to fail for some reason and I kind of like that.

Senior Member
SuperSport
SuperSport
Joined: Aug 2007
Posts: 524
From: Tarpon Springs, FL
Agreed, but I've got a Corbin saddle too and they come without those hooks. They have rubber stoppers on the bottom of the seat pan that contact the subframe to keep the seat off of the bodywork, so in our case, those hooks aren't needed unless a return to the stock seat is in our futures. Its not for me. At all... I like this idea, for quick trips... It should hold my camera and a lens or two, some batteries. Nice!

Senior Member
Superstock
Joined: Jul 2007
Posts: 433
From: Los Angeles & Winston Salem
Hmmm?
A bag that fits snugly up against your BUM! (that's English for butt for you Americans) it will forever been known as the
"BUMBAG"
Look's good mike. Happy rainy Friday!
A bag that fits snugly up against your BUM! (that's English for butt for you Americans) it will forever been known as the
"BUMBAG"
Look's good mike. Happy rainy Friday!

Senior Member
MotoGP
Joined: Jul 2007
Posts: 5,066
From: NYC
Hmm. I did the same thing on my CBR600 11ish years ago. Here are some pics of what developed.
First you think, just essentials, a disc lock, a sandwich. Then you stop at a store and realize, if I can carry a 200lb passenger........
Then your mad when your stuff isn't lockable when you go into the next store. Then it gets wet in the rain.
Eventually you put brake lights in it and a power socket to charge your cell while you ride. Then LED lights on the interior to see the 2 helmets you can now fit.

Senior Member
SuperSport
Joined: Mar 2010
Posts: 987
From: Asheville, North Carolina
I prefer The LIL"Horse design rack, and my carry-all bag... (two helmets, three jackets, racing leathers, dinner jacket, extra boots, kitchen seat, etc.....)
I don't think I have ever needed a selection of tools on commutes, or weekend excursions on any honda, i have ever owned..
Now you fears of this need of tools -in prior owning a COWASKI. Is understandable
I don't think I have ever needed a selection of tools on commutes, or weekend excursions on any honda, i have ever owned..
Now you fears of this need of tools -in prior owning a COWASKI. Is understandable
Last edited by 1971allchaos; Jan 25, 2013 at 03:53 PM.

Senior Member
Superstock
Joined: May 2012
Posts: 397
From: UK
A bag that fits snugly up against your BUM! (that's English for butt for you Americans) it will forever been known as the
"BUMBAG"
"BUMBAG"
(:-})

RUNLEVELZERO #99
SuperBike
Joined: Jan 2007
Posts: 2,223
From: Skokie
In 2001 I modified the Ventura system "sport" rack (I also have the tour rack & two zip-together bags + semi-hard panniers for long trips) & have the old Warshawsky trunk shown (i.e., known to non-Chicagoans as J.C. Whitney) and the slightly larger Shad SH-40 Cargo Top Case.

Senior Member
Back Marker
Joined: May 2012
Posts: 230
From: Akron, Ohio
Looks good and all, and I'm as frugal as the next guy, but why not just buy a $30 magnetic tank bag? Mine expands to hold a 24 pack of beer (cans of course). Not trying to popo your project at all - just my 2 cents.
Senior Member
SuperSport
Joined: Aug 2010
Posts: 506
From: Toronto, Ontario, Canada
The cheap dutchman in me respects the cheapness and injenuity of your "Bumbag", but it can't really be a substitute for real motorcycle luggage.
Nothing beats a lockable, waterproof topcase.
Tailbag, saddlebags, and tank bag- With this setup, I can carry nearly too much gear on my bike.
If it's more than a tankbag and the topbox, might as well take the cage.
Nothing beats a lockable, waterproof topcase.
Tailbag, saddlebags, and tank bag- With this setup, I can carry nearly too much gear on my bike.
If it's more than a tankbag and the topbox, might as well take the cage.
Senior Member
SuperSport
Joined: Aug 2010
Posts: 506
From: Toronto, Ontario, Canada
+1
my setup. Minimal. I have an expandable oxford tank/tailbag, and saddlebags if need be.

Last edited by matt365; Jan 26, 2013 at 03:34 PM.
Thread Starter
Member
Squid
Joined: Jan 2013
Posts: 41
From: Hudson, Florida
I realize it's not ideal but I had the stuff on hand and with limited funds I'd rather focus on maintenance and CCT's before thinking about luggage. It's just a hold-me-over until then and figured I'd post since it might be useful to others.
Oh, and no offense taken what so ever
Oh, and no offense taken what so ever

Senior Member
Back Marker
Joined: Apr 2010
Posts: 219
From: Prague - Czech
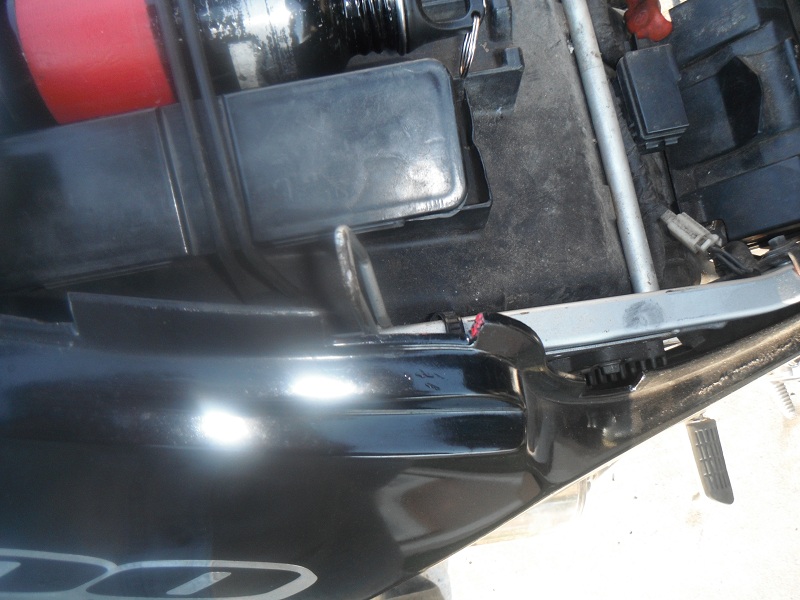
Anyway, I want to ask, who is the manufacturer of your belly pan? Looks great.
Senior Member
SuperSport
Joined: Aug 2010
Posts: 506
From: Toronto, Ontario, Canada
True on the tank thing. I tend to use the oxford expandable bag as a tail pack, and throw a small tankbag on for keys/ wallet etc.
The belly pan:
I wish I knew who the manufacturer is. It's carbon fiber, but it had some cracks from a previous drop from the last owner. I glassed it up, reinforced the cracks, and painted it.
Senior Member
Back Marker
Joined: Apr 2010
Posts: 219
From: Prague - Czech
Senior Member
Back Marker
Joined: Apr 2010
Posts: 219
From: Prague - Czech
Thread Starter
Member
Squid
Joined: Jan 2013
Posts: 41
From: Hudson, Florida
No problem at all and as for this...
My superhawk is not only a fun toy but my main and only form of motorized transport so I just look for ways to carry what I think I might need. Hell I've found I can bungee a small cat carrier to the back so that's one problem solved. 
If it's more than a tankbag and the topbox, might as well take the cage.
Thread Starter
Member
Squid
Joined: Jan 2013
Posts: 41
From: Hudson, Florida
He doesn't do too bad on the bike. I've taken him about half a dozen times on my last bike and after the second time he was quite calm but it was only on trips less than 5 miles one way.
Senior Member
SuperSport
SuperSport
Joined: Aug 2007
Posts: 524
From: Tarpon Springs, FL
Mike21091, I'm a few miles south in Tarpon Springs... next time you're on US 19 with a cat out back, PLEASE let me know in advance so I can bear witness to the event... please... LOL.

Thread
Thread Starter
Forum
Replies
Last Post


