
I Just ordered a chain and sprocket set from sprocketcenter.com

Thread Starter
�ber Member
Superstock
Joined: Aug 2010
Posts: 293
From: Virginia Beach VA.

I Just ordered a chain and sprocket set from sprocketcenter.com
I Just ordered a chain and sprocket set from sprocketcenter.com
http://www.sprocketcenter.com/p/3149...00f-97-06.html
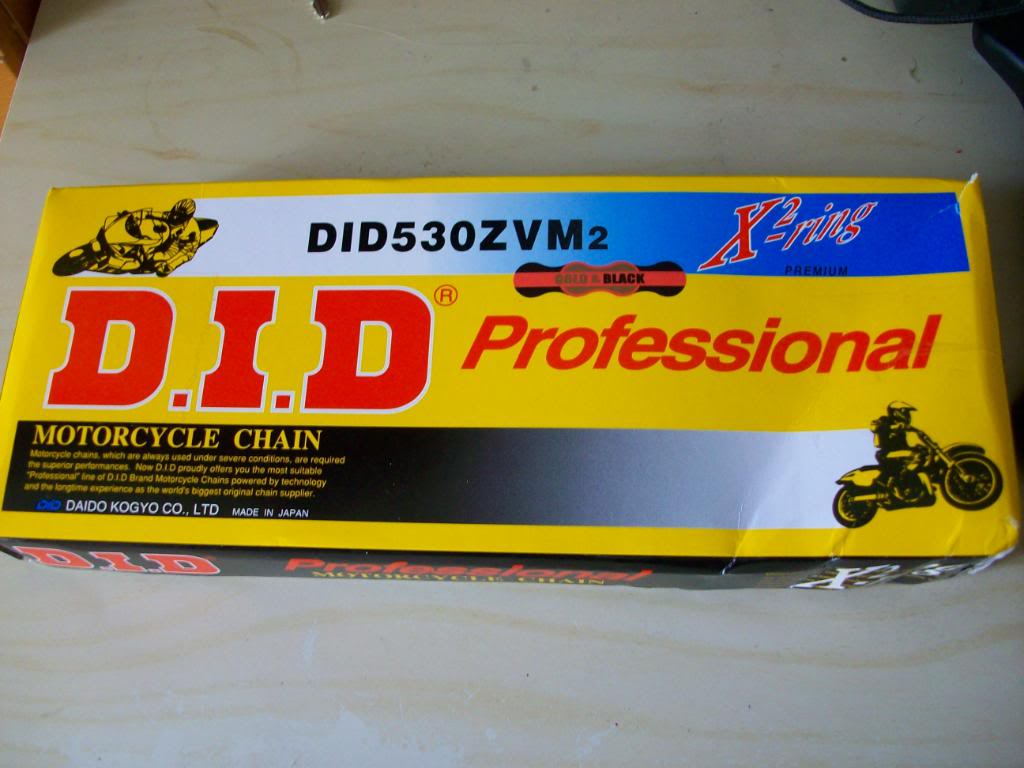
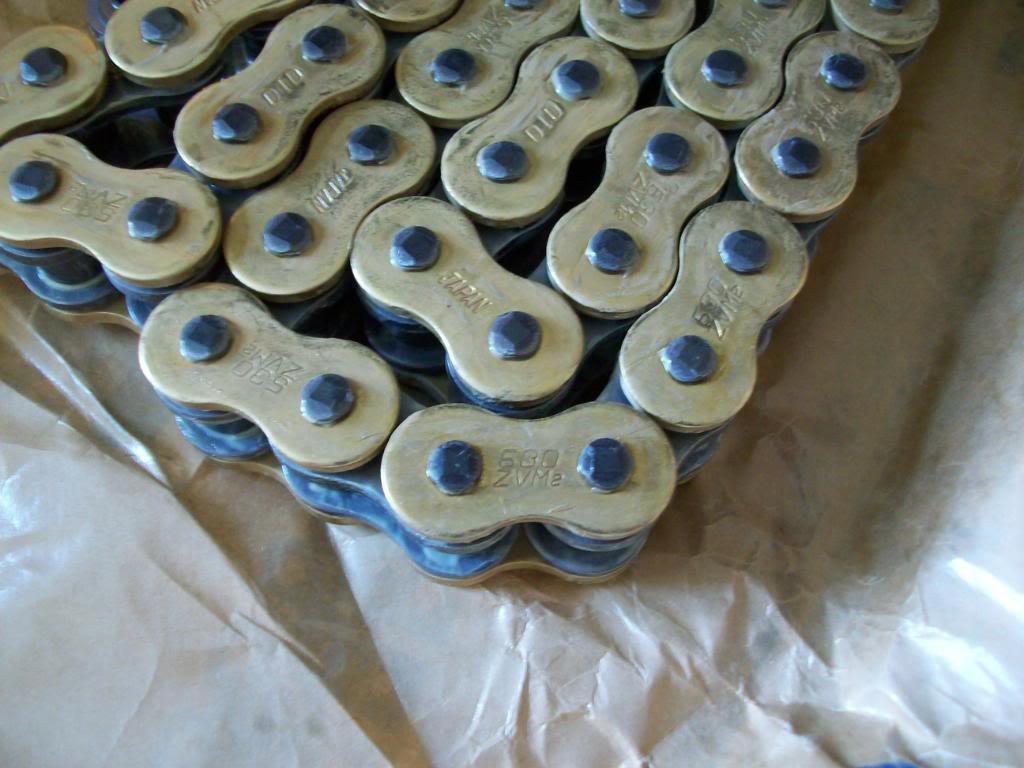
They were out of the DID 530VM chain so they are going to send the better DID 530 ZVM2 chain ( NOT THE DID 530 ZVMX )
Hopefully when the snow clears I will swap them and send pictures.
http://www.sprocketcenter.com/p/3149...00f-97-06.html
They were out of the DID 530VM chain so they are going to send the better DID 530 ZVM2 chain ( NOT THE DID 530 ZVMX )
Hopefully when the snow clears I will swap them and send pictures.
Thread Starter
�ber Member
Superstock
Joined: Aug 2010
Posts: 293
From: Virginia Beach VA.
Yeah I know right, I was like ok when he said that.
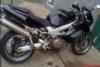
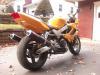
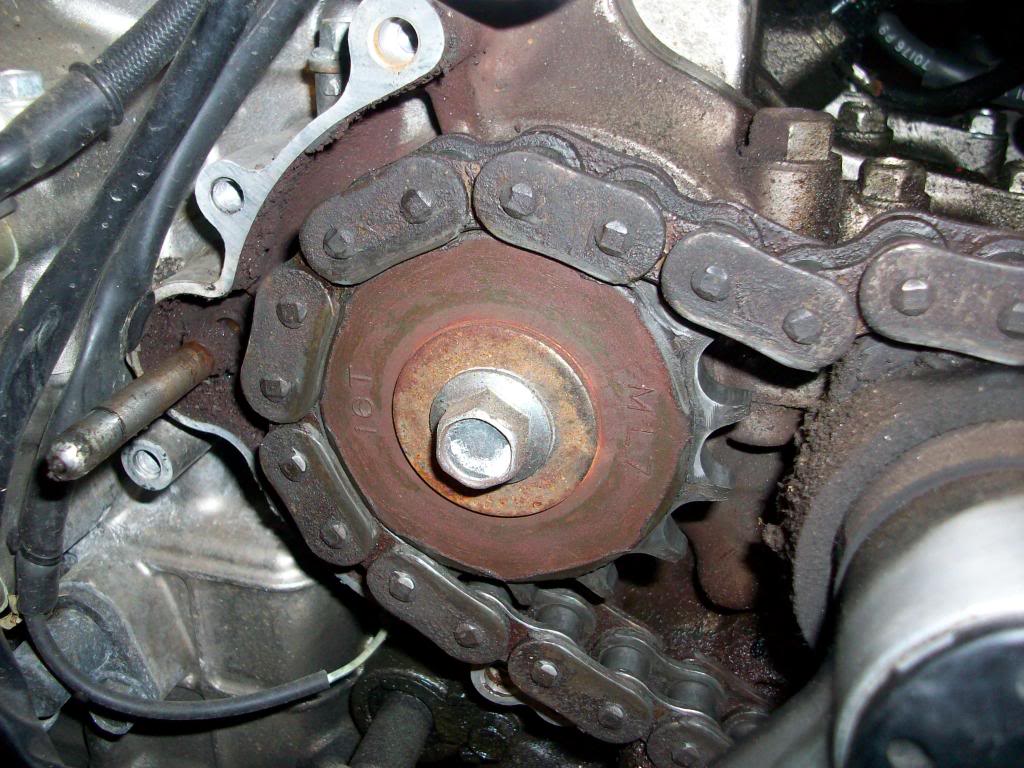
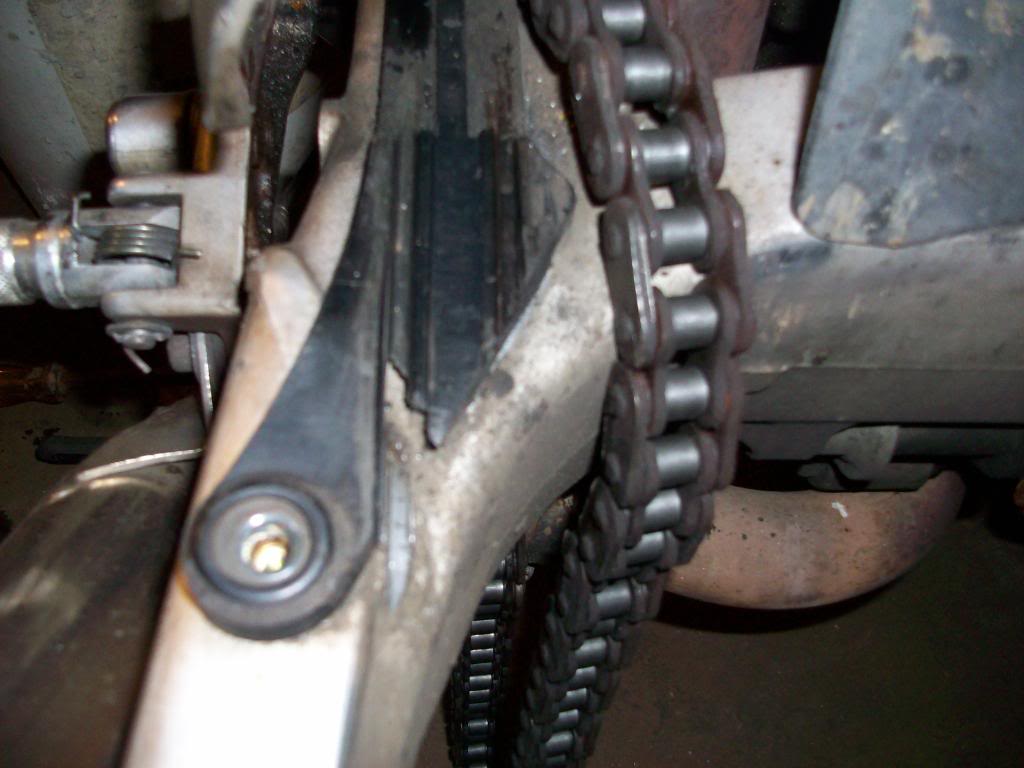
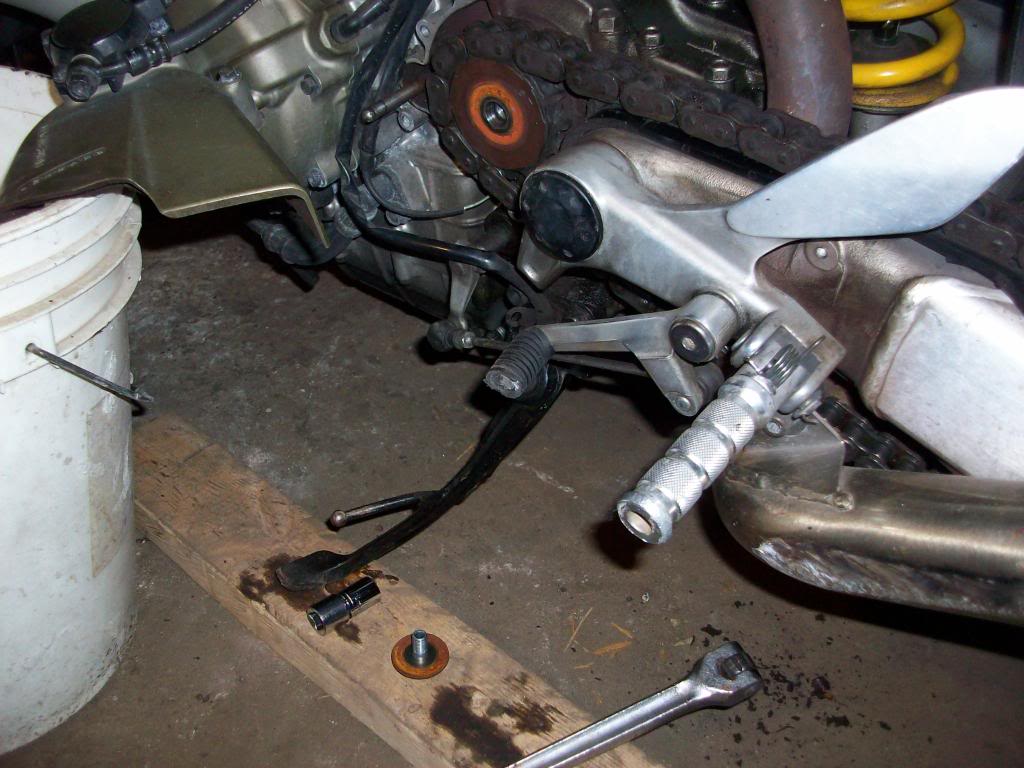
This is what my chain looks like now.
http://tinypic.com/r/35n0f1w/7
This is what my chain looks like now.
http://tinypic.com/r/35n0f1w/7


Thread Starter
�ber Member
Superstock
Joined: Aug 2010
Posts: 293
From: Virginia Beach VA.
Thread Starter
�ber Member
Superstock
Joined: Aug 2010
Posts: 293
From: Virginia Beach VA.
Senior Member
SuperSport
Joined: Sep 2008
Posts: 805
From: Delmar NY
Time to swap mine out also. I've been thinking this is a good time to go with a 520 conversion. http://www.sprocketcenter.com/p/6698...---honda-.html
Not sure about the chain offered in the "kit". Is there a down side to the 520ERV3? I checked out the DID site and the spec page would suggest that this "race only" chain yet the wear resitance is only about 10% under a 520ZVM-X and the tensile strength is similar.
I'm not racing, I want reasonable life so I'm staying away from aluminum sprockets. During the riding season I clean and lube my chain every 1 -2 weeks ~ 300miles. My original chain lasted 15k. I would like the new one to last that long.
Thoughts?
Thread Starter
�ber Member
Superstock
Joined: Aug 2010
Posts: 293
From: Virginia Beach VA.
Time to swap mine out also. I've been thinking this is a good time to go with a 520 conversion. http://www.sprocketcenter.com/p/6698...---honda-.html
Not sure about the chain offered in the "kit". Is there a down side to the 520ERV3? I checked out the DID site and the spec page would suggest that this "race only" chain yet the wear resitance is only about 10% under a 520ZVM-X and the tensile strength is similar.
I'm not racing, I want reasonable life so I'm staying away from aluminum sprockets. During the riding season I clean and lube my chain every 1 -2 weeks ~ 300miles. My original chain lasted 15k. I would like the new one to last that long.
Thoughts?
Not sure about the chain offered in the "kit". Is there a down side to the 520ERV3? I checked out the DID site and the spec page would suggest that this "race only" chain yet the wear resitance is only about 10% under a 520ZVM-X and the tensile strength is similar.
I'm not racing, I want reasonable life so I'm staying away from aluminum sprockets. During the riding season I clean and lube my chain every 1 -2 weeks ~ 300miles. My original chain lasted 15k. I would like the new one to last that long.
Thoughts?
If you have money to experiment or if in fact you track race then I would get it.
If not I would stick with oem or better.\
I would stay with the stock setup of 530 because these bikes put a lot of load on the chain.
Thread Starter
�ber Member
Superstock
Joined: Aug 2010
Posts: 293
From: Virginia Beach VA.
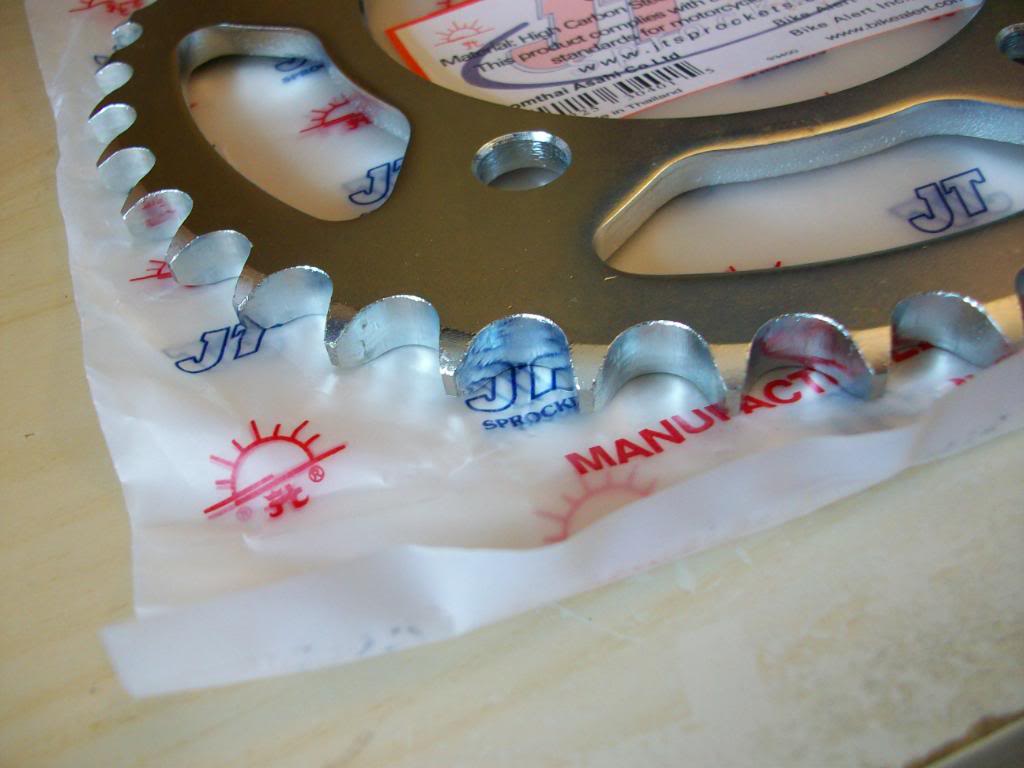
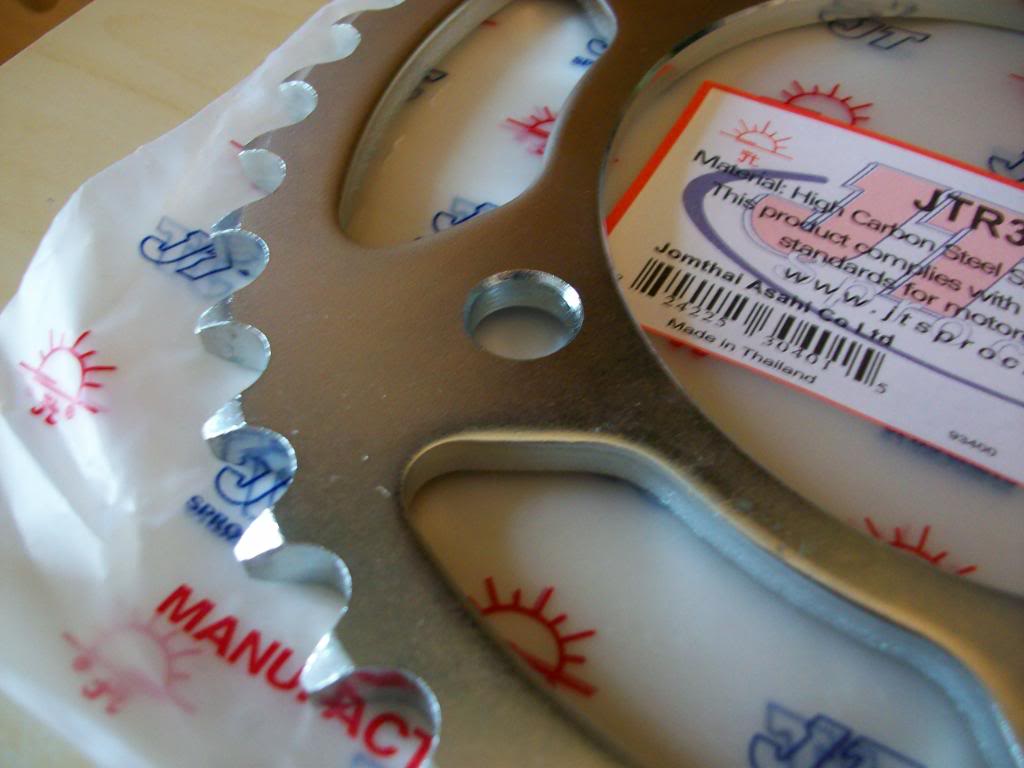
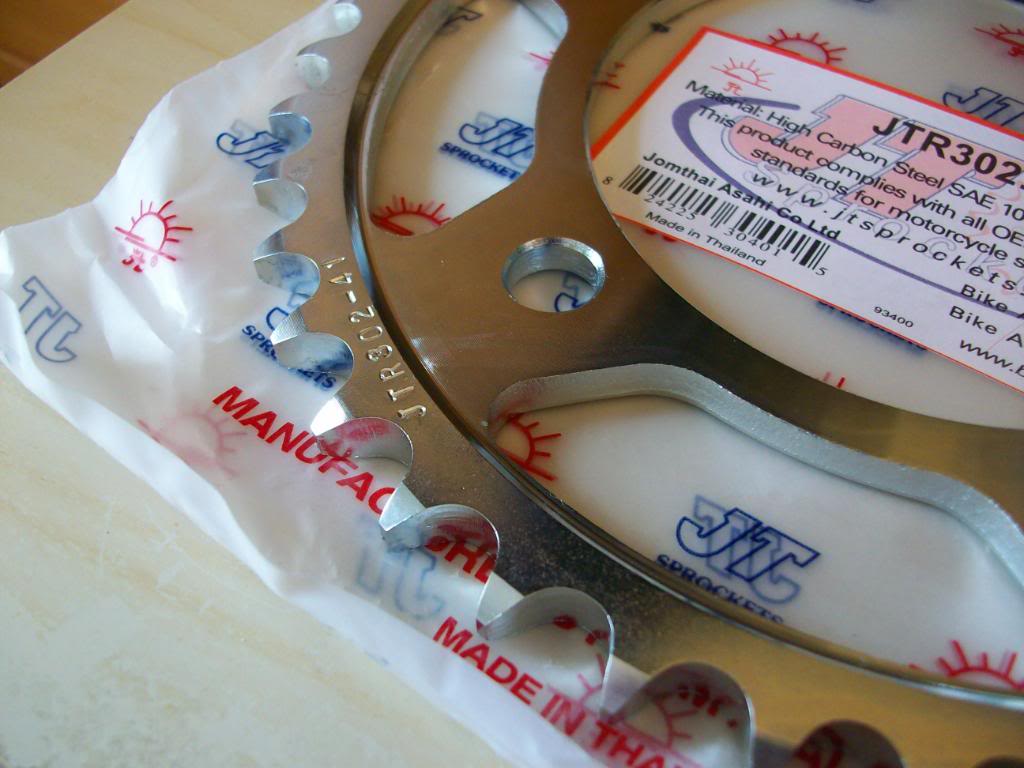
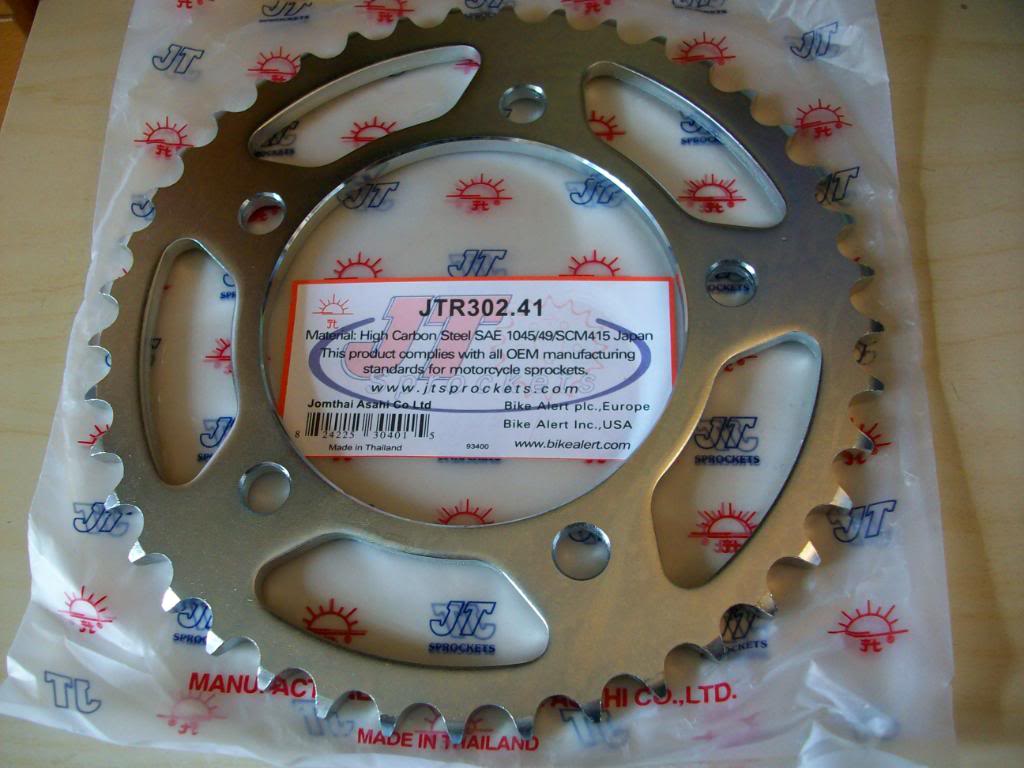
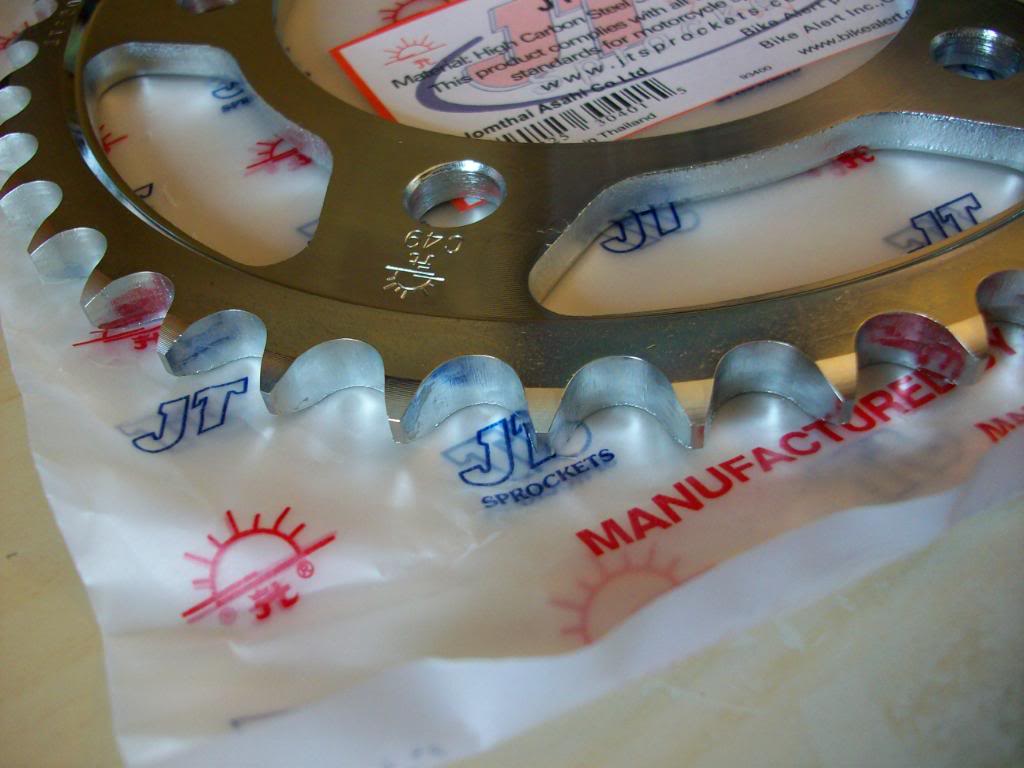
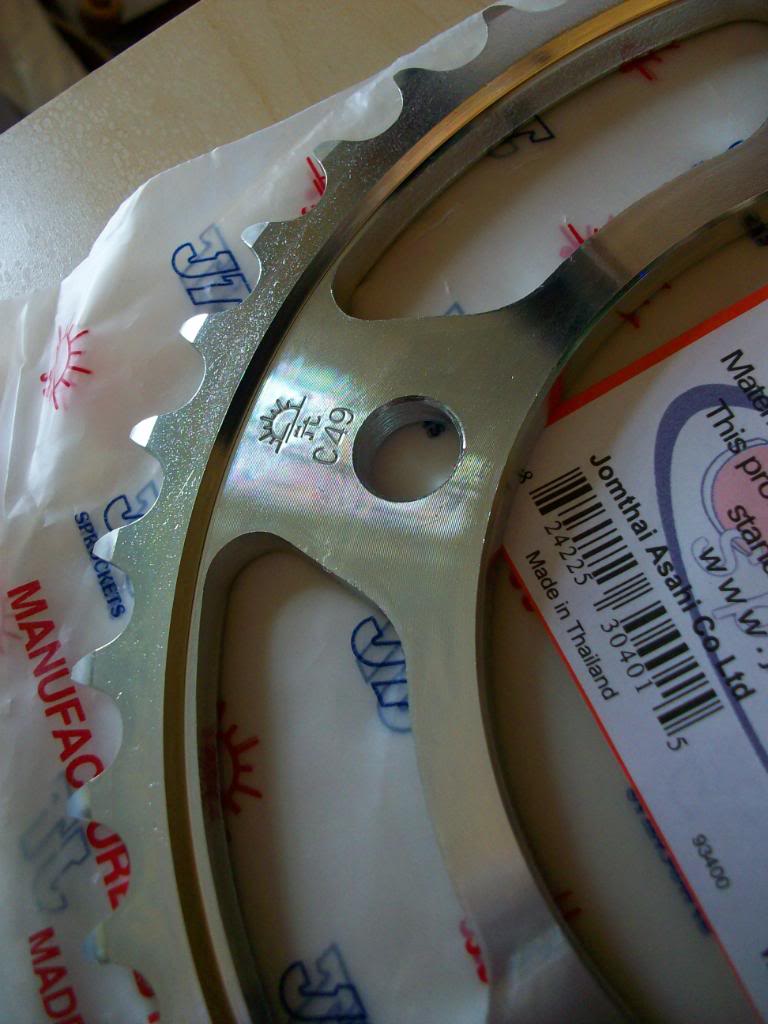
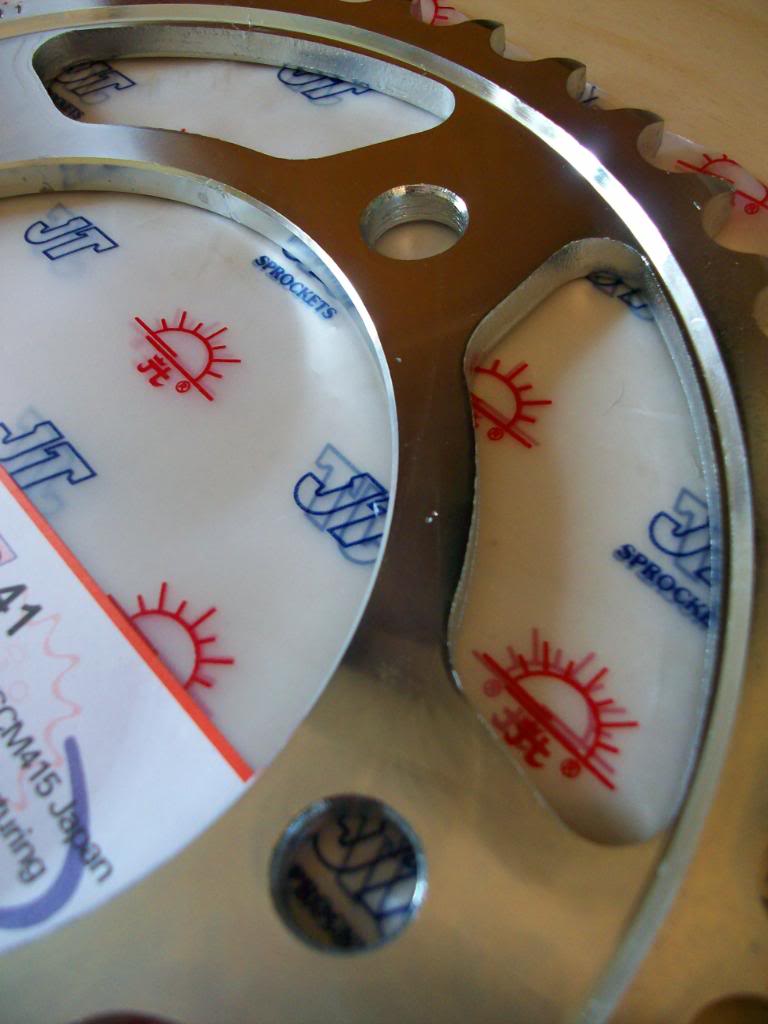
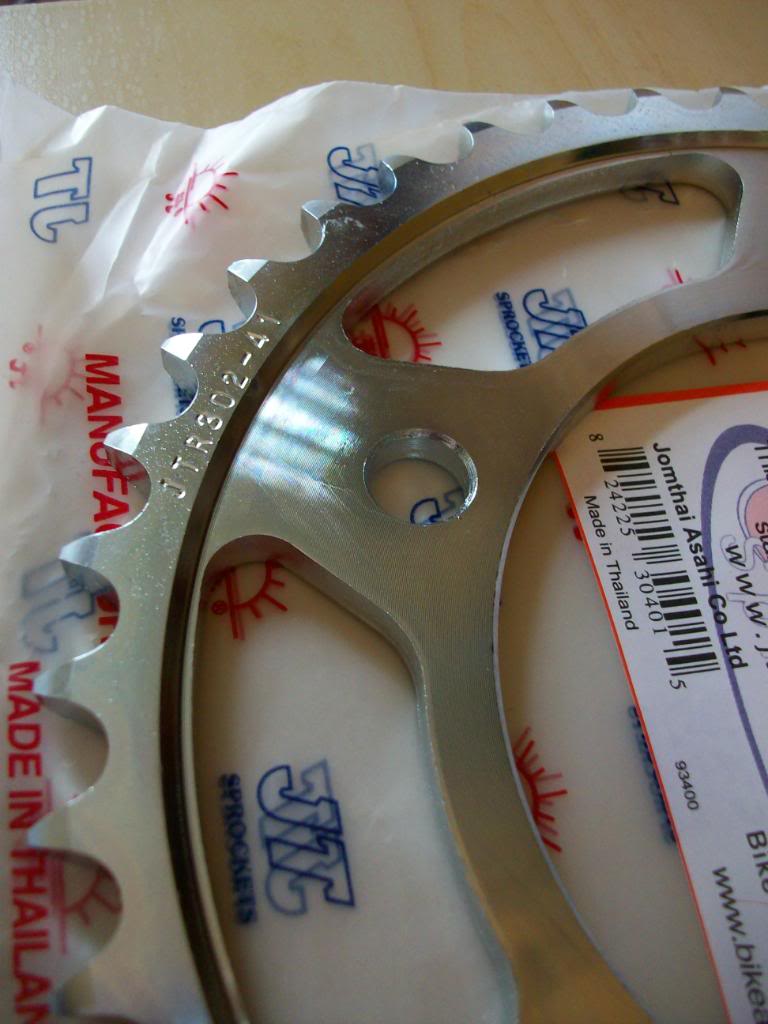
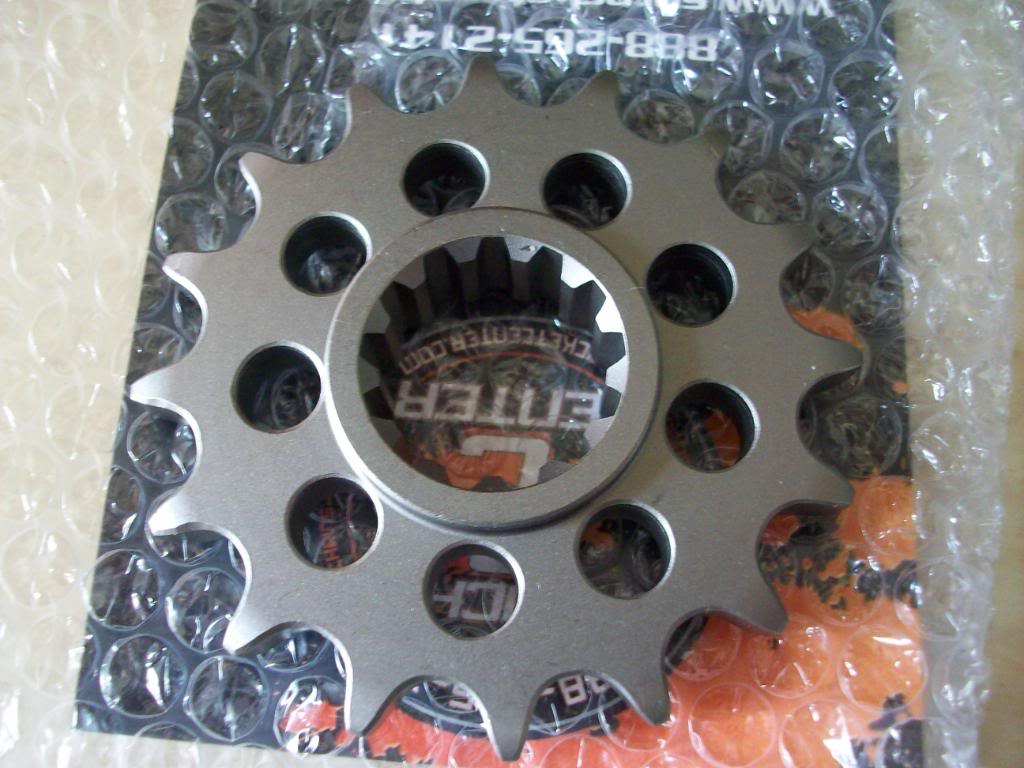
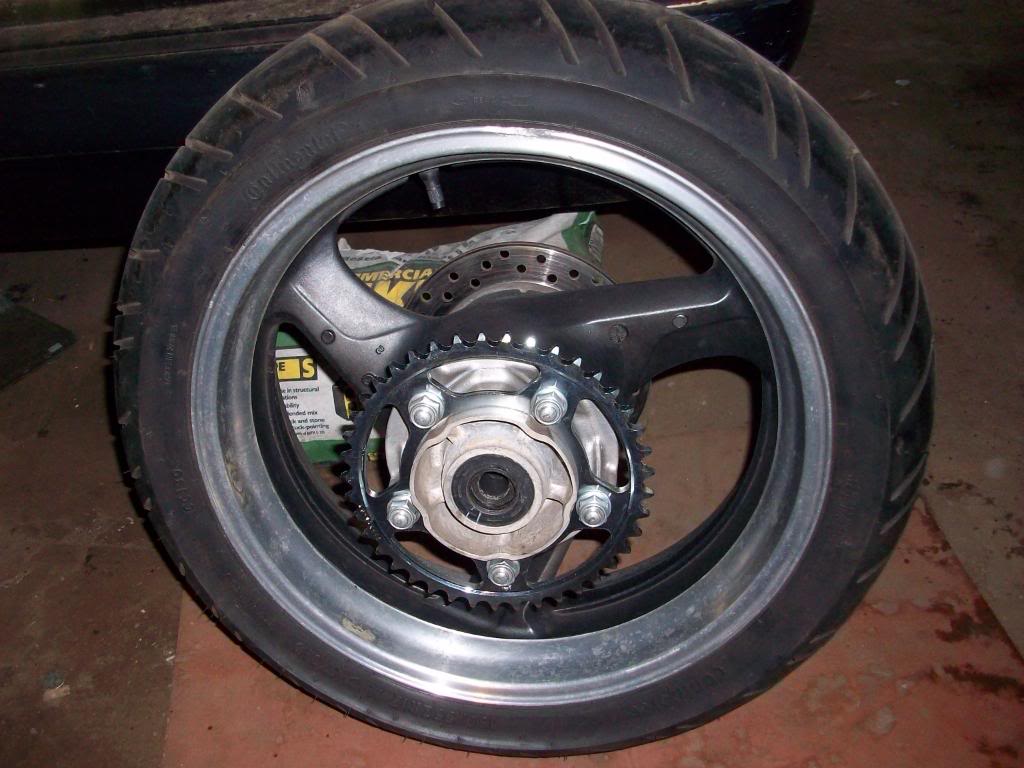
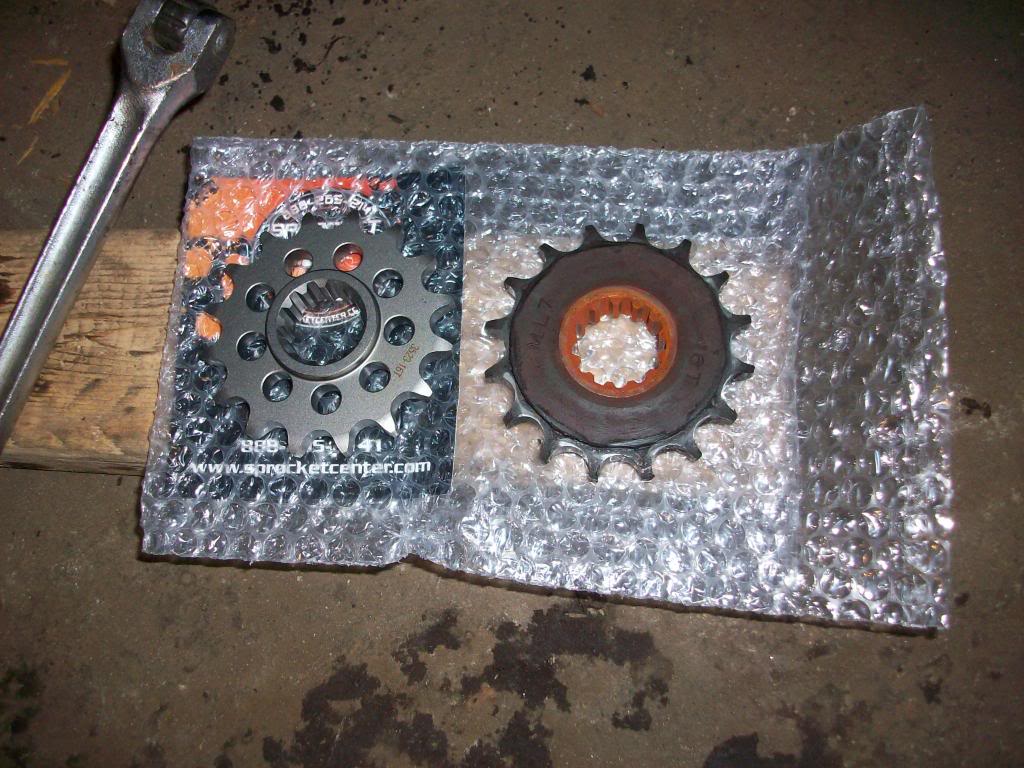
Ok so it arrived and the quality looks bad but I may be going overboard.
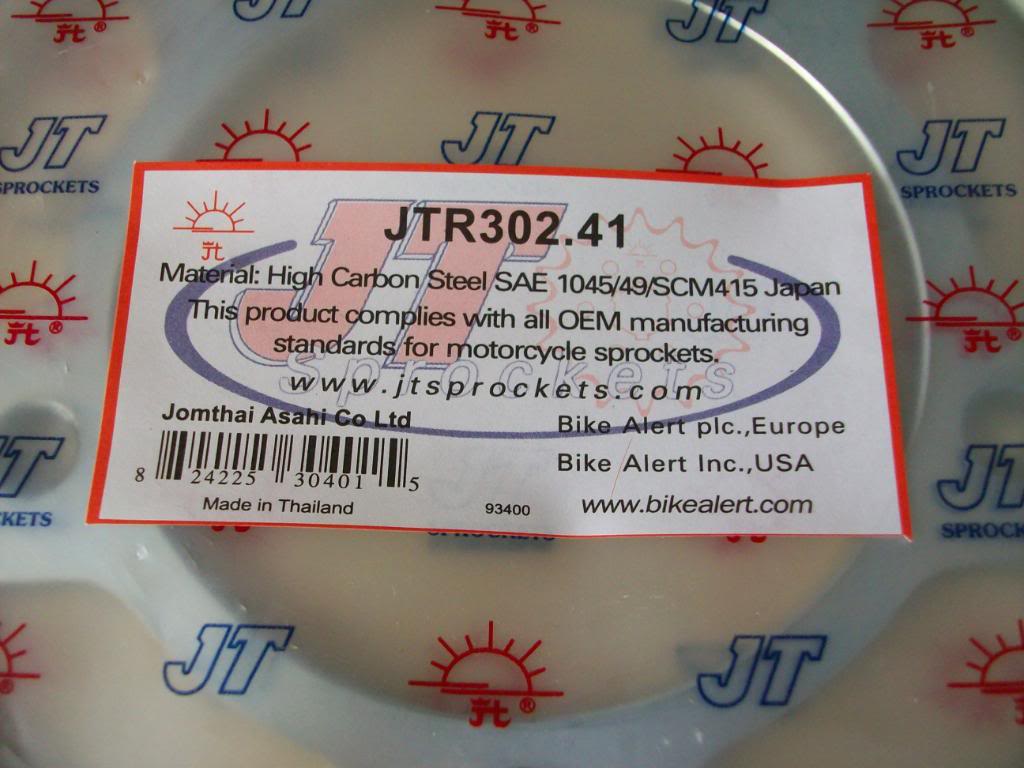
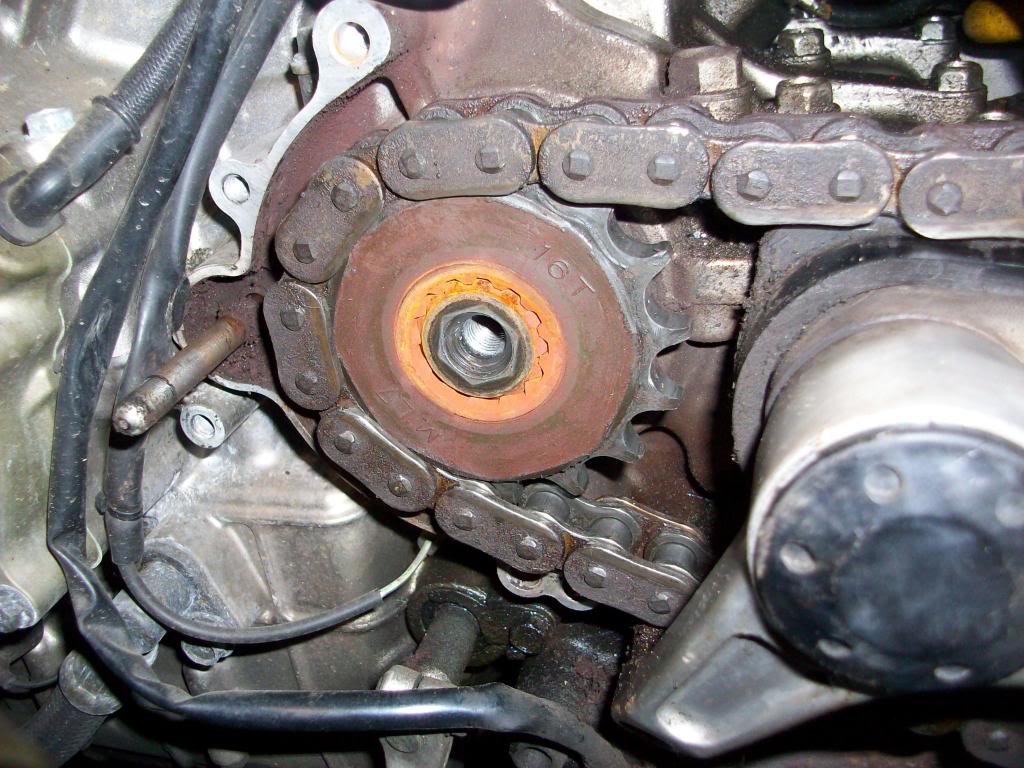
I am new to this so I need to know if these sprockets are OEM or better, also if the holes in the front sprocket are going to cause problems in the future. Are JT sprockets any good, Lastly whats the stock gearing for a vtr?
I was given 16 front and 41 rear.
I am new to this so I need to know if these sprockets are OEM or better, also if the holes in the front sprocket are going to cause problems in the future. Are JT sprockets any good, Lastly whats the stock gearing for a vtr?
I was given 16 front and 41 rear.


Senior Member
MotoGP
Joined: May 2008
Posts: 3,454
From: San Clemente, CA
I put a JT front and a Sunstar rear on mine, and you got exactly the same chain that I have. My chain alone cost almost as much as what you paid for the set.
16/41 is stock gearing. The holes just lighten up the front sprocket a bit, no problem.
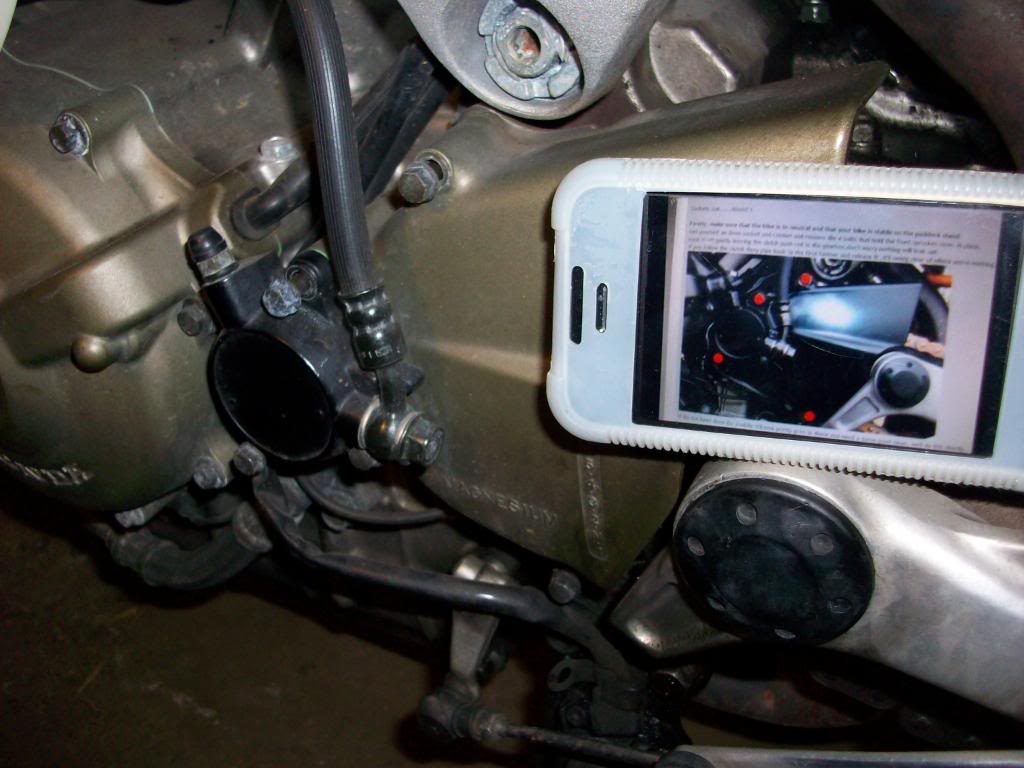
Make sure you lube the master link pins and o-rings with the little packet of grease that comes with it.
And a tip that I got from inderocker, you don't need to remove the clutch slave cylinder from the sprocket cover. Just leave the rear bolt on the slave attached, then swing it all aside and tie it out of the way.
16/41 is stock gearing. The holes just lighten up the front sprocket a bit, no problem.
Make sure you lube the master link pins and o-rings with the little packet of grease that comes with it.
And a tip that I got from inderocker, you don't need to remove the clutch slave cylinder from the sprocket cover. Just leave the rear bolt on the slave attached, then swing it all aside and tie it out of the way.
Thread Starter
�ber Member
Superstock
Joined: Aug 2010
Posts: 293
From: Virginia Beach VA.
I put a JT front and a Sunstar rear on mine, and you got exactly the same chain that I have. My chain alone cost almost as much as what you paid for the set.
16/41 is stock gearing. The holes just lighten up the front sprocket a bit, no problem.
Make sure you lube the master link pins and o-rings with the little packet of grease that comes with it.
And a tip that I got from inderocker, you don't need to remove the clutch slave cylinder from the sprocket cover. Just leave the rear bolt on the slave attached, then swing it all aside and tie it out of the way.
Senior Member
SuperSport
Joined: Jun 2010
Posts: 636
From: Baltimore, Maryland
I liked my experience with sprocketcenter.com. I went with the DID 530ZVMX with the stealth Bi-metal Aluminum/Steel rear sprocket 16/43,
http://www.sprocketcenter.com/p/3703...t---honda.html
I like it a lot.
http://www.sprocketcenter.com/p/3703...t---honda.html
I like it a lot.
Senior Member
MotoGP
Joined: May 2008
Posts: 3,454
From: San Clemente, CA
There's a lot of info on chain and sprocket replacement on threads, if you do a search. Have you downloaded the service manual? You can get the torque specs there at the very least.
First, don't bother tying the clutch lever to the grip (as the manual says) if you don't separate the clutch slave cyl from the front sprocket cover it's not necessary. Leave the rear bolt on the slave fastened. It doesn't hold the sprocket cover to the engine case.
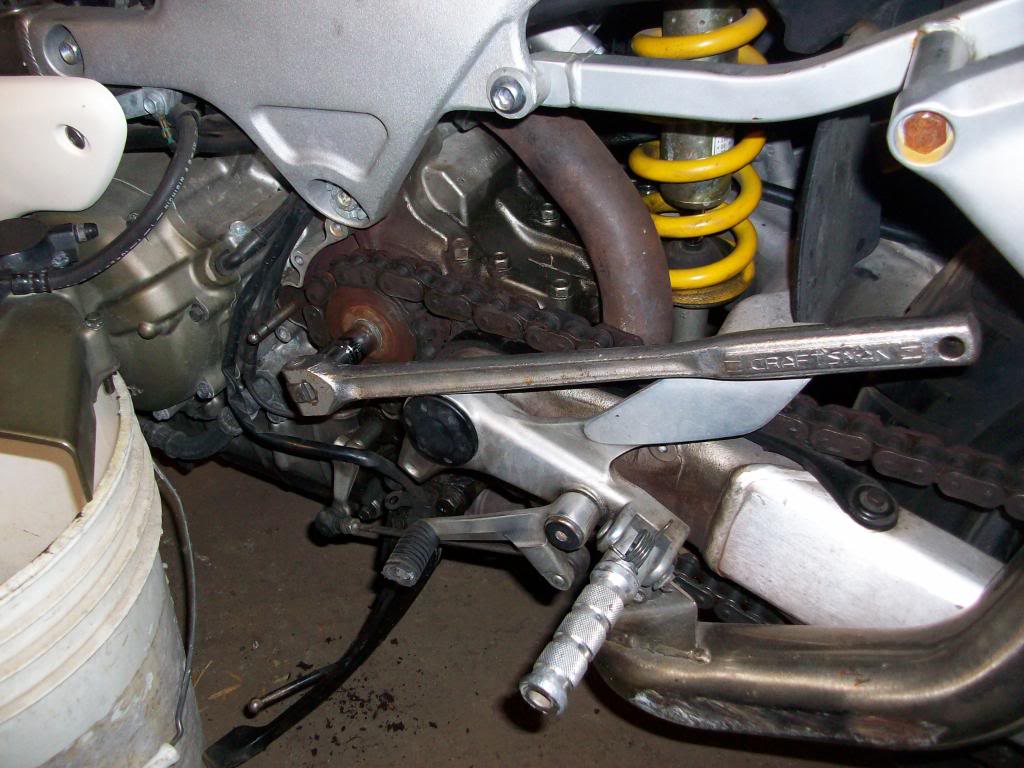
After removing the front sprocket cover, with the bike in 1st and on the side stand, loosen but don't remove the sprocket nut. Then put the bike in neutral and raise the rear wheel for removal.
Remove the rear wheel, then remove the old sprocket. Pay attention to which side of the sprocket faces out. Also pay attention which side of the wheel the axle spacer goes on.
I used a Dremel to cut the side plates on the old chain for removal.
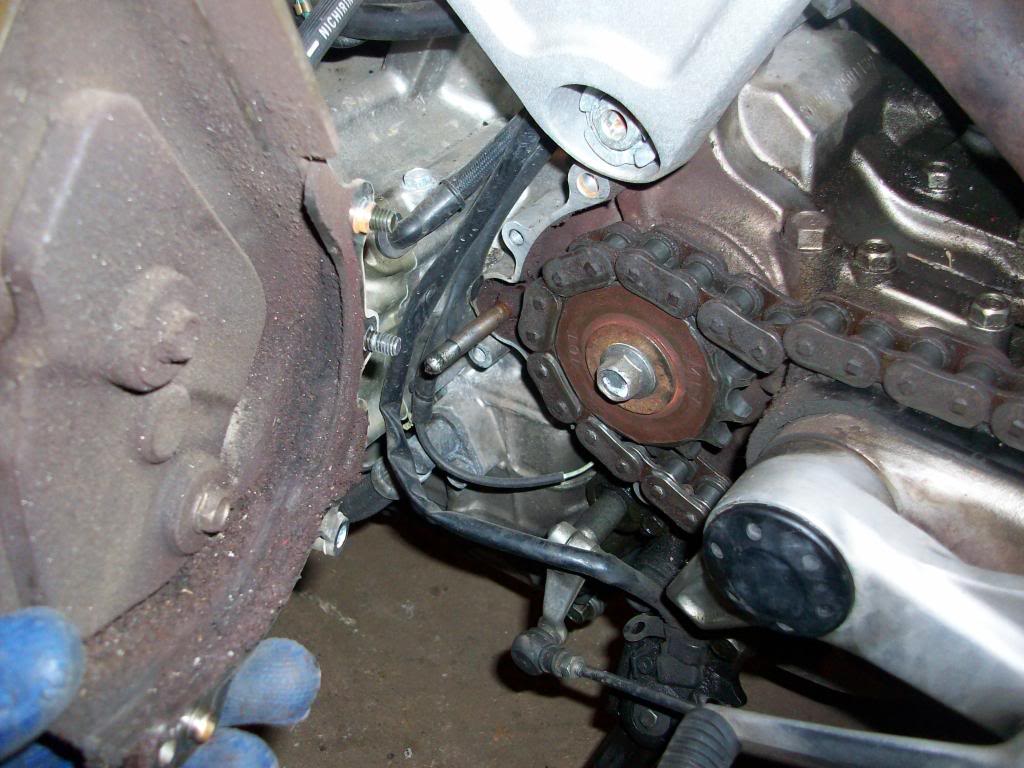
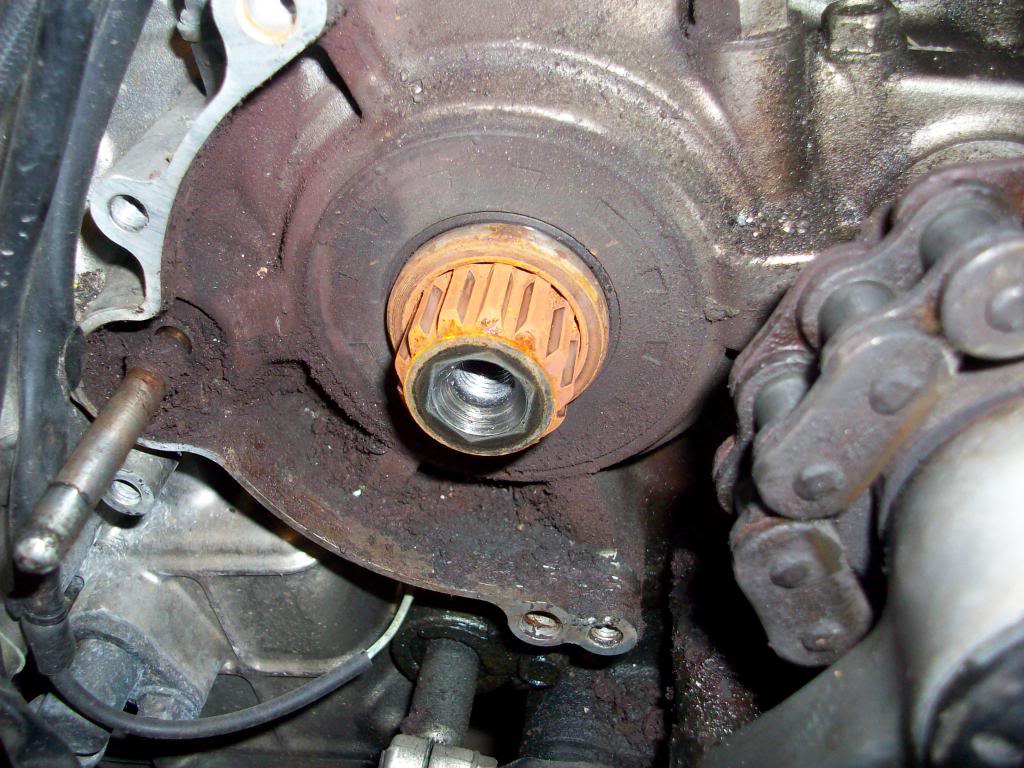
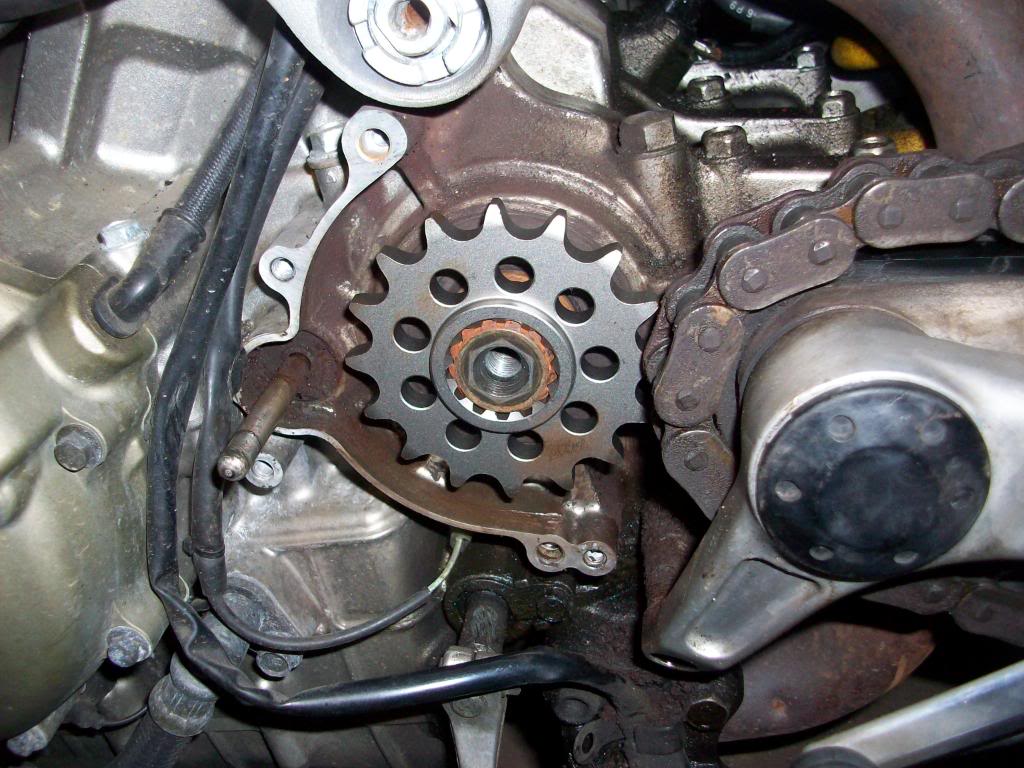
Remove the front sprocket and clean all the junk that has accumulated in there.
Install the new front and rear sprockets (clean the mounting surface on the rear wheel before installing the sprocket). You can torque the front sprocket nut by placing a 2x4 between the rear wheel spokes and the swing arm after installing the chain.
Install the rear wheel.
Install the chain and press the master link using the proper tool (lube the master link pins and o-rings first). The pins have to be pressed carefully to make sure the master link is secure and doesn't fly off when you're doing 100 mph.
Install the front cover with the slave cyl attached (don't forget to torque the sprocket nut). Don't forget the pushrod and don't over tighten the cover bolts.
Adjust the chain, then torque the rear axle nut.
I may have left a few details out, but that pretty much does it. I'd never changed a chain before, since all my previous bikes were shaft drive, but if you have good mechanical skills it's not that hard. Just do one step at a time.
There are also a number of videos on YouTube. Have fun.
First, don't bother tying the clutch lever to the grip (as the manual says) if you don't separate the clutch slave cyl from the front sprocket cover it's not necessary. Leave the rear bolt on the slave fastened. It doesn't hold the sprocket cover to the engine case.
After removing the front sprocket cover, with the bike in 1st and on the side stand, loosen but don't remove the sprocket nut. Then put the bike in neutral and raise the rear wheel for removal.
Remove the rear wheel, then remove the old sprocket. Pay attention to which side of the sprocket faces out. Also pay attention which side of the wheel the axle spacer goes on.
I used a Dremel to cut the side plates on the old chain for removal.
Remove the front sprocket and clean all the junk that has accumulated in there.
Install the new front and rear sprockets (clean the mounting surface on the rear wheel before installing the sprocket). You can torque the front sprocket nut by placing a 2x4 between the rear wheel spokes and the swing arm after installing the chain.
Install the rear wheel.
Install the chain and press the master link using the proper tool (lube the master link pins and o-rings first). The pins have to be pressed carefully to make sure the master link is secure and doesn't fly off when you're doing 100 mph.
Install the front cover with the slave cyl attached (don't forget to torque the sprocket nut). Don't forget the pushrod and don't over tighten the cover bolts.
Adjust the chain, then torque the rear axle nut.
I may have left a few details out, but that pretty much does it. I'd never changed a chain before, since all my previous bikes were shaft drive, but if you have good mechanical skills it's not that hard. Just do one step at a time.
There are also a number of videos on YouTube. Have fun.
Thread Starter
�ber Member
Superstock
Joined: Aug 2010
Posts: 293
From: Virginia Beach VA.
There's a lot of info on chain and sprocket replacement on threads, if you do a search. Have you downloaded the service manual? You can get the torque specs there at the very least.
First, don't bother tying the clutch lever to the grip (as the manual says) if you don't separate the clutch slave cyl from the front sprocket cover it's not necessary. Leave the rear bolt on the slave fastened. It doesn't hold the sprocket cover to the engine case.
After removing the front sprocket cover, with the bike in 1st and on the side stand, loosen but don't remove the sprocket nut. Then put the bike in neutral and raise the rear wheel for removal.
Remove the rear wheel, then remove the old sprocket. Pay attention to which side of the sprocket faces out. Also pay attention which side of the wheel the axle spacer goes on.
I used a Dremel to cut the side plates on the old chain for removal.
Remove the front sprocket and clean all the junk that has accumulated in there.
Install the new front and rear sprockets (clean the mounting surface on the rear wheel before installing the sprocket). You can torque the front sprocket nut by placing a 2x4 between the rear wheel spokes and the swing arm after installing the chain.
Install the rear wheel.
Install the chain and press the master link using the proper tool (lube the master link pins and o-rings first). The pins have to be pressed carefully to make sure the master link is secure and doesn't fly off when you're doing 100 mph.
Install the front cover with the slave cyl attached (don't forget to torque the sprocket nut). Don't forget the pushrod and don't over tighten the cover bolts.
Adjust the chain, then torque the rear axle nut.
I may have left a few details out, but that pretty much does it. I'd never changed a chain before, since all my previous bikes were shaft drive, but if you have good mechanical skills it's not that hard. Just do one step at a time.
There are also a number of videos on YouTube. Have fun.
Senior Member
MotoGP
Joined: May 2008
Posts: 3,454
From: San Clemente, CA
No, the nuts do not require replacement. Torque spec is 80 foot pounds.
I did them "finger tight", then tightened them to 40 ft lbs in a "star" pattern, then final torque to 80 ft lbs.
Make sure you clean the hub surface of any grease or dirt before installing the sprocket.
I did them "finger tight", then tightened them to 40 ft lbs in a "star" pattern, then final torque to 80 ft lbs.
Make sure you clean the hub surface of any grease or dirt before installing the sprocket.
Thread Starter
�ber Member
Superstock
Joined: Aug 2010
Posts: 293
From: Virginia Beach VA.
No, the nuts do not require replacement. Torque spec is 80 foot pounds.
I did them "finger tight", then tightened them to 40 ft lbs in a "star" pattern, then final torque to 80 ft lbs.
Make sure you clean the hub surface of any grease or dirt before installing the sprocket.
I did them "finger tight", then tightened them to 40 ft lbs in a "star" pattern, then final torque to 80 ft lbs.
Make sure you clean the hub surface of any grease or dirt before installing the sprocket.


Thread Starter
�ber Member
Superstock
Joined: Aug 2010
Posts: 293
From: Virginia Beach VA.
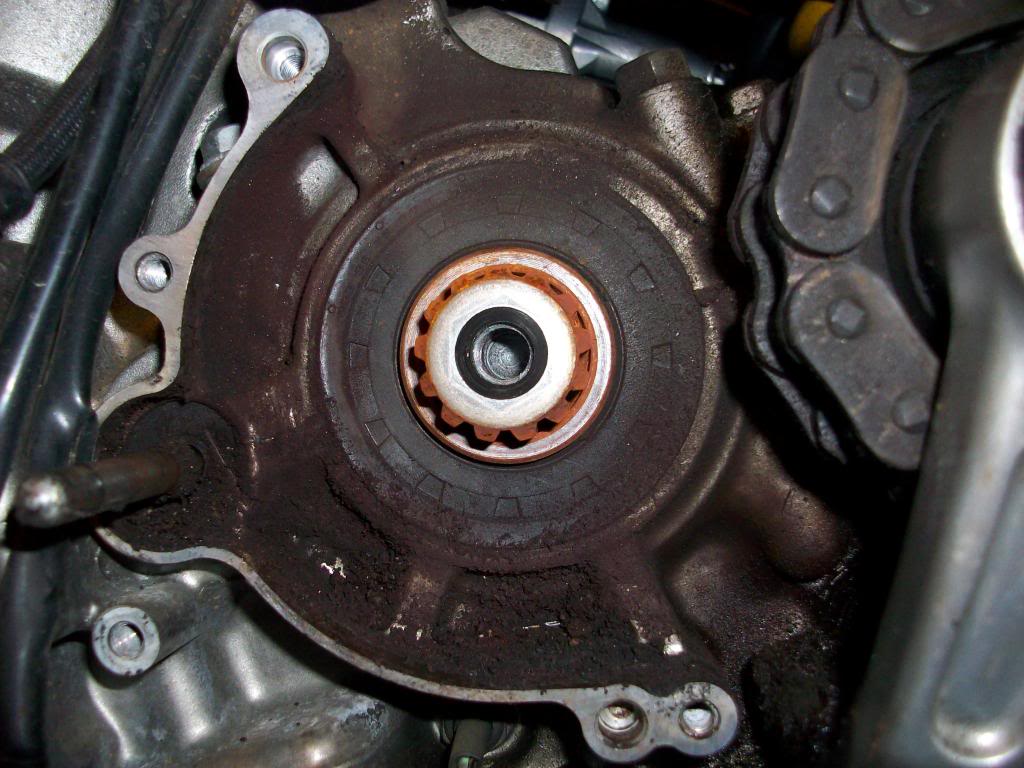
The new vortex sprocket was not a tight fit there is a minimal amount of lateral movement on the shaft.
View My Video
I found a thread on the vfr forum http://www.vfrdiscussion.com/forum/i...ront-sprocket/
I might buy the OEM drive sprocket it will keep the noise and vibration down since it has rubber buffers on both sides also fits snug.
View My Video
I found a thread on the vfr forum http://www.vfrdiscussion.com/forum/i...ront-sprocket/
I might buy the OEM drive sprocket it will keep the noise and vibration down since it has rubber buffers on both sides also fits snug.
Last edited by justinity; Jan 30, 2011 at 08:45 PM.

Banned
MotoGP
Joined: Aug 2007
Posts: 5,942
From: Lake View Terrace, CA
I hate to say it but this thread is full of fail.......
I could explain the sprocket to you but I think it would be a waste of time....
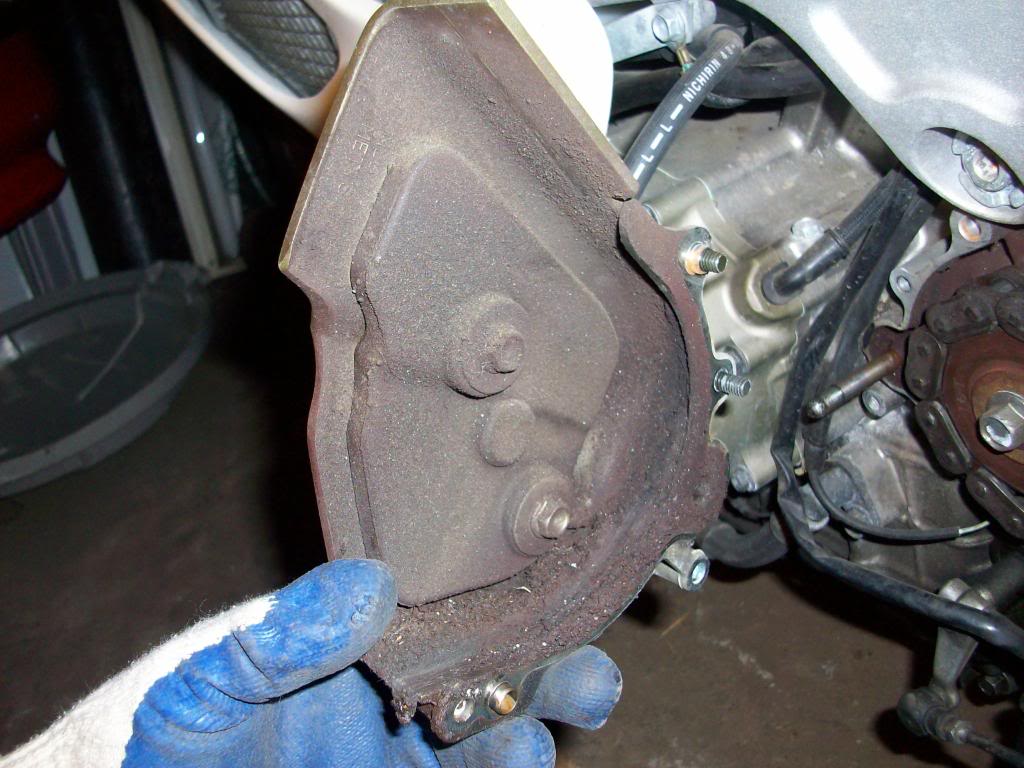
Then I would comment that most people do a bit of cleaning while things are apart, not just throw it back together dirty...
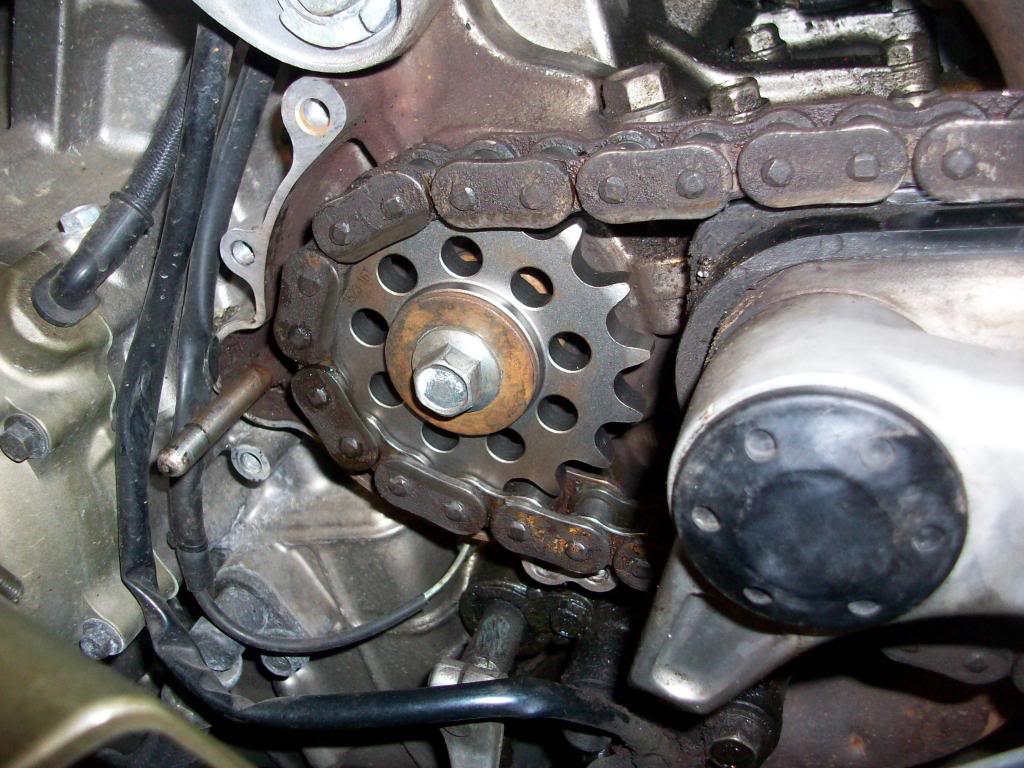
For a final comment, why put the old chain back on? Running the old chain will cause damage to the new sprockets.....
I could explain the sprocket to you but I think it would be a waste of time....
Then I would comment that most people do a bit of cleaning while things are apart, not just throw it back together dirty...
For a final comment, why put the old chain back on? Running the old chain will cause damage to the new sprockets.....
Thread Starter
�ber Member
Superstock
Joined: Aug 2010
Posts: 293
From: Virginia Beach VA.
I hate to say it but this thread is full of fail.......
I could explain the sprocket to you but I think it would be a waste of time....
Then I would comment that most people do a bit of cleaning while things are apart, not just throw it back together dirty...
For a final comment, why put the old chain back on? Running the old chain will cause damage to the new sprockets.....
I took the tire off to fit the rear sprocket and cleaned it up at my house. Then I put it back on to break the front off. I'm going to clean the rest of the grime out of the sprocket cover another day it's to COLD OUT.
Thread Starter
�ber Member
Superstock
Joined: Aug 2010
Posts: 293
From: Virginia Beach VA.
Banned
MotoGP
Joined: Aug 2007
Posts: 5,942
From: Lake View Terrace, CA
I have a question for you first...... in this post: https://www.superhawkforum.com/forum...&postcount=154
you claim that you have been a "Motorcycle Mechanic" for 15+ years..... so why don't you know how to put a chain on?
you claim that you have been a "Motorcycle Mechanic" for 15+ years..... so why don't you know how to put a chain on?


