
parts after the wreck


Thread Starter
Senior Member
Back Marker
Joined: Apr 2010
Posts: 157
From: kingsport, tn/ tri cities

parts after the wreck
trying to get the bike back in ridable cond. but heres my problem
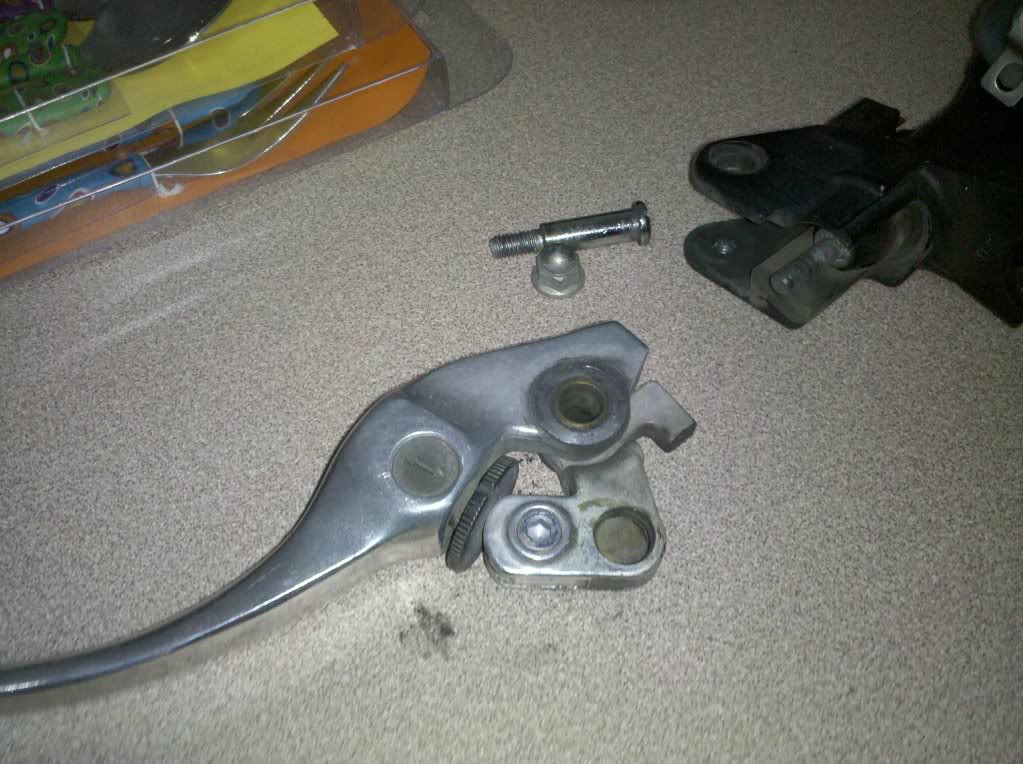
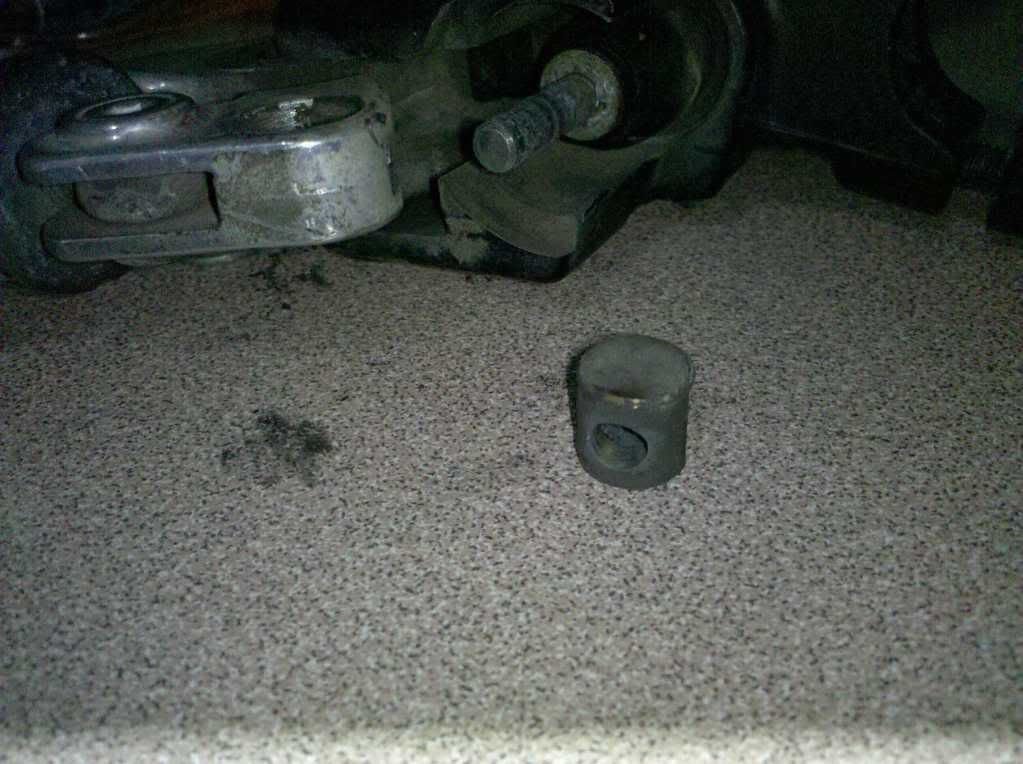
cant figure out how to get the piece that im pointing at into the hole on the hand lever

better picture

heres the right side old and new levers, problem is i can figure out how to the the old one apart and stuff

cant figure out how to get the piece that im pointing at into the hole on the hand lever
better picture
heres the right side old and new levers, problem is i can figure out how to the the old one apart and stuff


Senior Member
MotoGP
Joined: Mar 2007
Posts: 3,132
From: Phoenix, AZ
The part that you are pointing at is part of the lever, not part of the master cyl
So take it off the bike, then it should be no problem.
when you take a lever off the bike it should look like the lower lever in your bottom pic, the top "lever" is of only part of the lever.
So take it off the bike, then it should be no problem.
when you take a lever off the bike it should look like the lower lever in your bottom pic, the top "lever" is of only part of the lever.

")


Thread Starter
Senior Member
Back Marker
Joined: Apr 2010
Posts: 157
From: kingsport, tn/ tri cities
The part that you are pointing at is part of the lever, not part of the master cyl
So take it off the bike, then it should be no problem.
when you take a lever off the bike it should look like the lower lever in your bottom pic, the top "lever" is of only part of the lever.
So take it off the bike, then it should be no problem.
when you take a lever off the bike it should look like the lower lever in your bottom pic, the top "lever" is of only part of the lever.


Senior Member
SuperSport
Joined: Jun 2008
Posts: 916
From: San Diego
Is that a factory replacement lever?
When I bought an aftermarket cheap lever it was total crap. I had to hand file all the parts to finally fit together.
As far as the adjuster stick a flat blade inbetween where the two come together on the brass bushing and wiggle apart.
When I bought an aftermarket cheap lever it was total crap. I had to hand file all the parts to finally fit together.
As far as the adjuster stick a flat blade inbetween where the two come together on the brass bushing and wiggle apart.
Thread Starter
Senior Member
Back Marker
Joined: Apr 2010
Posts: 157
From: kingsport, tn/ tri cities
well see this one is the old undamaged one, finally found the other little brown peice so i got the left side all back together. only reason i want to take apart the right side is to make it match, its just kinda dull, new one is nice and shiny 

Senior Member
MotoGP
Joined: Mar 2007
Posts: 3,132
From: Phoenix, AZ
ah, gotcha.. well you can shine up the dull one in a few seconds with a buffing wheel on a drill. Or a bit longer with some elbow grease.
Thread Starter
Senior Member
Back Marker
Joined: Apr 2010
Posts: 157
From: kingsport, tn/ tri cities
Thread Starter
Senior Member
Back Marker
Joined: Apr 2010
Posts: 157
From: kingsport, tn/ tri cities
true, but also its a little different shape, i mean its really no biggy, just kinda one of those things you know. heres some pics so you can see what im talking about...
new clutch lever on the left, old brake lever on the right with the new one right above it

here where you can really see the difference
new clutch on the left, old brake in the middle, and the new brake on the right.

id just kinda like to have a good matching set, not that you even notice it unless looking but still


Thread
Thread Starter
Forum
Replies
Last Post
doomcookie
General Discussion
1
Jan 27, 2012 11:14 AM


