
Help me identify these carb hoses plz


Thread Starter
Member
Squid
Joined: Feb 2013
Posts: 40

Help me identify these carb hoses plz
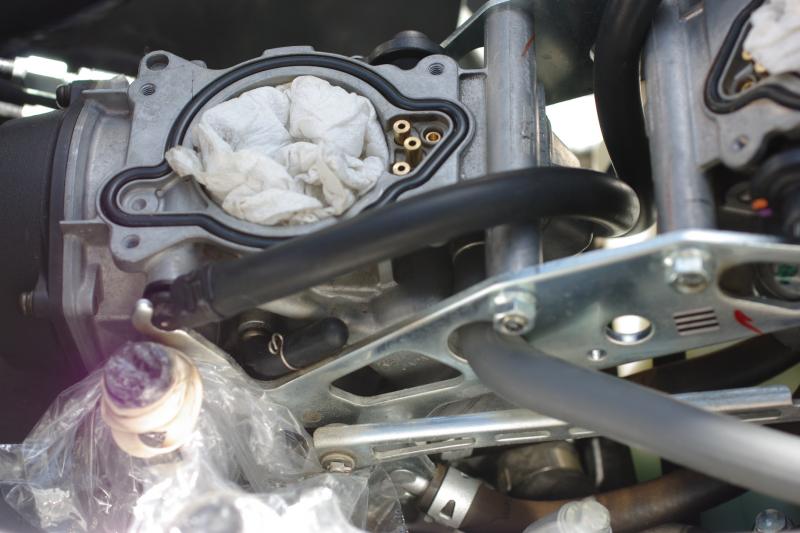
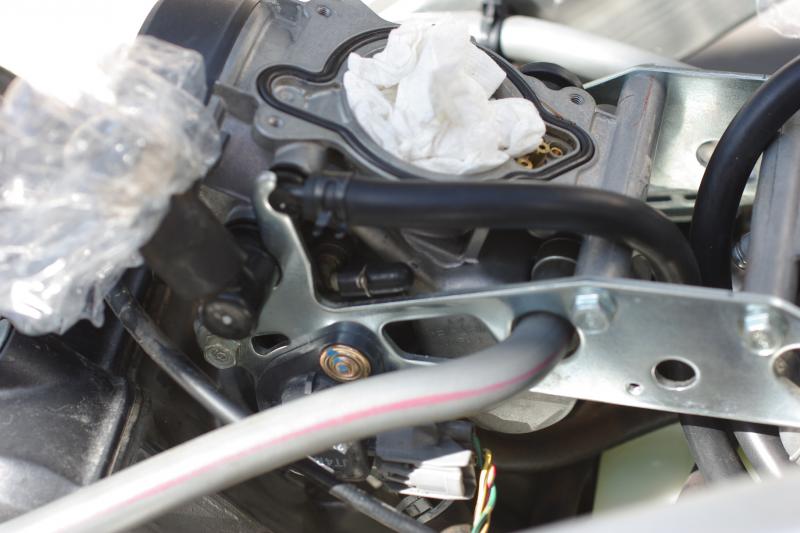
I have a 2003 California Superhawk and I am removing the EVAP and PAIR and leaving the engine vents (PCV) to the airbox intact. I was able to use the many helpful posts here to identify all the PAIR and fuel tank fittings. But there is not as much information posted on the EVAP removal. I can't find any reference that tells me what the copper tube located on each carb just below the black plastic swivel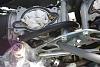
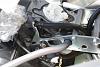 fitting where the carb vent hose attaches is. On these pictures they are already capped with a black rubber fitting and a small spring clip. Can you guys tell me what these are? The Honda parts book illustration just calls them a "pipe" and my service manual doesn't identify them either.
 fitting where the carb vent hose attaches is. On these pictures they are already capped with a black rubber fitting and a small spring clip. Can you guys tell me what these are? The Honda parts book illustration just calls them a "pipe" and my service manual doesn't identify them either.

Senior Member
Superstock
Joined: Jul 2007
Posts: 433
From: Los Angeles & Winston Salem
Look at pages 1-23 thru 1-29 in the Honda service manual. It's available for free viewing in the knowledge forum on this site. If you still are stuck you can PM me. I've de-smogged a bunch of California Superhawks. They come with extra EPA compliance crap too them. In short, just remove all that crap and cap off with whatever caps or method of blocking off you choose. It's pretty simple really. Looks more complicated than it is, did you also remove the purge control valve from behind the right hand radiator?
Thread Starter
Member
Squid
Joined: Feb 2013
Posts: 40
Yes I did remove the valve behind the right rad. I have studied the Honda Service Manual, the Haynes/Chilton manual and the Honda parts manual and Service Honda's online micro fiche without being able to identify the function of "medium size, bulk hose #6" that was attached to these 2 tubes. there must be a "supplemental" section for California carbs that I do not have access to. From looking at the posted pictures on the forum the carbs shown by other guys don't even have these 2 tubes!
I'm under the impression that I should cap everything except the 2 carb vent hoses and the vacuum supply line to the fuel petcock diaphragm and I will be OK. And I still have the engine vents going into the airbox intact.
I'm under the impression that I should cap everything except the 2 carb vent hoses and the vacuum supply line to the fuel petcock diaphragm and I will be OK. And I still have the engine vents going into the airbox intact.
Thread Starter
Member
Squid
Joined: Feb 2013
Posts: 40
So far I have capped off the 2 vacuum ports located on the right rear of the front cylinder, the "T" fitting on the right side of the front carb and the 2 mystery fittings, one on the left side of the front carb and one on the right side of the rear carb that are shown in my pictures, for a total of 5 capped off. I'm feeding vacuum to the fuel petcock from the vacuum port on the rear cylinder. I've de-smogged quite a few bikes before without any problems so maybe I'm over thinking this but I am curious as to what these are. And I just double checked all the carb illustrations in the forum posted Honda service manual again and the illustrations do not show these 2 tubes or lines going to them. Thanks you guys for your input!

Banned
MotoGP
Joined: Aug 2007
Posts: 5,942
From: Lake View Terrace, CA
By this " I have capped off the 2 vacuum ports located on the right rear of the front cylinder" do you mean the one on the cylinder and the one on the carb?
Also take so vacuum line and mount a line on the port on the cylinder and then cap it. It is to make it easier to sync the carbs later.
Also the line with the Tee fitting. I remove the line and replace it with a longer piece..... no fitting, no chance for a leak
The two fittings you can't find go to the vacuum valves that are\were mounted to the bottom of the air box
Thread Starter
Member
Squid
Joined: Feb 2013
Posts: 40
Yes, you are totally correct. My error, I just lifted up the entire carb assembly to do the TPS adjustment mod and I realized that the one tube was coming from the bottom of the front carb, not from the front cylinder. The rear carb does not have this tube.
And I think I might have just found out why I can't find this stuff illustrated in the forum posted Honda service manual. If you go to a complete listing of Honda Factory Service Manuals like the one at Service Honda's website they have many variations of Honda Factory Superhawk manuals listed. There are only 2 of them that are cross referenced as being correct for my 2003 VTR100F3. The rest are for other versions/model years of the Superhawk. They are about $60 each. Guess I should get the correct manuals and stop bugging you guys!
And I think I might have just found out why I can't find this stuff illustrated in the forum posted Honda service manual. If you go to a complete listing of Honda Factory Service Manuals like the one at Service Honda's website they have many variations of Honda Factory Superhawk manuals listed. There are only 2 of them that are cross referenced as being correct for my 2003 VTR100F3. The rest are for other versions/model years of the Superhawk. They are about $60 each. Guess I should get the correct manuals and stop bugging you guys!
Thread Starter
Member
Squid
Joined: Feb 2013
Posts: 40
Man, this bike is annoying to work on. I just removed the rear carb slide to shim the needle and following service manual instructions threaded a screw into the "holder" to pull it off/out of the slide and access the needle underneath. Except the thing won't budge, absolutely rock solid. can't pull any harder or something will break. So I'm stuck.


Thread
Thread Starter
Forum
Replies
Last Post
gravelrash
Modifications - Performance
4
Sep 3, 2009 06:10 PM


