Pappy Goes Cafe.
 11-01-2011, 02:21 AM
#91
Senior Member
SuperSport

Join Date: Apr 2011
Location: Edwards AFB, CA
Posts: 507

Well the pain that you are going thru is worth it, even though it's not my build I love it! Every time your thread is up I check in. The work you are doing is top notch! Keep it up and keep the updates coming! Thanks.

 11-01-2011, 11:43 AM
#94
Senior Member
Back Marker
Thread Starter

Join Date: Sep 2011
Location: Australia
Posts: 139
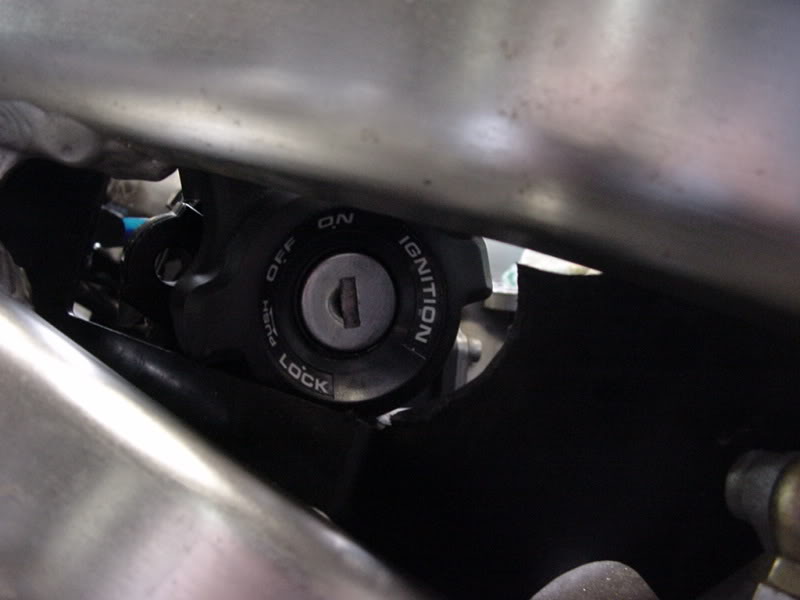
To remove those ignition screws you have to take the top yoke off and use a torx bit. I used one that is just slightly bigger and tapped it into the bolt and they unscrewed with ease.
11-01-2011, 12:57 PM
#95
Senior Member
Back Marker

Join Date: Apr 2011
Posts: 201

 11-01-2011, 03:40 PM
#96
Senior Member
Back Marker
Thread Starter
Join Date: Sep 2011
Location: Australia
Posts: 139
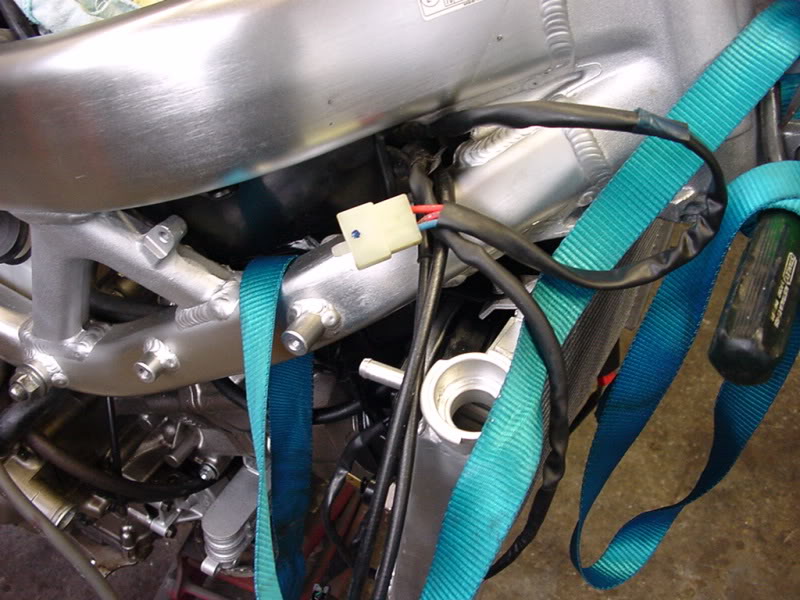
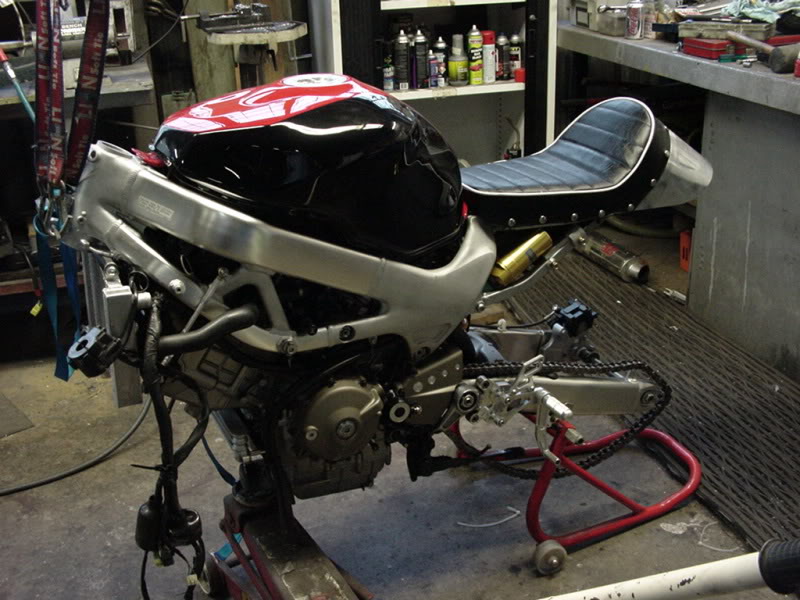
Well after deliberating for a day and a bit to ponder on where the *** I could put the ignition switch and the key identifier, I found this void in front of the airbox where the lot fitted neatly and only needed a firm hose clamp to hold the lot in place... I did sacrifice the steering lock option.
The looms come out the same exit as the throttle cables.
Just to stray your mind a little....... here is one ignition that I would dearly love to put my key in....

The looms come out the same exit as the throttle cables.
Just to stray your mind a little....... here is one ignition that I would dearly love to put my key in....

 11-02-2011, 12:53 AM
#100
Member
Squid

Join Date: Aug 2011
Posts: 31
Psmears, i've been checking your posts every second day and twice on sundays, great work. sad to say i think your new seat looks quite dated with the rest of the bike. and have you thought about bending your radiator some what to help with steering lock? keep it up! and us updated!
11-02-2011, 01:48 AM
#101
Senior Member
Back Marker
Thread Starter
Join Date: Sep 2011
Location: Australia
Posts: 139
Psmears, i've been checking your posts every second day and twice on sundays, great work. sad to say i think your new seat looks quite dated with the rest of the bike. and have you thought about bending your radiator some what to help with steering lock? keep it up! and us updated!
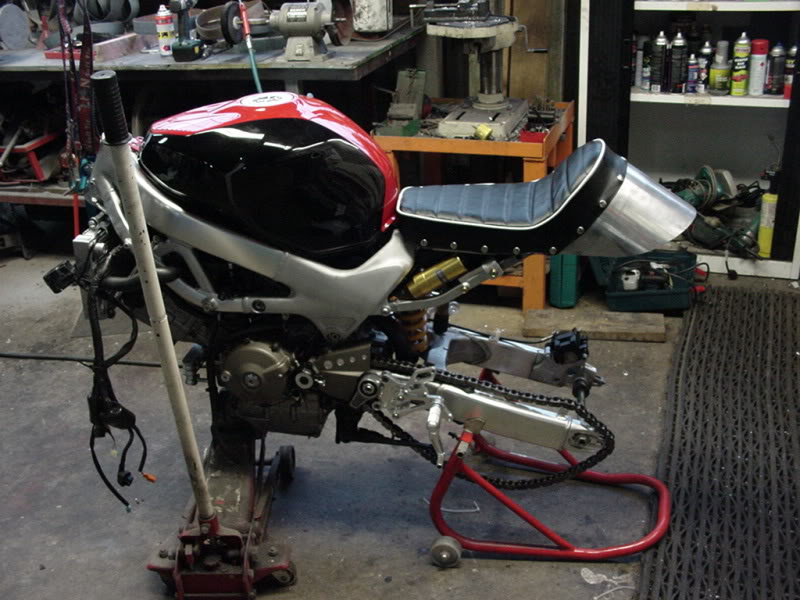
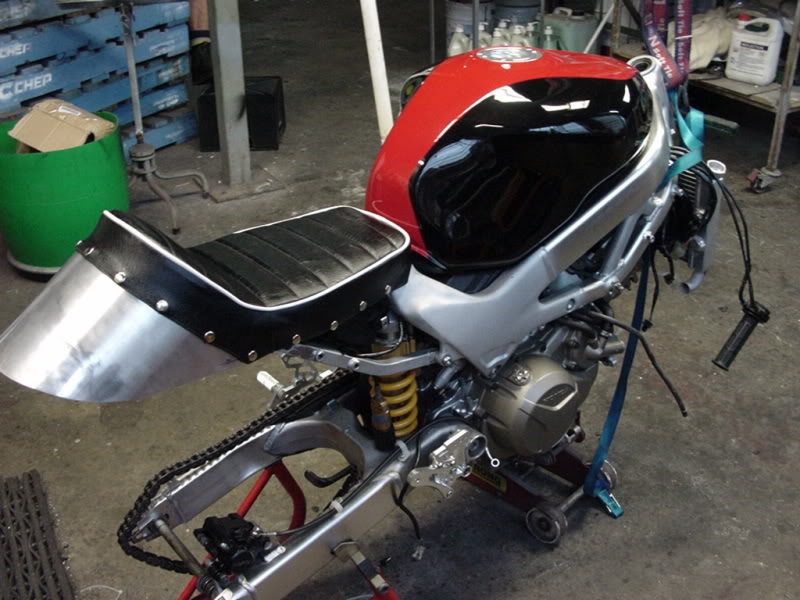
The cafe style seat sorta needs to be a bit dated.. I dont want to fall into a street fighter look. It is still growing on me too. PS. Thanks for subscribing
11-02-2011, 01:51 AM
#102
Senior Member
Back Marker
Thread Starter
Join Date: Sep 2011
Location: Australia
Posts: 139
")


 11-05-2011, 11:45 AM
#106
Senior Member
Back Marker
Thread Starter
Join Date: Sep 2011
Location: Australia
Posts: 139
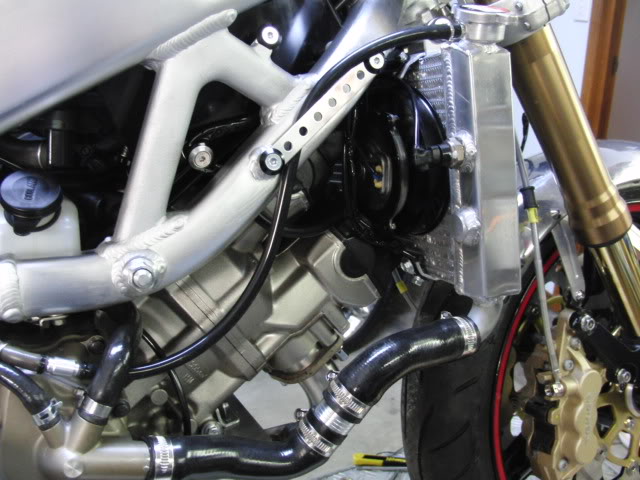
Looked around for a thinner fan than the standard VTR one and discovered that the Yamaha R1 thermo fan is much,much flatter so not having a lot of room between the rad and the head , this worked out perfectly.
11-05-2011, 03:37 PM
#107
Senior Member
Back Marker
Thread Starter
Join Date: Sep 2011
Location: Australia
Posts: 139
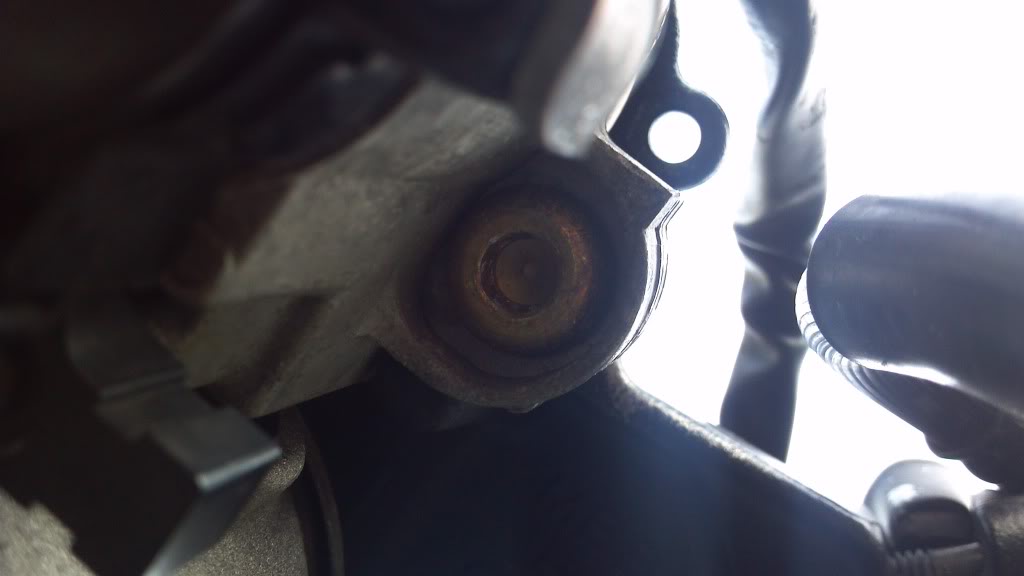
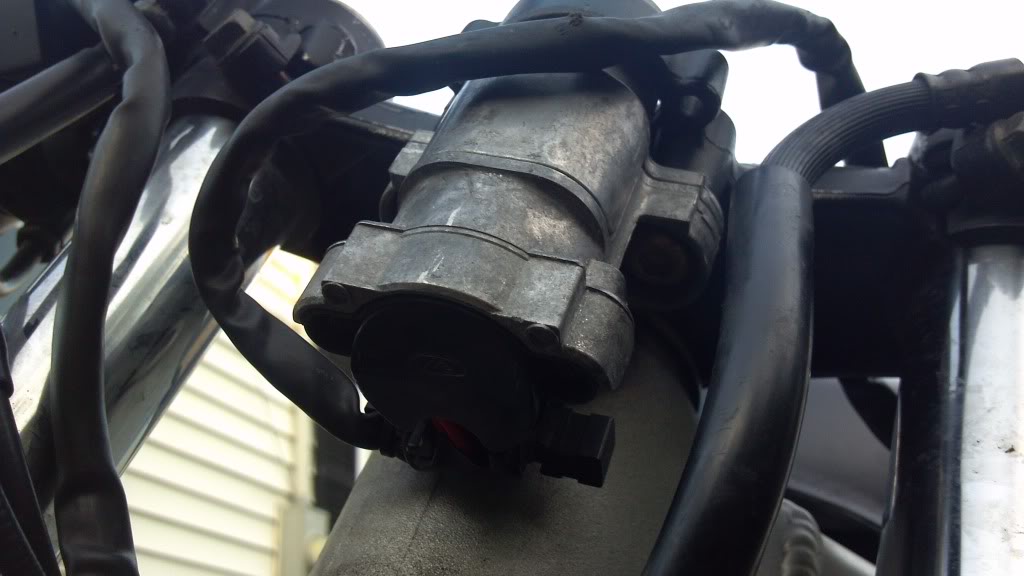
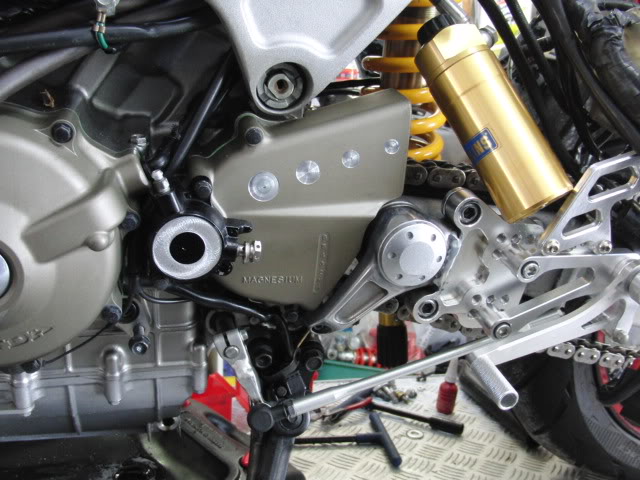
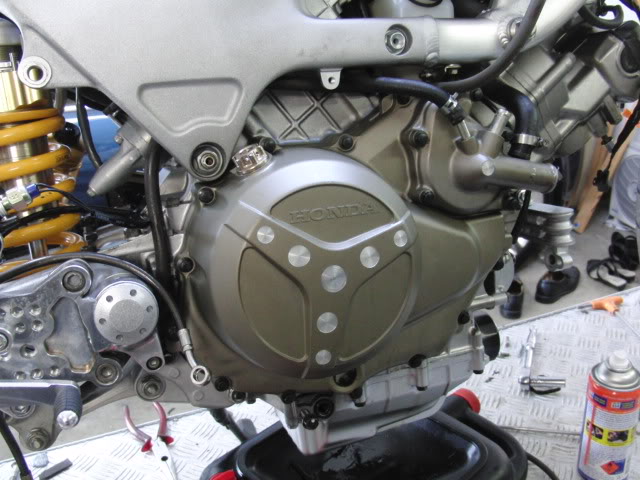
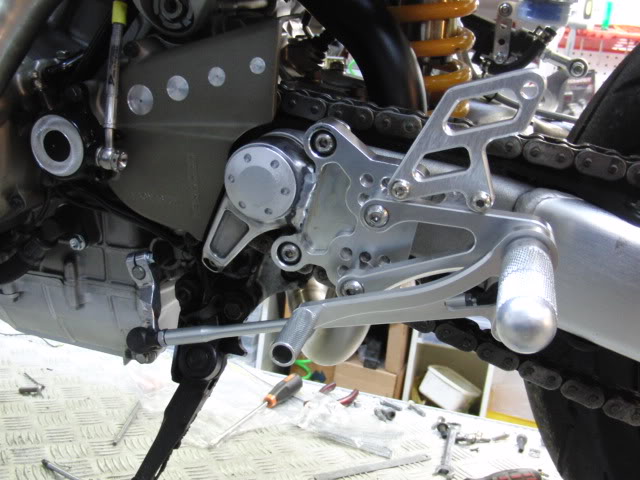
Someone mentioned that they liked my Front sprocket cover, so this morning I decided to play with a few on my end mills and match up the clutch cover, and water pump cover... Nothing like a bit of weekend titivation
 11-08-2011, 02:27 AM
#110
Senior Member
Back Marker
Thread Starter
Join Date: Sep 2011
Location: Australia
Posts: 139
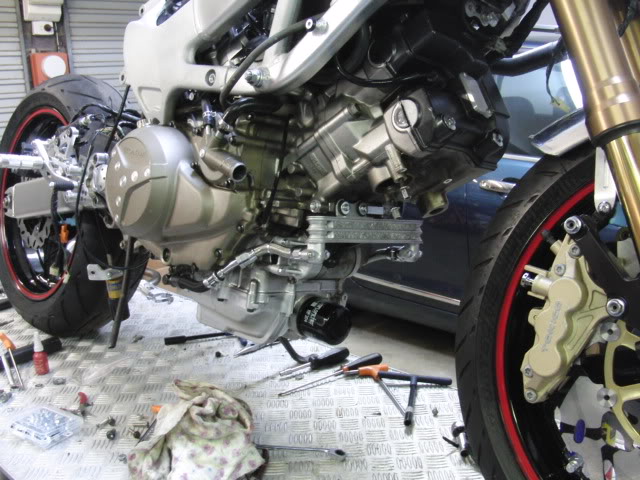
Been a bit slow at progressing lately. Went and did a track day on one of my other bikes and that was a bit of fun. Tonight I got the oil cooler linked up with some braided hose.


 11-10-2011, 12:04 PM
#116
Senior Member
Back Marker
Thread Starter
Join Date: Sep 2011
Location: Australia
Posts: 139
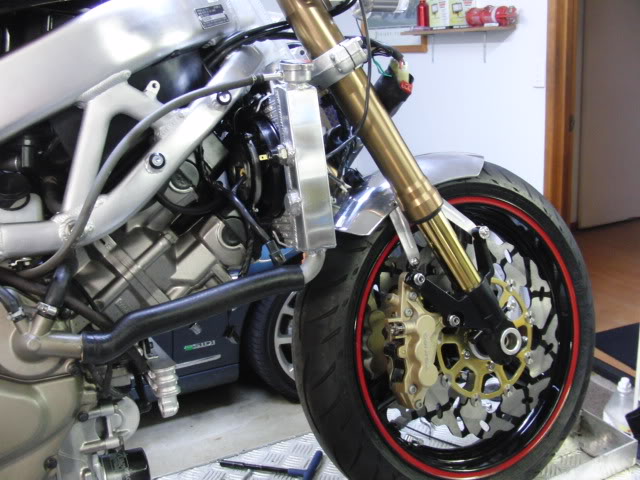
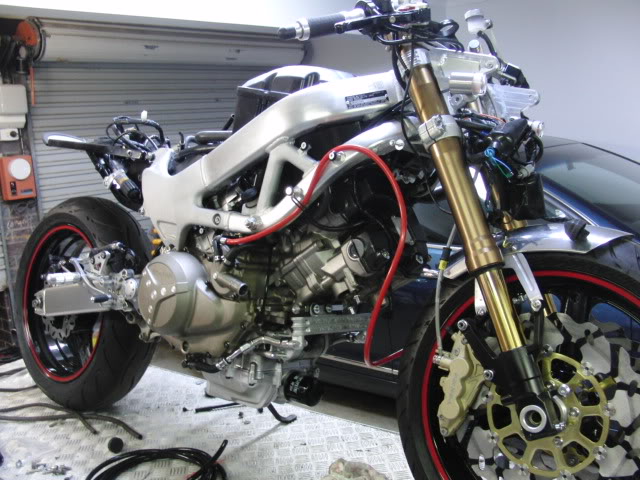
Thanks mate, I bought that front end off Ebay, and sat it in my shed for a while I just looked at it, and squeezed the end of my willie. It was cheap and in excellent condition and I wanted to fit it to something,( but did not know what), so now there she is in all her glory ready to pop my eyeballs, when I even think about applying the front brake!!
11-13-2011, 10:55 AM
#117
Senior Member
Back Marker
Thread Starter
Join Date: Sep 2011
Location: Australia
Posts: 139
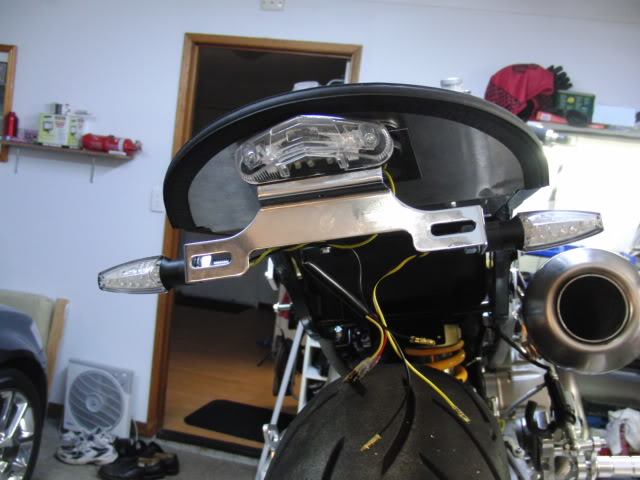
Getting down to the electrics now and looked at a few tail light/ indicators and this is what I have settled on for now, it hides away under the seat. I wish that indicators were not needed but it is a case of getting registration.
11-14-2011, 11:19 AM
#119
Senior Member
Back Marker
Thread Starter
Join Date: Sep 2011
Location: Australia
Posts: 139
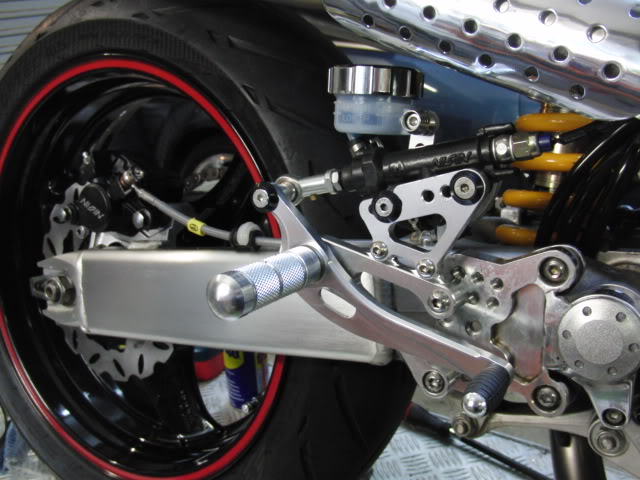
I got some Braided lines made for my rearsets and the front forks as the standard ones will not fit, fixed up a gear linkage and bleed the rear brakes, fitted a cheap ebay reservoir and bingo, there you have it!
Last edited by PappySmears; 11-14-2011 at 12:15 PM.
11-14-2011, 12:14 PM
#120
Senior Member
Back Marker
Thread Starter
Join Date: Sep 2011
Location: Australia
Posts: 139
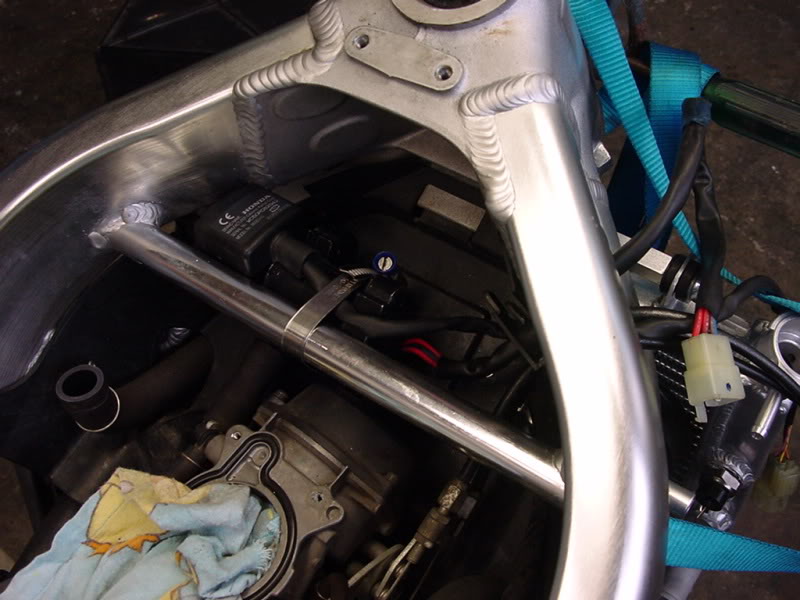
Purely for aesthetics I decided to use two bent piece of radiator hose instead of one long straight bit with a little kink, I know this adds more things to leak ect but I think it looks better with a joiner in the middle of these two.
After all I am going for the "Hot Rod" look
After all I am going for the "Hot Rod" look
Last edited by PappySmears; 11-14-2011 at 12:33 PM.


