
Fairing Repairs


Thread Starter
Bike Hoarder
Squid
Joined: Oct 2012
Posts: 47
From: Tri State

Fairing Repairs
Thought I'd just document my upcoming fairing repairs, in the event that it comes out well and might be of help to others down the road.
I will be going the route of Low VOC ABS cement, in addition to the ABS + ABS Cement mixture to fab some missing pieces.
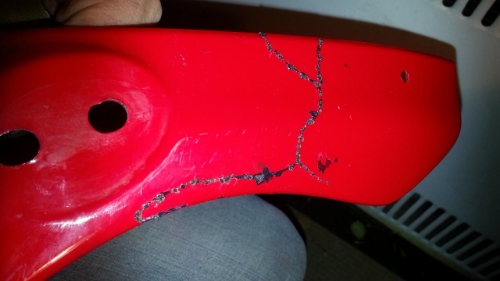
Below are the pieces areas that will be getting attention.
Upper Fairing
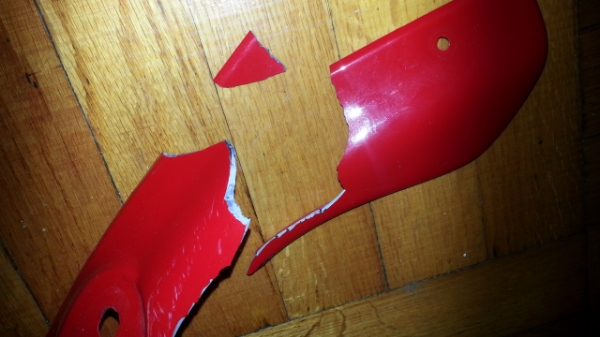
Fairing Side, (PO's previous solution)
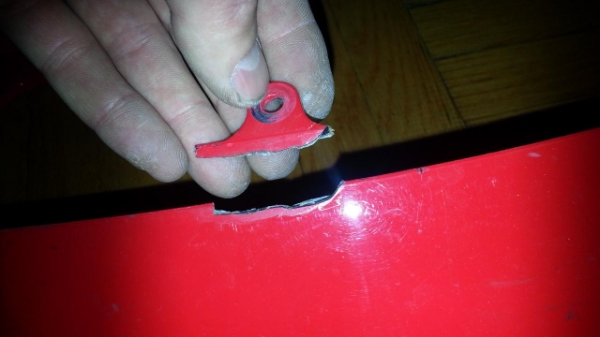
Tail Mounting Tab
Inner Post
I'll also be sanding off some Rash and most likely filling the OEM marker holes for smaller flush mounts.
Let the fumes begin!
I will be going the route of Low VOC ABS cement, in addition to the ABS + ABS Cement mixture to fab some missing pieces.
Below are the pieces areas that will be getting attention.
Upper Fairing
Fairing Side, (PO's previous solution)
Tail Mounting Tab
Inner Post
I'll also be sanding off some Rash and most likely filling the OEM marker holes for smaller flush mounts.
Let the fumes begin!

Member
Squid
Joined: Nov 2013
Posts: 45
My under fairing has a huge crack due to a large rock that I accidentally run over it, I have tried using Plasti fix kit, but it didn't worked. Hope you could update us on your on going repair, is successful will surely use the same product as your.

Rex Kramer-Thrill Seeker
SuperBike
Joined: Jan 2011
Posts: 2,312
From: Brookfield, WI
There are several posts about fixing the plastic fairings. Just use the search feature. Type in what you want to know and click the red search button.
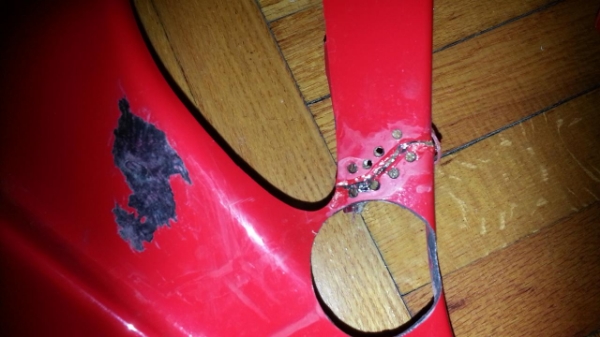
People have used several different products to fix thier fairings. I personally used a plastic welder (others have used a welding iron) and fixed the entire right side of my bike, which the P.O. busted up pretty good.
Edit: To the O.P., Check out post #28 here. Where you see black on the right side fairing, thats what was plastic welded. Like you, I filled in the turn signal hole. Luckily, I had another fairing to cut pieces out of to fill the turn signal holes, because they have a slight curve to them. They have yet to crack after a full year of riding and are just as flexible as the original piece. Seriously, look into plastic welding as an option.
Last edited by CruxGNZ; Nov 25, 2013 at 10:13 PM.

Junior Member
Squid
Joined: Apr 2013
Posts: 27
From: Connecticut
I used a plastic "welder" or iron with great results. I was able to pick one up for under 15 bucks at harbor freight, and in 10 minutes I was up and running.
I actually had to "create" parts where some plastic had cracked and was missing entirely... it was simple, fast, and the parts are just as strong as new.
That is the only method I will use from now on. I had tried fiberglass, and solvent based repairs prior to going with the welder.
I strongly recommend a welder. I was able to teach my 16 yo son how to use it and he fixed all the plastics on his scooter from one of his many wipe outs perfectly.
Thread Starter
Bike Hoarder
Squid
Joined: Oct 2012
Posts: 47
From: Tri State
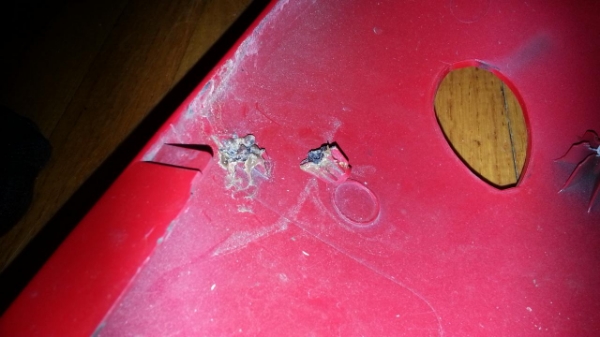
So I basically applied ABS cement to the joint and pressed it together. Using a 45w Soldering iron with a fine tip I "stitched" it together. (in the fashion of a plastic welder, I also have a hot knife for larger contact points if needed)
On the rear, I melted the seam a bit more as well creating a slight channel.
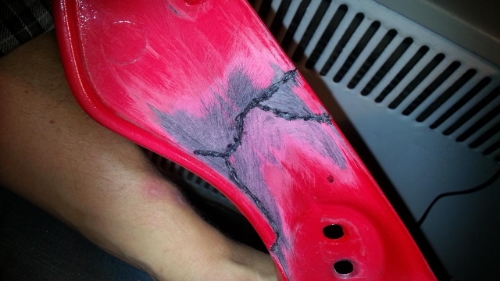
This was repeated on the face as well.

Then I laid in a layer of Cement spanning the pieces, front and rear.
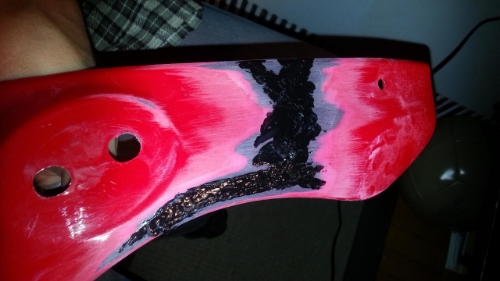
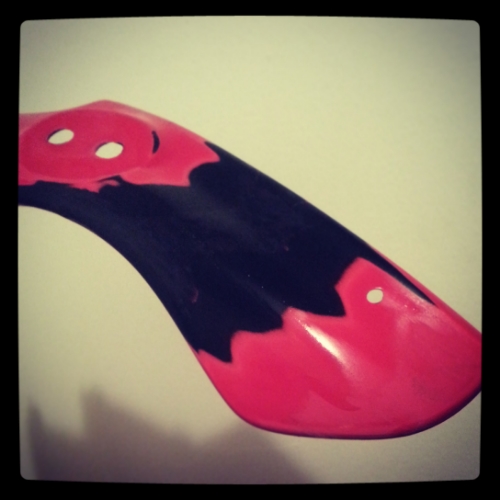
Let it cure and sanded it down.
On the rear, I melted the seam a bit more as well creating a slight channel.
This was repeated on the face as well.
Then I laid in a layer of Cement spanning the pieces, front and rear.
Let it cure and sanded it down.

Thread
Thread Starter
Forum
Replies
Last Post
geekonamotorcycle
Modifications - Performance
9
Apr 15, 2011 06:20 PM
Rocky-Top-Rider
General Discussion
6
Oct 9, 2008 05:07 AM


