
Need more room, Dash build


Thread Starter
Administrator
MotoGP
Joined: Apr 2006
Posts: 4,402
From: Kempner, TX

Need more room, Dash build
I wanted a digital clock, volt gauge, and gear position selector in my line of sight while riding. WHile I could have just stuck them someplace, I decided a dash build was in order.
Some Lexan and a bit of tracing.. Coping saw and lots of hand fitting with carbide burs, sanding disks,,, gets you
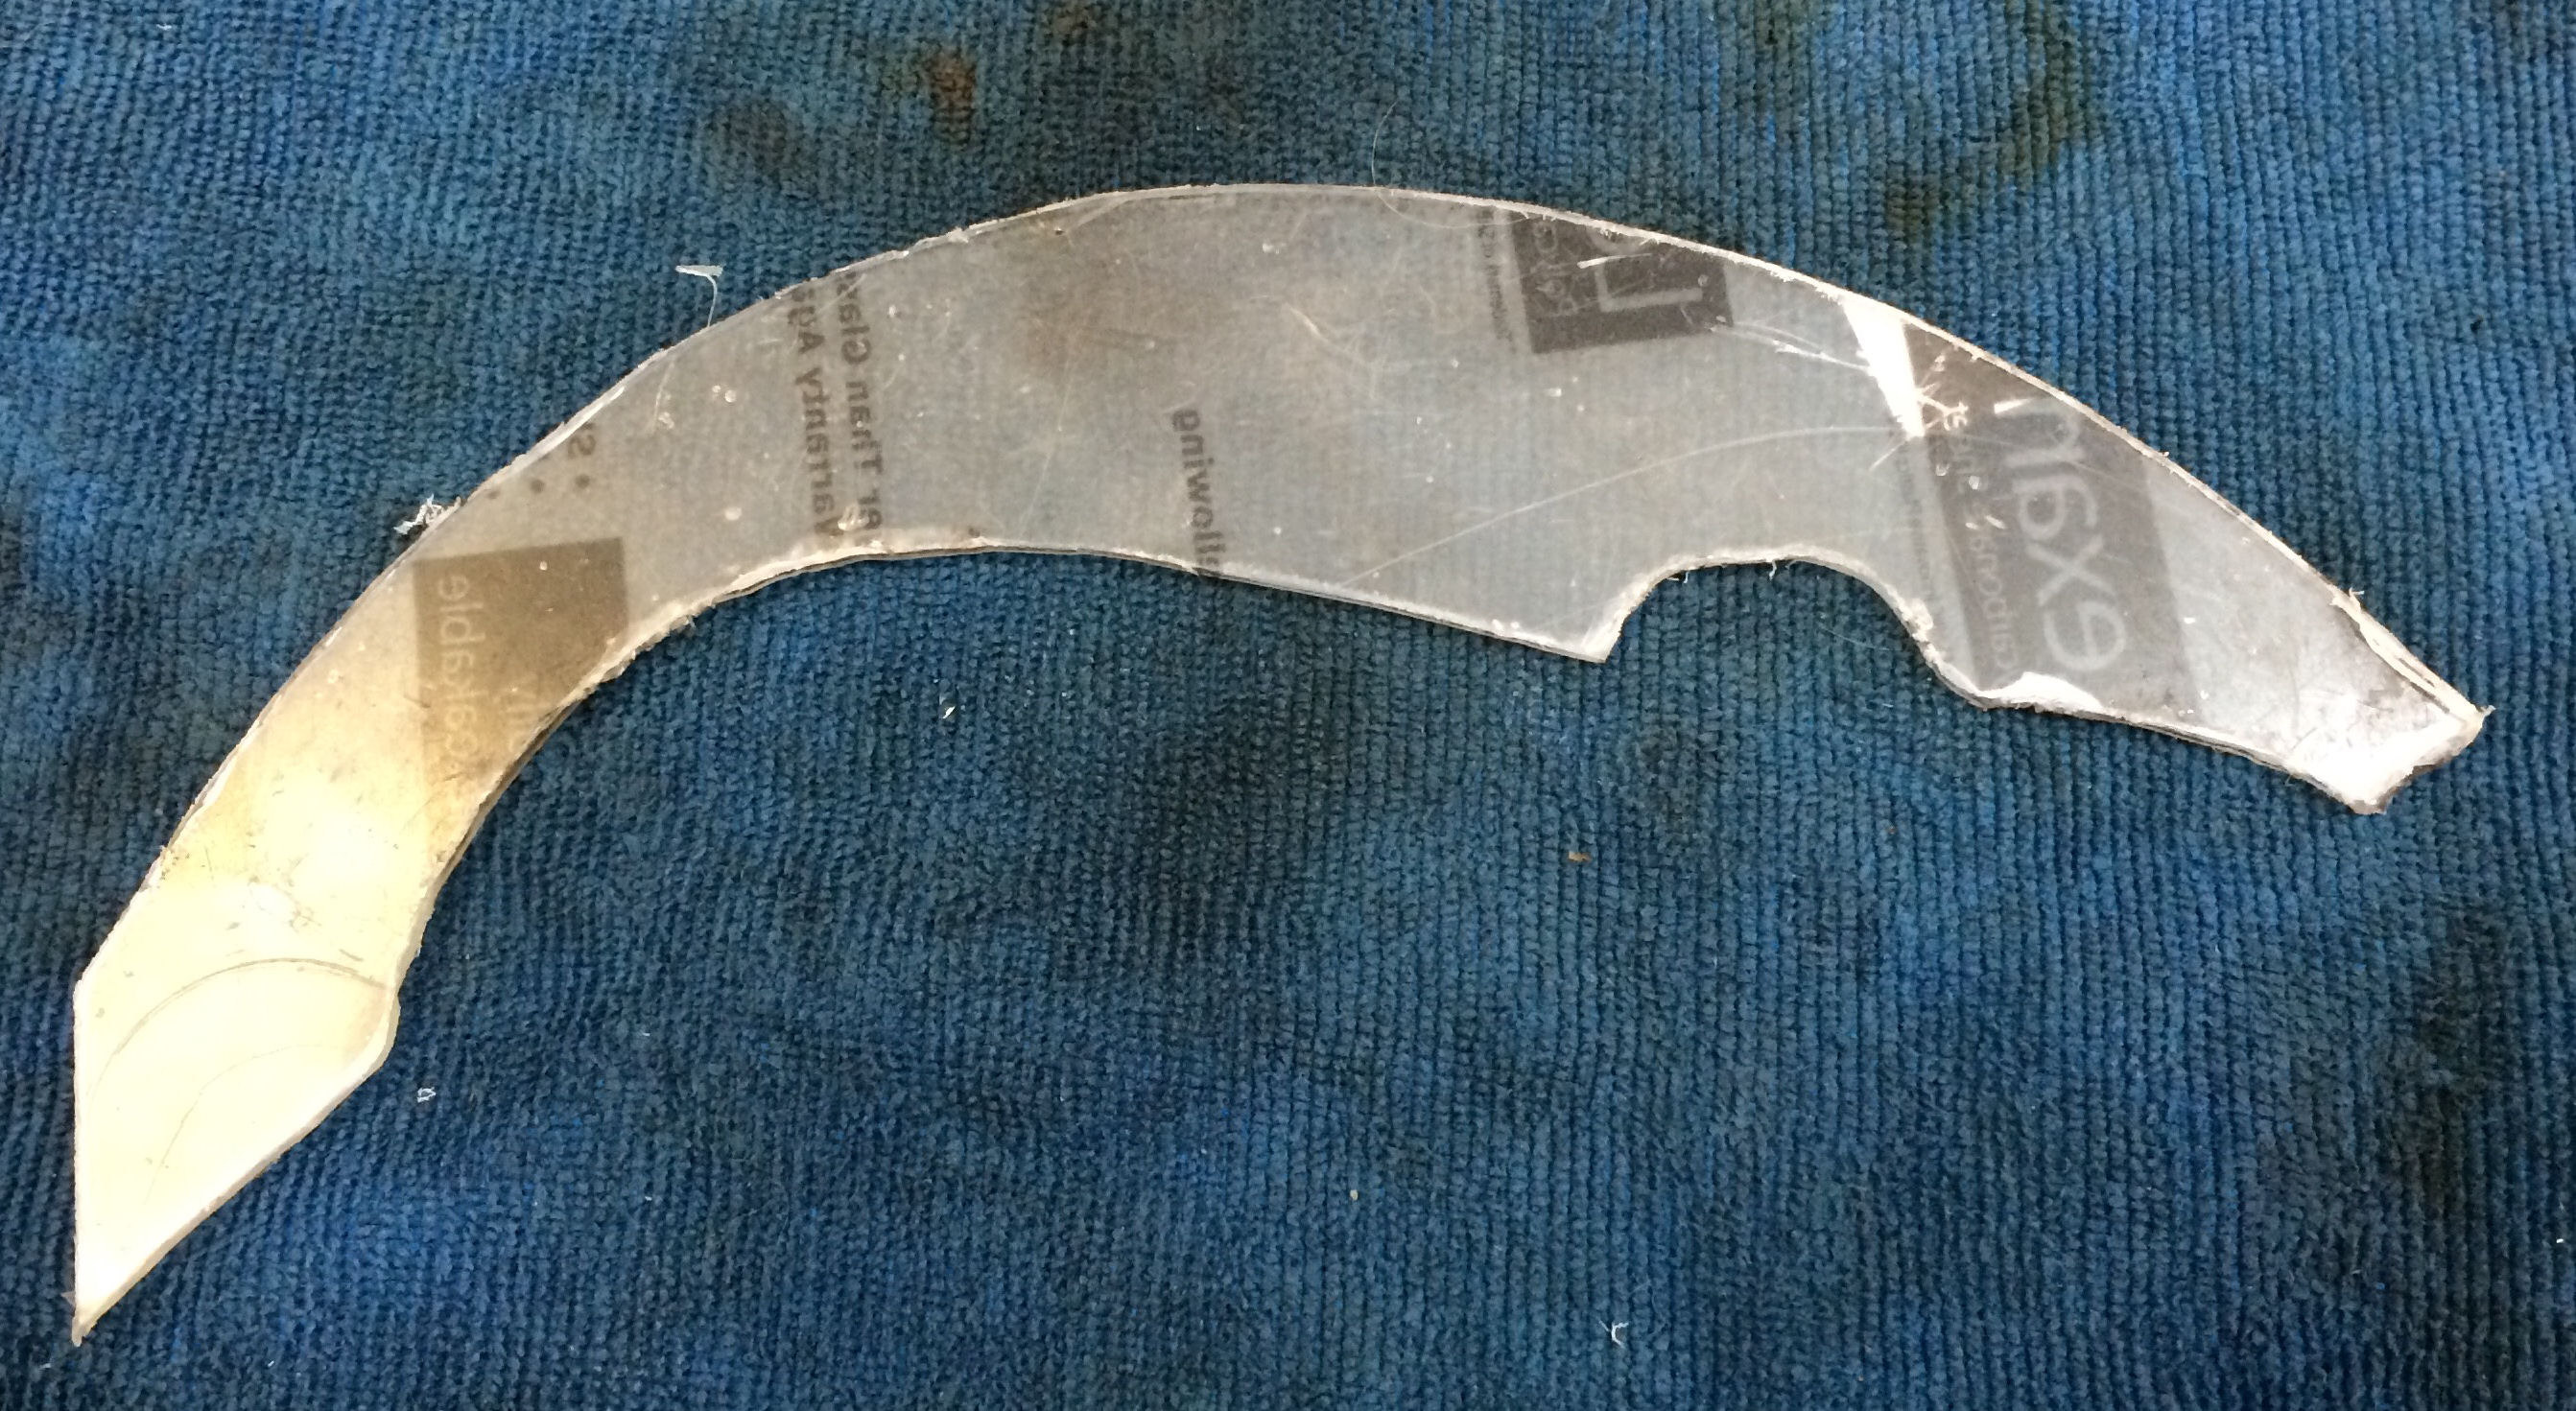
Roughly fit to the gauge pod cover

Some more fitment, and then epoxy to the cover
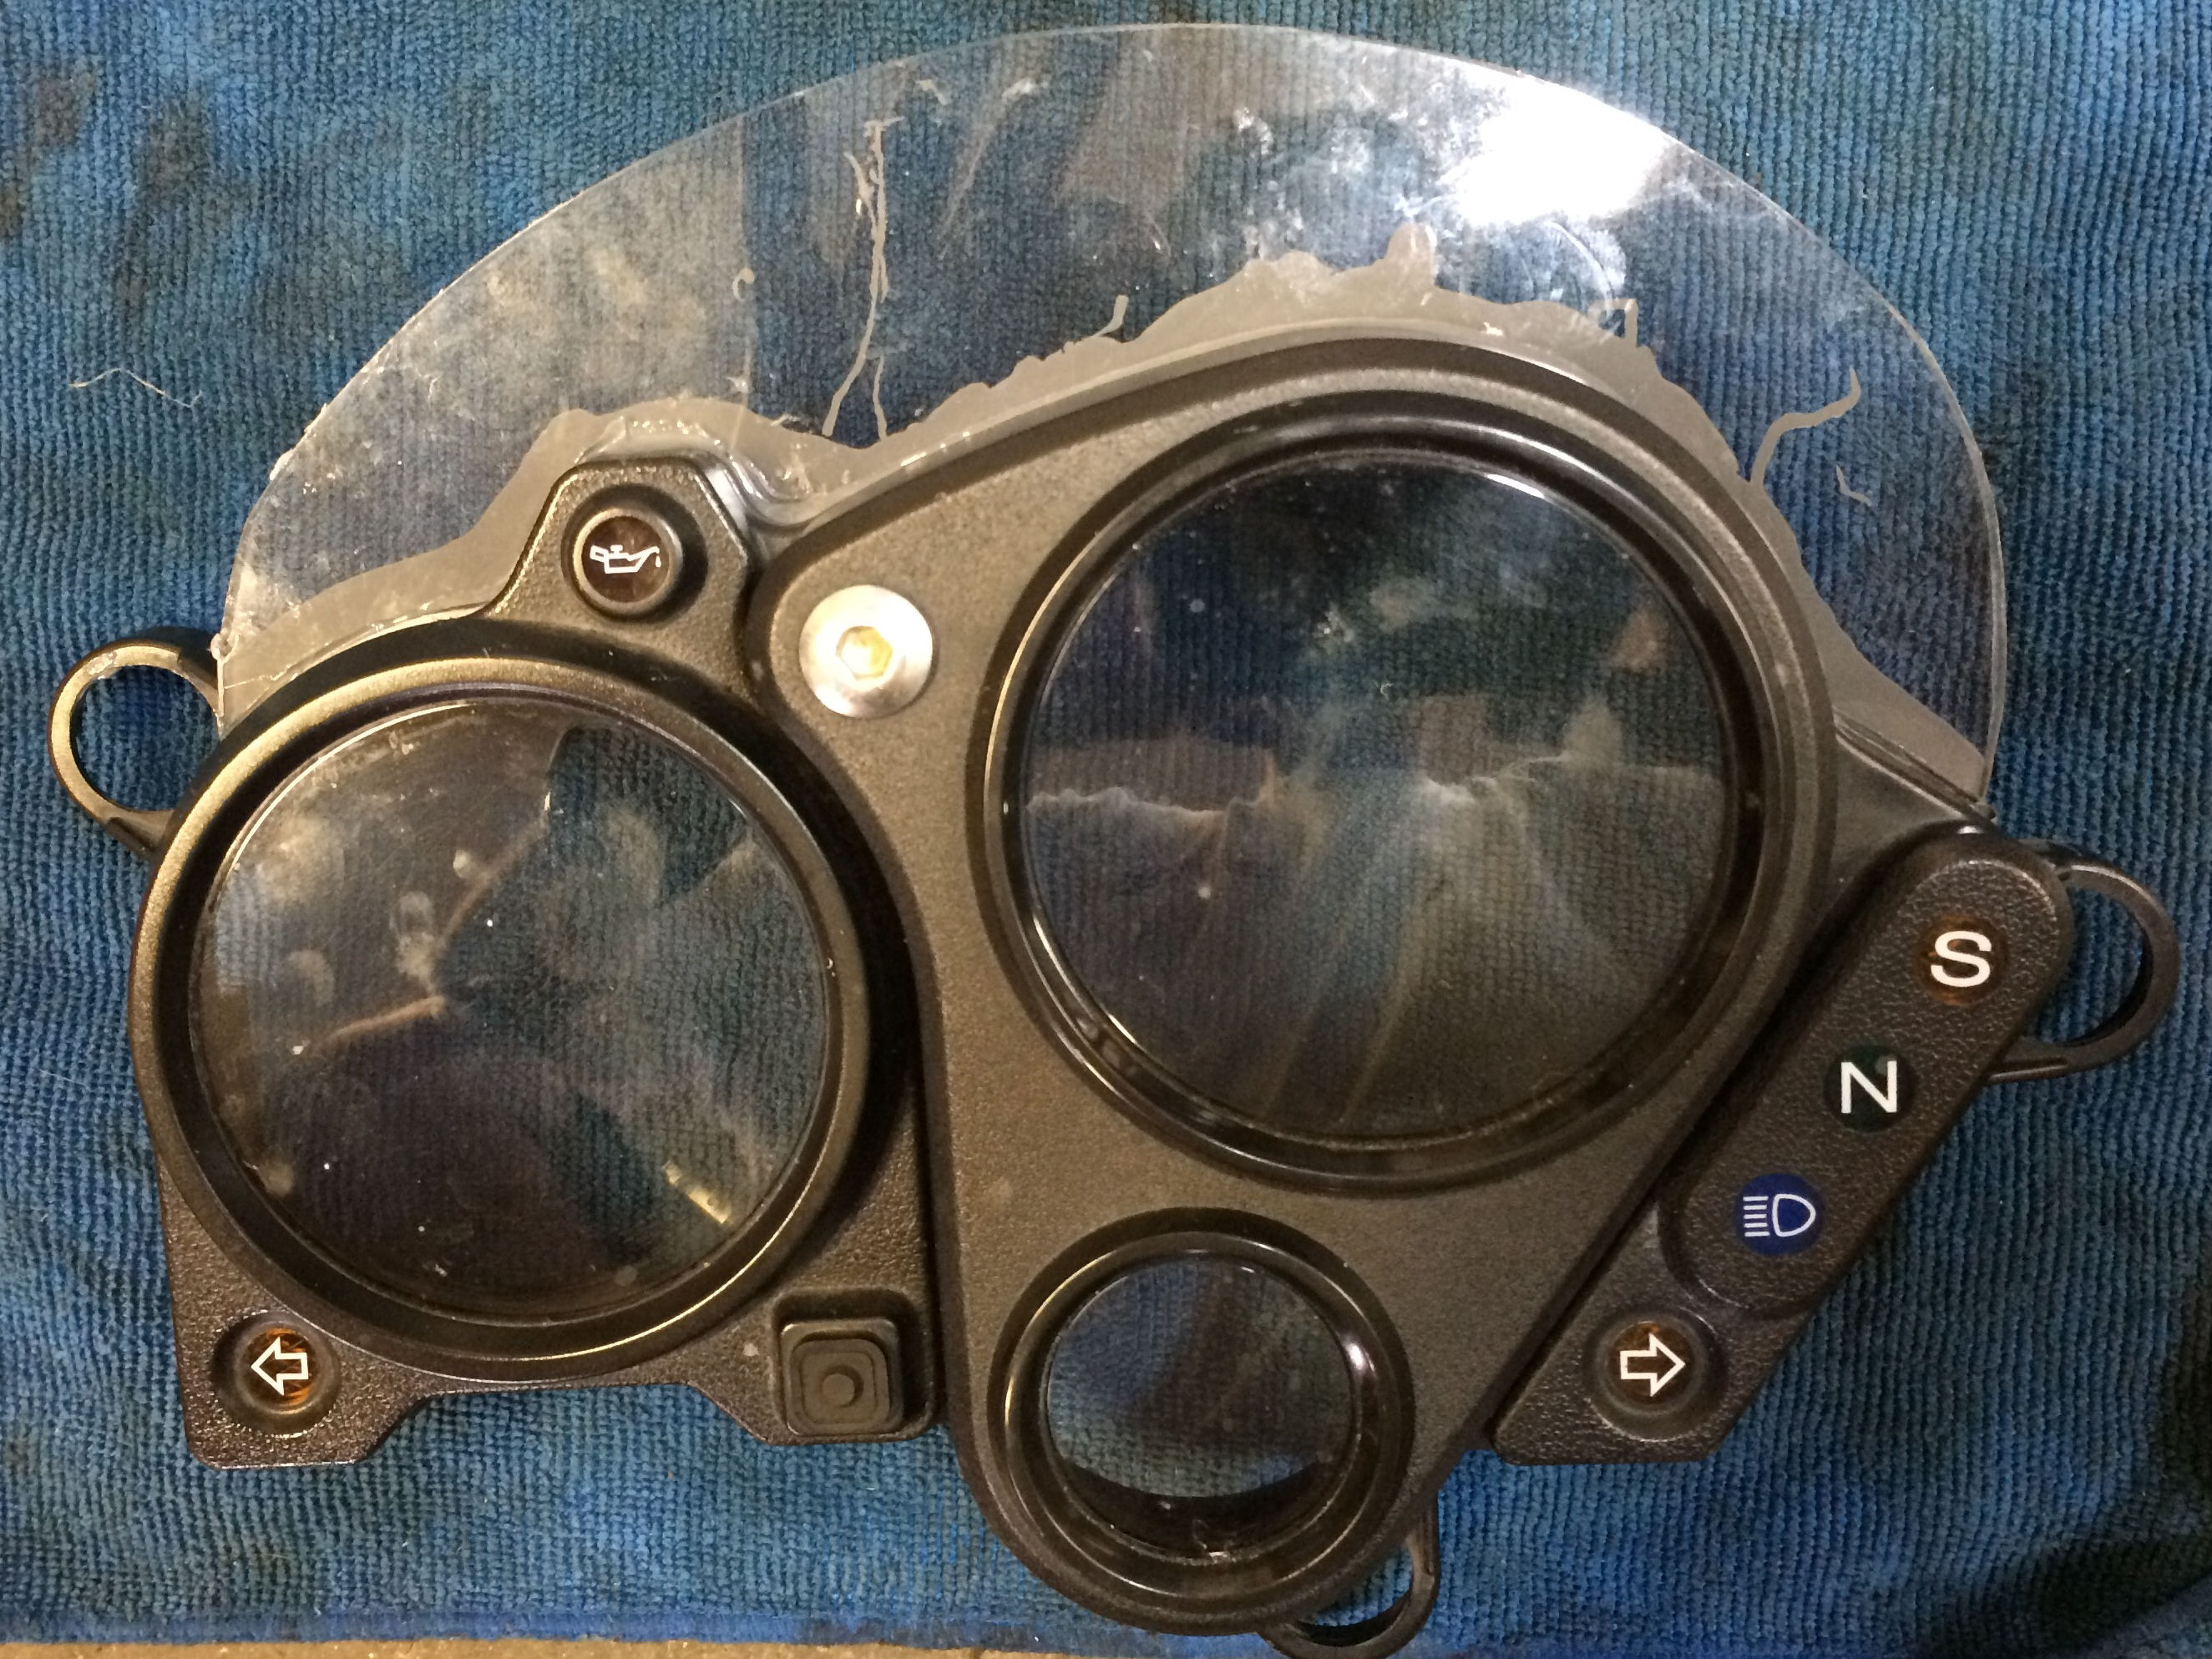
Need to let it dry overnight, then some sanding, then mounting the three instruments... Remove them and paint dash black.. reinstall and see how I like it.
Some Lexan and a bit of tracing.. Coping saw and lots of hand fitting with carbide burs, sanding disks,,, gets you
Roughly fit to the gauge pod cover
Some more fitment, and then epoxy to the cover
Need to let it dry overnight, then some sanding, then mounting the three instruments... Remove them and paint dash black.. reinstall and see how I like it.

Senior Member
MotoGP
Joined: Jul 2007
Posts: 5,066
From: NYC
That's an interesting way to go about it. When I did my dash swap I pondered for quite a while how to do it. I kind of looked everywhere for a thermoplastic that had the right texture to look natural as a dash.
Finally found just the right curved textured plastic piece that was like a CD case or similar.
Interested to see how it turns out.
Wouldn't a cardstock mock up have been easier? Then just trace it onto the lexan?
Finally found just the right curved textured plastic piece that was like a CD case or similar.
Interested to see how it turns out.
Wouldn't a cardstock mock up have been easier? Then just trace it onto the lexan?

Senior Member
SuperBike
Joined: Mar 2012
Posts: 1,544
From: New South Wales Australia
Speaking of dashes,
Does anyone know where I can get a white face plate for my Tacho.
My bike is an 05.
Here in Oz it is almost impossible as no one is prepared to have a go as my bike is too old, or the cost is exorbitant !
Does anyone know where I can get a white face plate for my Tacho.
My bike is an 05.
Here in Oz it is almost impossible as no one is prepared to have a go as my bike is too old, or the cost is exorbitant !
Thread Starter
Administrator
MotoGP
Joined: Apr 2006
Posts: 4,402
From: Kempner, TX
That's an interesting way to go about it. When I did my dash swap I pondered for quite a while how to do it. I kind of looked everywhere for a thermoplastic that had the right texture to look natural as a dash.
Finally found just the right curved textured plastic piece that was like a CD case or similar.
Interested to see how it turns out.
Wouldn't a cardstock mock up have been easier? Then just trace it onto the lexan?
Finally found just the right curved textured plastic piece that was like a CD case or similar.
Interested to see how it turns out.
Wouldn't a cardstock mock up have been easier? Then just trace it onto the lexan?
Senior Member
MotoGP
Joined: Jul 2007
Posts: 5,066
From: NYC
Kenmoore, you need a whole new tach face? Someone on here found that just printing out the stock tach on a printer onto thin plastic worked. (or something like that).
Otherwise a wrecked dash on ebay would be you best bet.
Otherwise a wrecked dash on ebay would be you best bet.
Thread Starter
Administrator
MotoGP
Joined: Apr 2006
Posts: 4,402
From: Kempner, TX

Well take off, eh.
SuperBike
Joined: Jun 2012
Posts: 1,206
From: QC, Canada
Interesting find. However, Kenmoore's needs are for a 2005. All he has to do now is write to him and see if he makes them for earilier models.
Nice Job by the way Erik. This is what I like about the '02 + model years, they have this feature molded within the cover case. It has allowed me to install my volt meter and shift gear selector (future project) nicely.
Thread Starter
Administrator
MotoGP
Joined: Apr 2006
Posts: 4,402
From: Kempner, TX
Interesting find. However, Kenmoore's needs are for a 2005. All he has to do now is write to him and see if he makes them for earilier models.
Nice Job by the way Erik. This is what I like about the '02 + model years, they have this feature molded within the cover case. It has allowed me to install my volt meter and shift gear selector (future project) nicely.
Nice Job by the way Erik. This is what I like about the '02 + model years, they have this feature molded within the cover case. It has allowed me to install my volt meter and shift gear selector (future project) nicely.
Where did you install the GPI? and Volt gauge? I don't see a area that would facilitate a clean install...
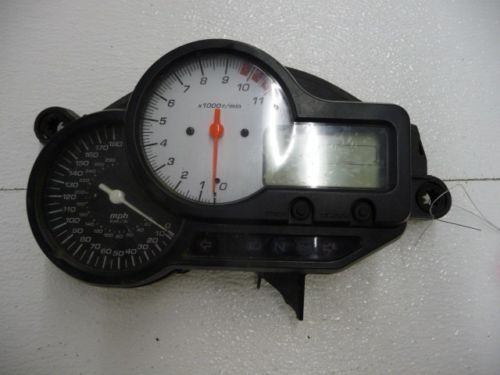
I really like the gauge layout, size, readability of the early cluster so have been very warly of changing it.. Choosing instead to add to and modify.
But the later cluster does have the clock built in, and the capability for a fuel gauge. so I picked up a later cluster last month to start working on.
Well take off, eh.
SuperBike
Joined: Jun 2012
Posts: 1,206
From: QC, Canada
The angle of the picture is not that good to allow you to see the back. All though it is not as big as you will be making, there is enough space on both side of the tach to place small sized displays.
I have installed my volt meter on the left of the tach, and, will install my GPI to the right. I must admit, my volt meter is just a LED type, with color, and flash mode indication. But, even a small analogue indicator would fit I am sure.
If you do go with this guage, what are your intensions on wiring harness and in tank fuel sending unit ?
Thread Starter
Administrator
MotoGP
Joined: Apr 2006
Posts: 4,402
From: Kempner, TX
The angle of the picture is not that good to allow you to see the back. All though it is not as big as you will be making, there is enough space on both side of the tach to place small sized displays.
I have installed my volt meter on the left of the tach, and, will install my GPI to the right. I must admit, my volt meter is just a LED type, with color, and flash mode indication. But, even a small analogue indicator would fit I am sure.
If you do go with this guage, what are your intensions on wiring harness and in tank fuel sending unit ?
I have installed my volt meter on the left of the tach, and, will install my GPI to the right. I must admit, my volt meter is just a LED type, with color, and flash mode indication. But, even a small analogue indicator would fit I am sure.
If you do go with this guage, what are your intensions on wiring harness and in tank fuel sending unit ?
I'm going to get a late model tank with sending unit. and keep my pristine 98 tank as a spare.
Thread Starter
Administrator
MotoGP
Joined: Apr 2006
Posts: 4,402
From: Kempner, TX
Annnnnd...... back to the drawing board.
The Epoxy i choose did not adhere chemically to either plastic. So it came off after curing with not much of a flex and tug at all.
I was concerned about this and why I had planned on mechanically attaching the carbon fiber version to my other housing cover. I will make some small aluminum brackets for this one and attach it for now. I ordered the CF sheet and a piece of angle to make the dash and brackets from.
I am going to use rubber well nuts on the upper end of the angle to screw to, and inside the cover for the lower end of the bracket. I'm thinking this will give some vibration isolation. As the CF bracket will be flat on both ends, and the cover is curved at the attachment point. I'll use some black RTV to "adhere" the bracket to the cover in addition to the screw mechanically holding it in place.

Thread Killer
SuperBike
Joined: Apr 2013
Posts: 2,097
From: Geneseo, IL
Not every nugget that drips from my keyboard can be gold...
Senior Member
SuperBike
Joined: Mar 2012
Posts: 1,544
From: New South Wales Australia
Thanks heaps guys.
I have messages the vendor and am anxiously waiting for a reply.
With the later model gauges there is plenty of room either side to mount ancillaries.
I have a mechanical oil pressure gauge mounted to the right of the Tacho.


Fits as snug as a bug!
I have messages the vendor and am anxiously waiting for a reply.
With the later model gauges there is plenty of room either side to mount ancillaries.
I have a mechanical oil pressure gauge mounted to the right of the Tacho.


Fits as snug as a bug!


Senior Member
Back Marker
Joined: Nov 2013
Posts: 171
From: Los Angeles, CA
I've seen mechanical oil pressure gauges that replace the fill port cap/plug, anyone know where to source those? Rather than clutter up the cluster might be nice to just look down occasionally and read a pressure
The carbon on Kenmoore's dash is probably a custom cut sticker or emblem I would think
I can't stand that the 2001+ model years have the 0 on the speedometer not at the 6 oclock position on the unit but rather at like 4 oclock
Would be nice for a digital temperature and clock but those can be added! (along with gear indicator etc)
Thread Starter
Administrator
MotoGP
Joined: Apr 2006
Posts: 4,402
From: Kempner, TX

Senior Member
SuperBike
Joined: Mar 2012
Posts: 1,544
From: New South Wales Australia
Ren,
Yes it is. Carbon look overlay that I got from Spain. Been on for 3 years and very convincing.
The Oil Pressure gauge that you are referring to is actually an oil temp gauge I think.
 this is my oil temp gauge, works a treat.
Jack,
Hornee is a brand of motorcycle clothing here in OZ!
Yes it is. Carbon look overlay that I got from Spain. Been on for 3 years and very convincing.
The Oil Pressure gauge that you are referring to is actually an oil temp gauge I think.
 this is my oil temp gauge, works a treat.
Jack,
Hornee is a brand of motorcycle clothing here in OZ!
Thread Starter
Administrator
MotoGP
Joined: Apr 2006
Posts: 4,402
From: Kempner, TX
Carbon Fiber either something I make with wet layup or sheet and angle I mechanically connect

Thread
Thread Starter
Forum
Replies
Last Post


